If there’s one thing most military spouses have in common, it’s that our kitchens on base are U-G-L-Y, you ain’t got no alibi, ugly. They usually have the typical cheap cabinets found in a rental, peel and stick flooring and ugly counters. The last time I lived on base I had the hardest time decorating the kitchen. I picked some paint I liked and bought some Walmart curtains and added a few accents to match. It wasn’t pretty and I’m glad I don’t have a picture to show you.
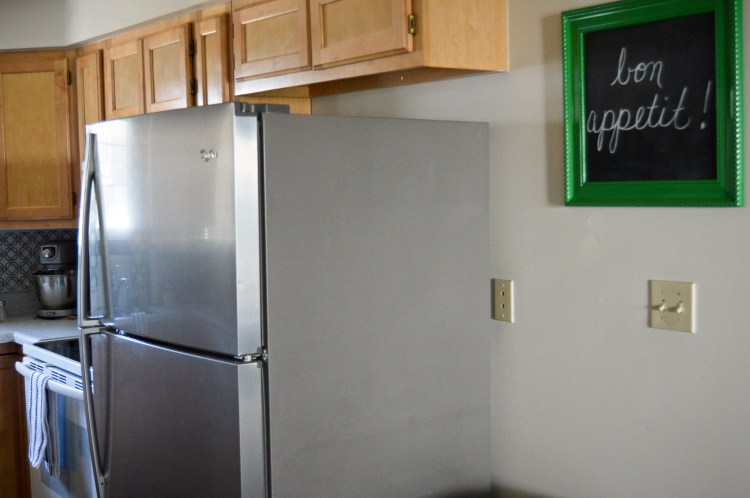
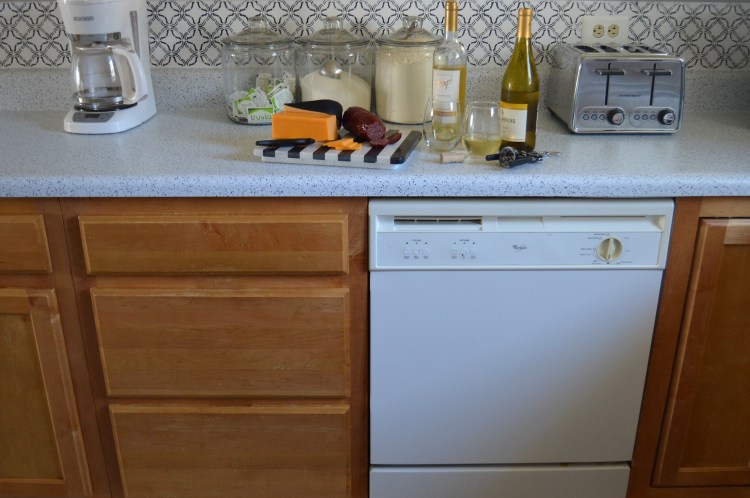
I decided my biggest problem last time was that I was fighting the colors that are in the kitchen, namely the dreaded honey oak cabinets. I know they’re the least popular cabinet finish right now, but that’s what I have to deal with. I tried looking at Pinterest and online for inspiration and all I could come up with was different ways to paint those honey oak cabinets. Obviously, that’s not an option for renters. So, I decided to go another route. I started researching mid century modern kitchens and rooms (which is very popular right now!). You will see a lot the oak finish in mid century modern design. One thing stuck out to me as I was looking at all these gorgeous mid century rooms… black. Black was everywhere and it complimented the honey oak beautifully. That’s why I have used black in nearly every room in this house. The floors are honey oak, the kitchen, and bathrooms so black is the grounding color in most of the rooms. Black isn’t the only color that works with that finish, but I liked it the best. I love color, so not to worry, of course there’s a pop of color too.
Alright, on to the tour. I was going back and forth with whether or not to put some hardware on the doors(temporary, of course), but decided to wait and see if I really wanted to. I did, however, use paint in here. It’s the only room so far that I have used paint.
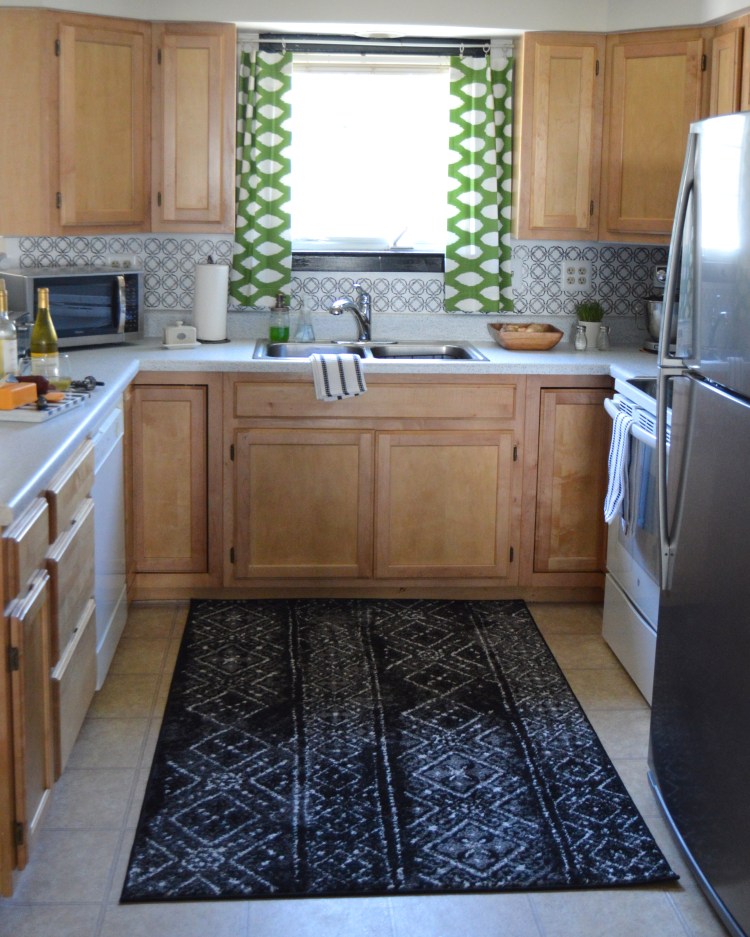
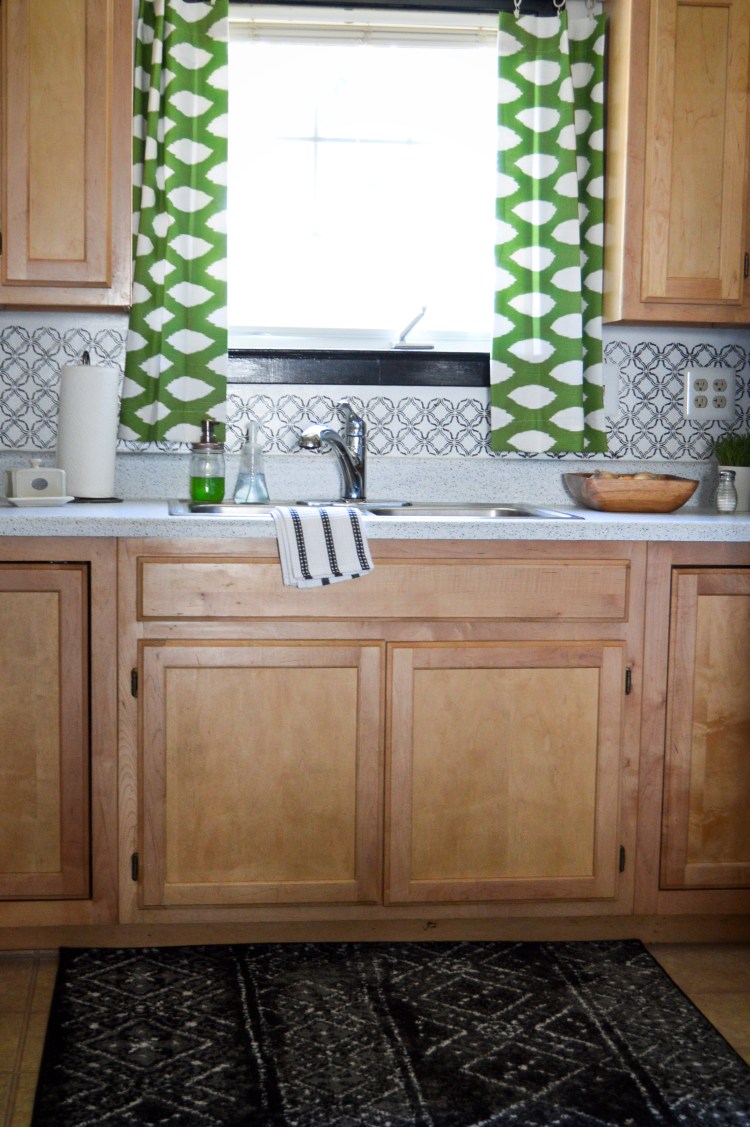
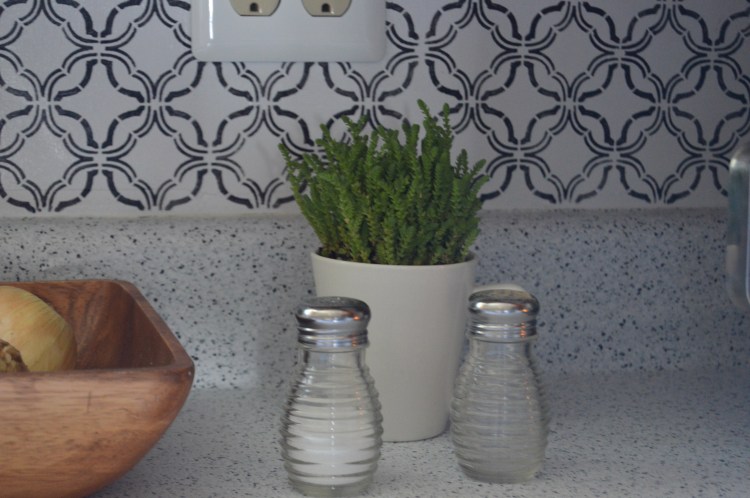
The backsplash is painted using a stencil I got at Walmart. You can find them in their craft aisle. I was trying to mimic patterned cement tile and I love the way it turned out.
For the counters, I used contact paper to cover up the pinkish/tan laminate. I will share a tutorial on that project later. For now, check out the before and after.
![DSC_0086[1]](https://steeltoesandhighheels.com/wp-content/uploads/2016/07/dsc_00861.jpg?w=750)
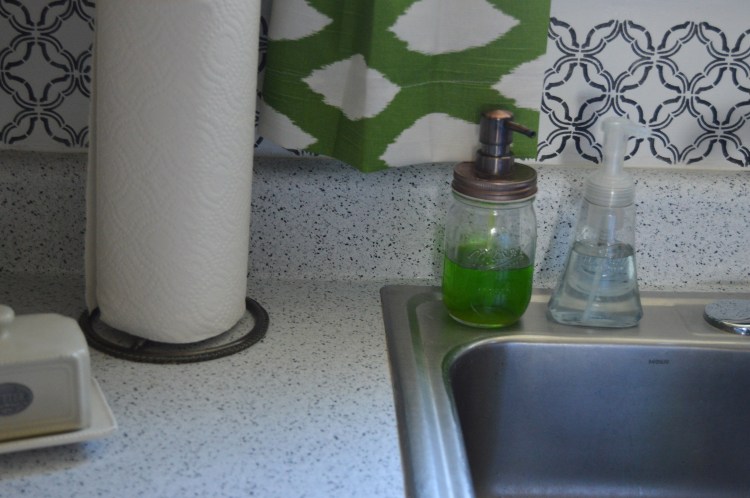
I found the contact paper at Home Depot. It’s a really easy project and it made a huge impact. I chose the granite look, but you can get it in all different colors.
I used green as the accent color because I’m really digging green right now and it looks great with the cabinet finish.
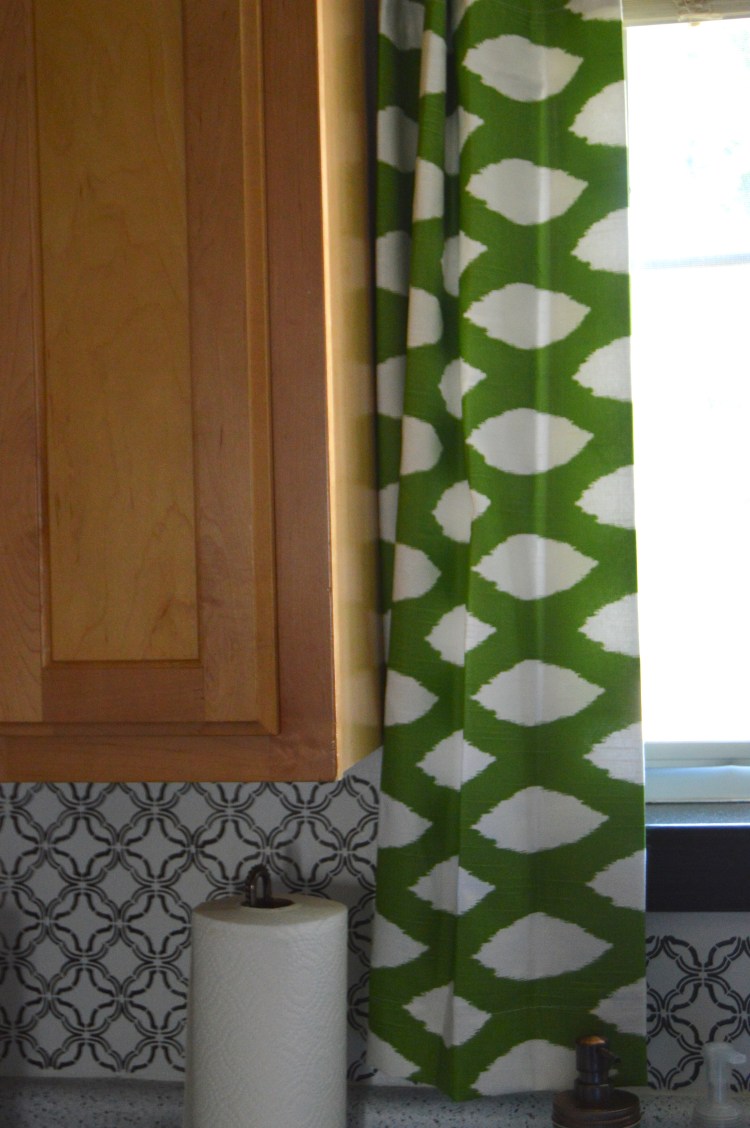
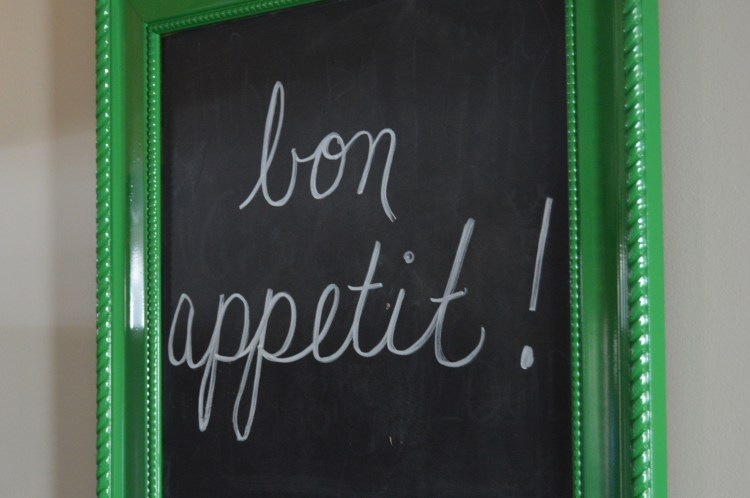

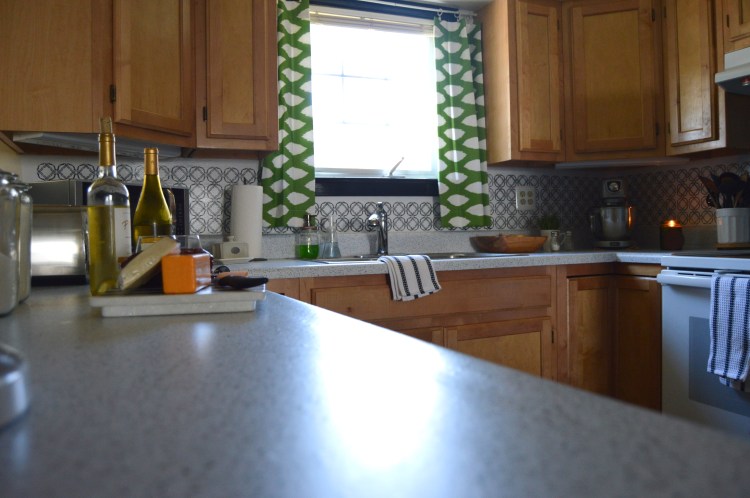
I made the curtains myself and used green spray paint on the chalkboard frame.
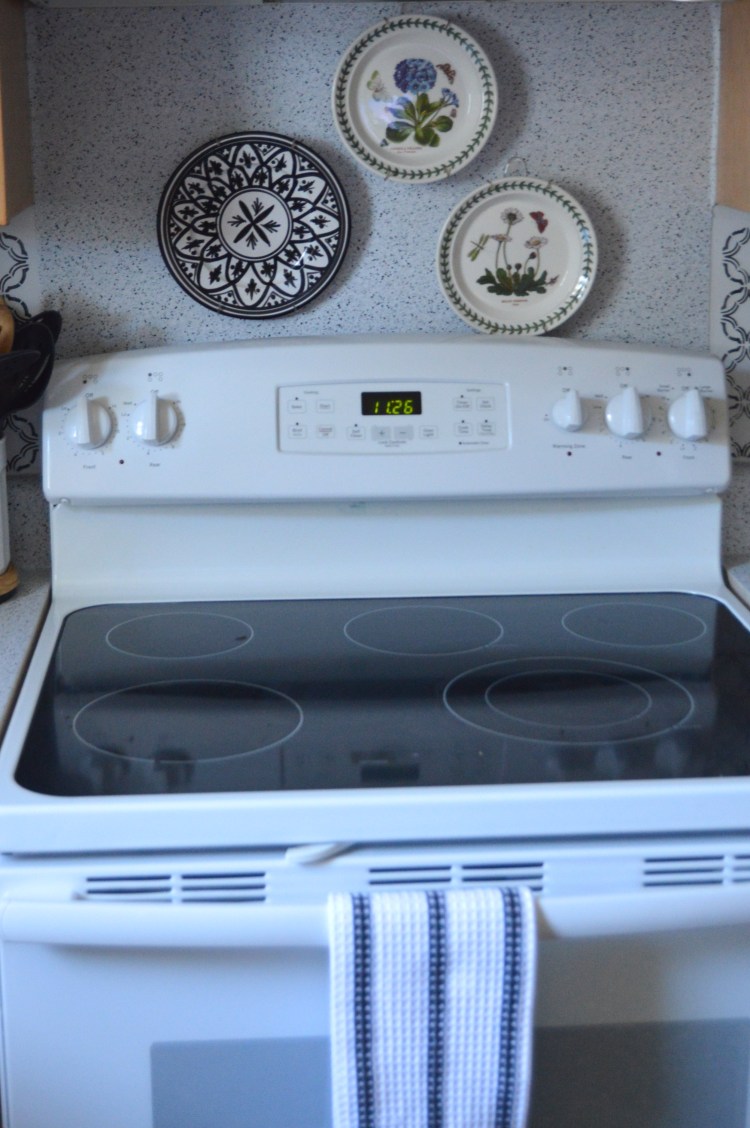
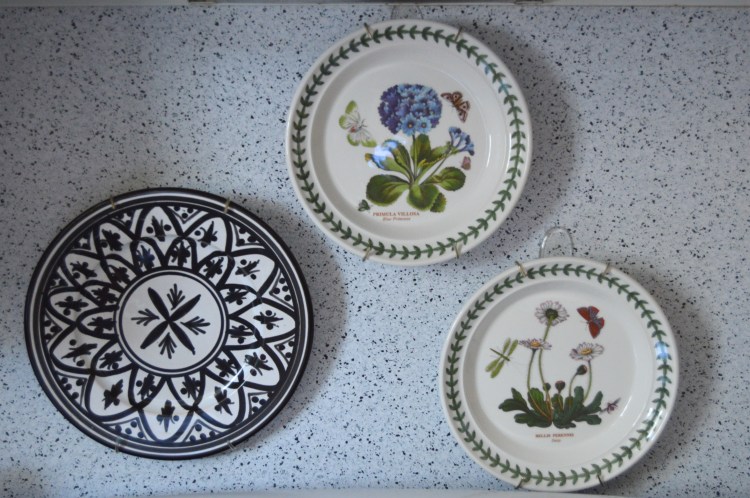
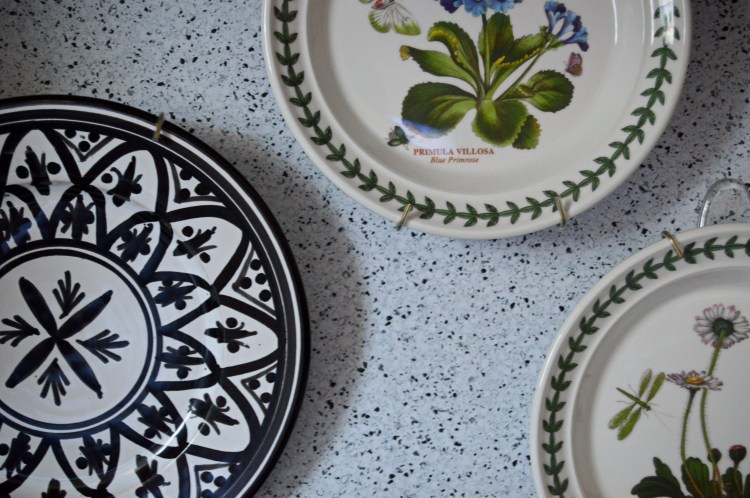
I couldn’t use paint behind the stove because there was a piece of laminate covering that area. I covered it with the contact paper and hung plates to add a little fun décor and reiterate the color theme. I used command strips to hang them. The plates are from Homegoods. They always have a huge selection!
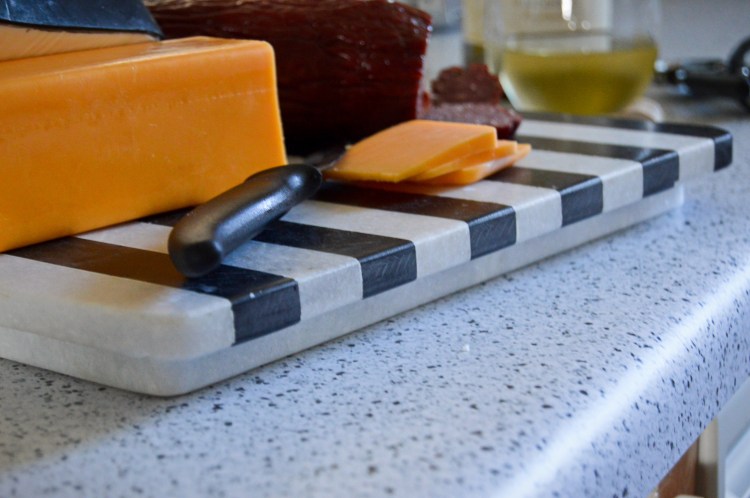
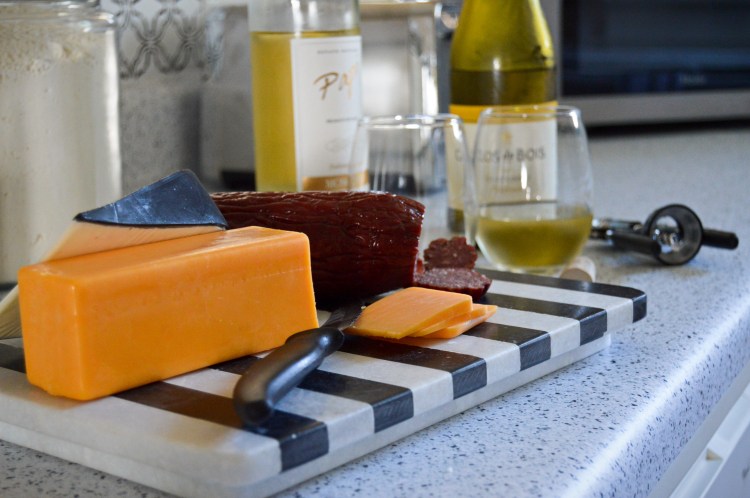
I found this marble cutting board on our trip to Magnolia Market. It was a bit of a splurge, but I already knew the direction I wanted to go with the kitchen and I knew it would be perfect. Plus, since it is stone, it will last forever. (that’s how I justified it to my husband, at least)
And there you have it folks. An ugly base kitchen saved by a little decorating!

