If you’re a renter like me, you’re often stuck with undesirable fixtures in your home. But good news, the world of temporary design products is expanding greatly. There are also bloggers like myself who will do the experimenting for you so you can see what actually works. Today I’m writing about a product that has actually been around for a while, contact paper. You’ve probably seen it in cabinets or on shelves, but I used it on my kitchen counters for a whole new look. Looks aside though, it will also help protect from the wear and tear of stains, scrapes, etc. while you’re living in your rental property and keep that deposit intact 😉 And the absolute best part about this product, COST! I used this Con-Tact brand contact paper from Home Depot. It looks like granite and it’s only $7.97 a roll 🙂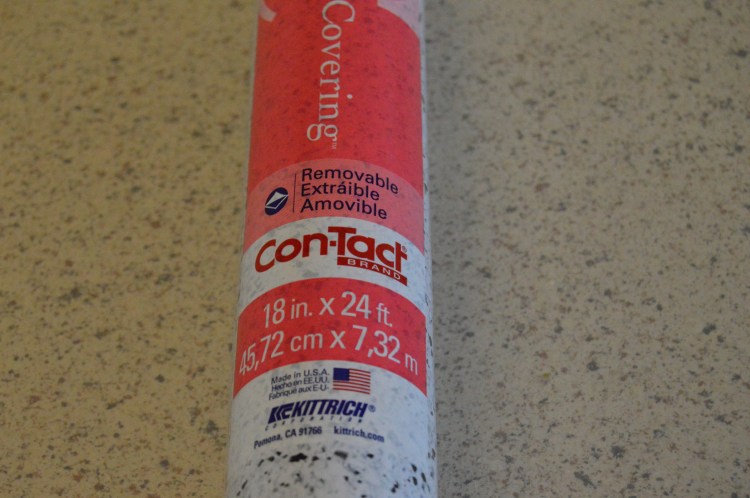

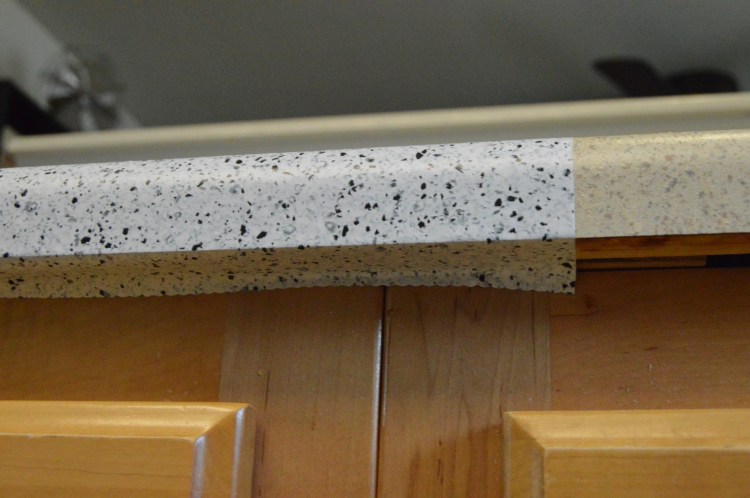
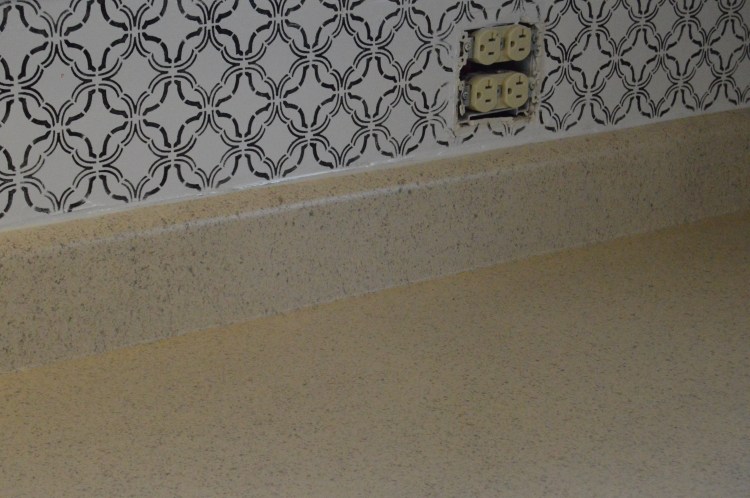
I chose this because our counters have a faux finish that is bumpy so I thought this would blend well. I really wanted to use a faux marble contact paper, but I thought the bumpy counters would ruin the look.
There are so many options for contact paper and so many places to find them. Home Depot, Lowes, Target, Walmart and Amazon are just a few places that sell contact paper.
Now onto the tutorial. Here are the items you will need for this job:
scissors
razor blade
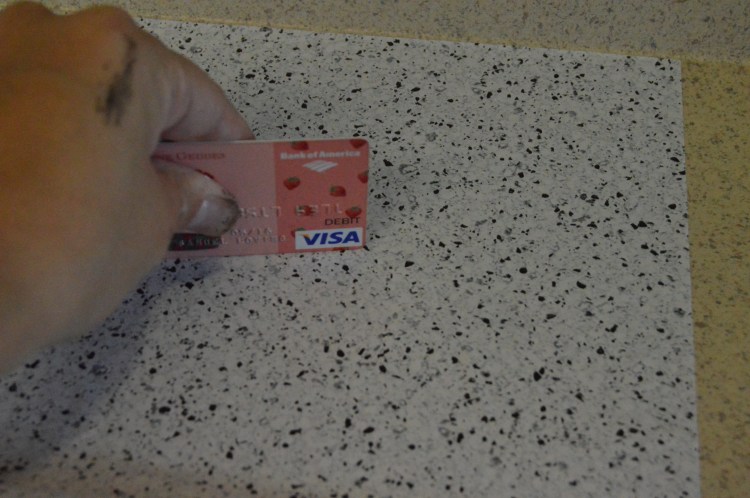
squeegee or credit card
removable contact paper
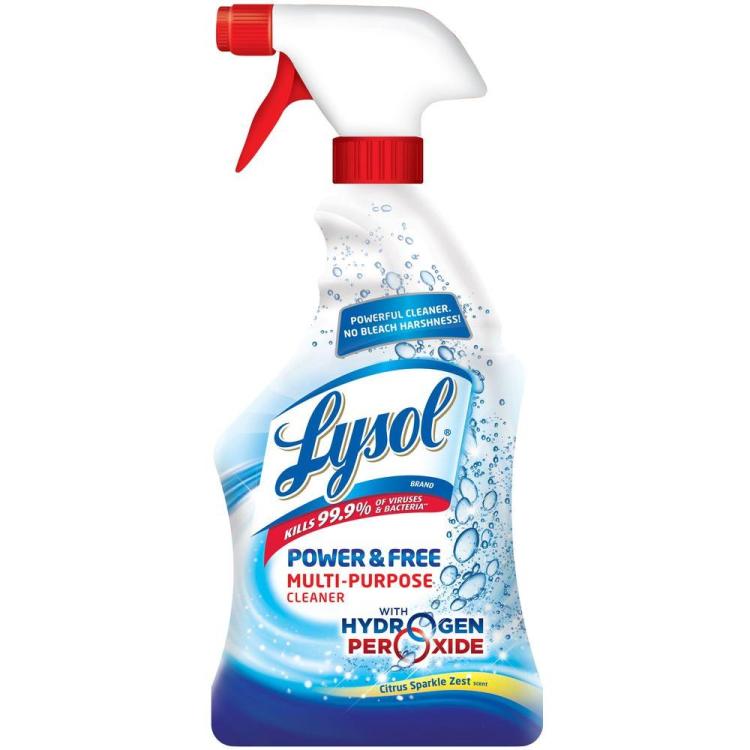
First, prep your counters. You will need to thoroughly clean your counters. Get all the grease and grime off before you start. I used this all purpose cleaner, then rinsed really well with hot water.
I did my counters in two pieces, first the main counter, then the backsplash. If you do one large piece for both, you’ll probably end up with large bubbles and it will be harder to keep it straight. I started with the main part, but it doesn’t matter which you choose to do first.
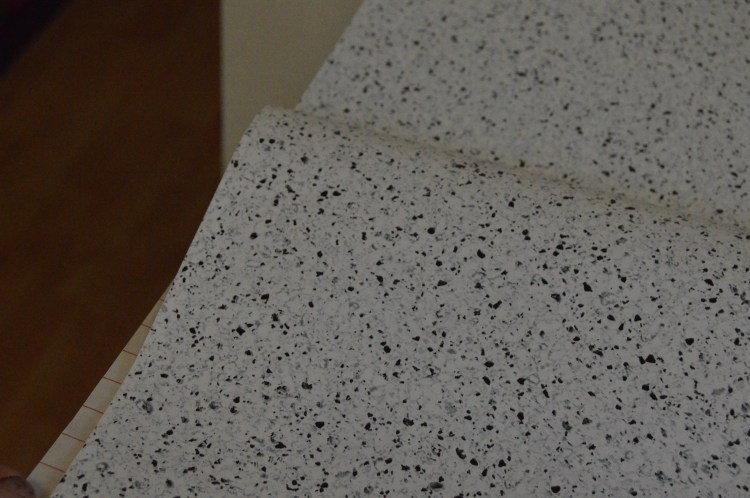
Measure and cut your first piece by using the grid marks on the back of the contact paper. Start by peeling just a few inches of the backing and lay down the first part evenly, then slowly peel the rest of the backing as you smooth it down. This will give you more control.
Use a credit card or squeegee to smooth out any bubbles or realign your paper. Remember, it’s temporary so feel free to peel and replace.
Trim your excess with a razor blade.
Overlap your next piece by about an 1/8″. You will barely notice the seem. As a matter of fact, you will probably be the only one who notices it. Repeat the same process with your backsplash.

Once you get to the sink just butt your pieces right up to the sink. I have had zero problems with water removing the adhesive.

Here is my before:
and after:
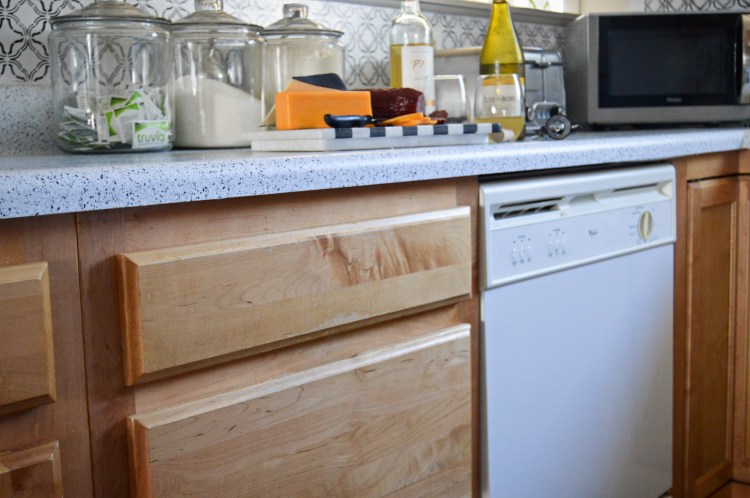
Now, I did this nearly a year ago so I can tell you how they’ve held up and they have held up great! I’ve had a few small pieces on the backsplash that don’t stick very well due to the faux finish that was sprayed onto the counters. It doesn’t bother me though because those spots don’t get any wear and tear. There were also a few stains from my husband’s obsessive Sriracha use and a couple tears from my heavy crockpot. I just cut a couple square patches to place directly over the stains and holes and it looks seamless. If you’re tired of your ugly counters, go ahead and try contact paper. You won’t regret it!

