
Good morning, y’all! By now,, some of you may be tired of working in the garden, but Fall is a great time to get some garden and outdoor projects done. I have a few transplanting and cleanup to do along with some fall planters I need to create. But today I want to share my biggest project from Spring.
You’ve probably noticed that most of my DIY efforts have shifted from indoors to out this year. I finished decorating all the rooms in the house, so it was time to get some dirt on my hands. You have seen glimpses of the pallet walkway and today I’m going to share with you how it came together.
I’ll start by saying, this wasn’t an original idea of mine. I am a major fan of Garden Answer on YouTube and Laura shared her pallet walkway and I fell in love. If you are a first time gardener or even a long time gardener, I highly suggest you check out her videos. They are very well produced and she is so knowledgeable. So, that is where I first saw the pallet walkway and knew it was perfect for me. As a renter, I always try to do budget friendly projects as well as projects that can be undone if when we move thr next renter doesn’t like it. I priced pavers and stones and it was always too much. Free pallet wood seemed like a much better option for me.
Jordan found a bunch and brought them home for me. Unfortunately, I forgot to photograph this phase of the project. He cut all the nails off with a reciprocating saw and then sorted out the good wood from the bad. Once he was finished, I was left with boards in varying sizes, which to me was precisely what I wanted. I think it adds to the whimsical look of this walkway.
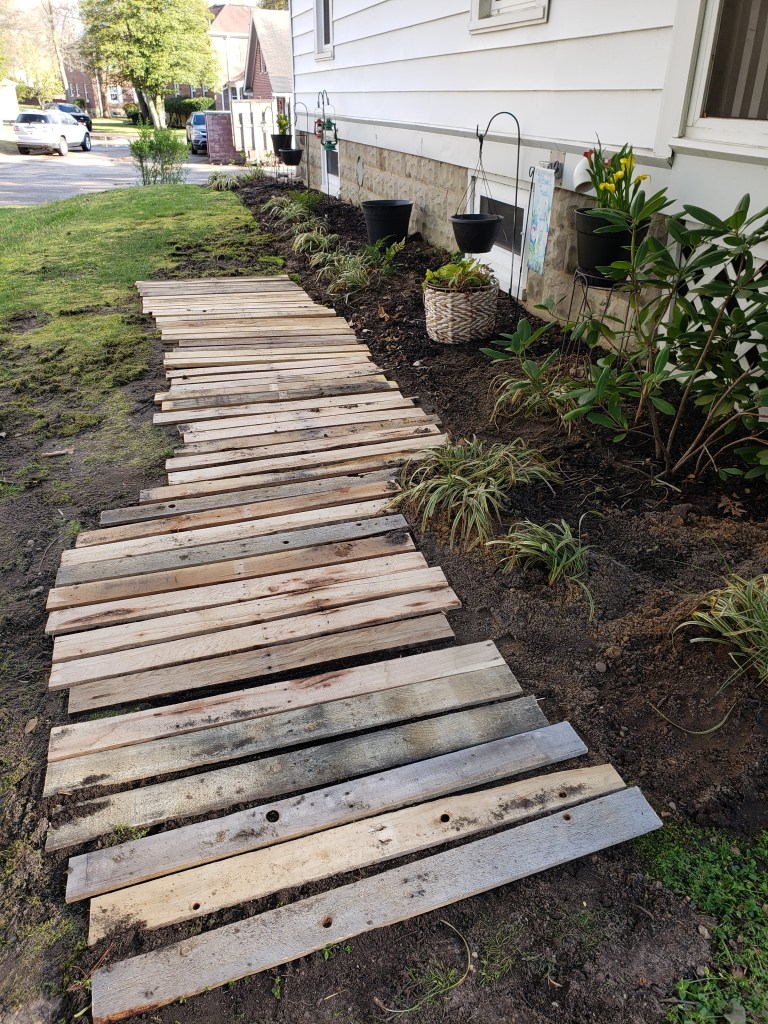
Originally, I was going to do as Laura did and secure each board down at either end with large landscape stakes, but when I started to price them, I quickly realized my free walkway would be a few hundred dollars 😕. So then I decided I would just lay them down and let them become one with the earth over time. Sometimes I’m not very bright, I’ll admit it and that was not one of my brightest ideas. That lasted about a week and I quickly realized the boards were a hazard as my kids were constantly tripping over them and flipping them.
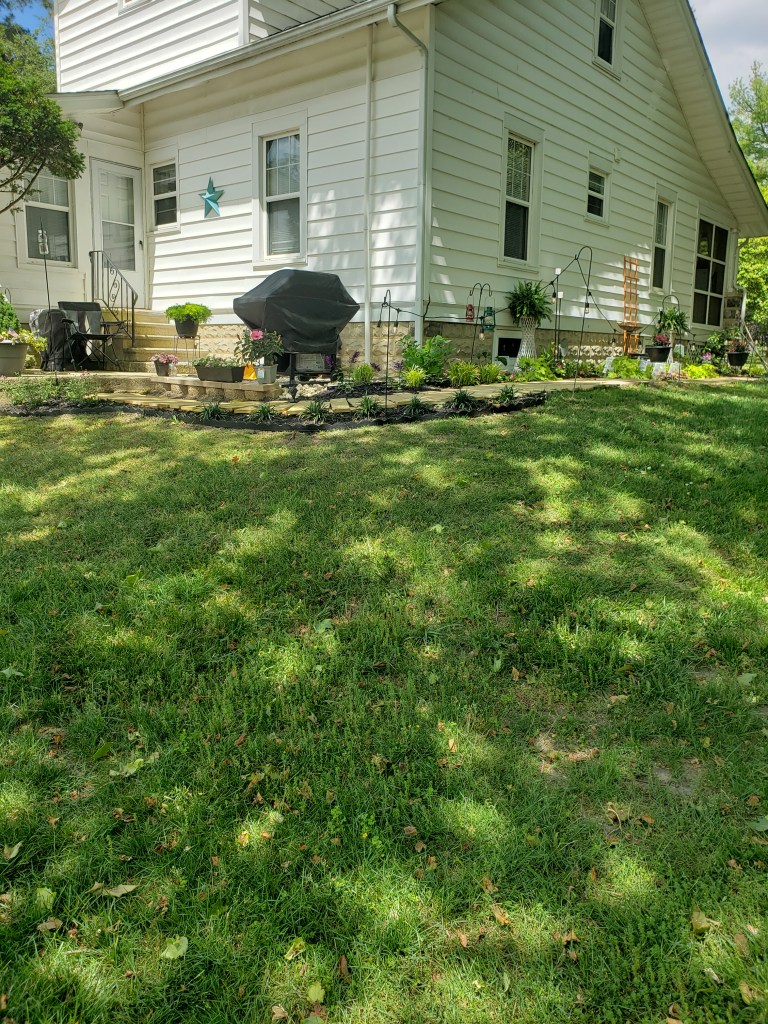
I also planned on ending the walkway here, which again, not my brightest idea. The point of this walkway was to address the awkward slope on this side of the house and make it easier to walk from the front to the back patio. The worst part of the slope was right where I ended the walkway. I needed to brainstorm ways to cost effectively make it sturdier and go all the way around. What I came up with was a way to utilize some of our wood stockpile from previous projects and a little more manual labor.
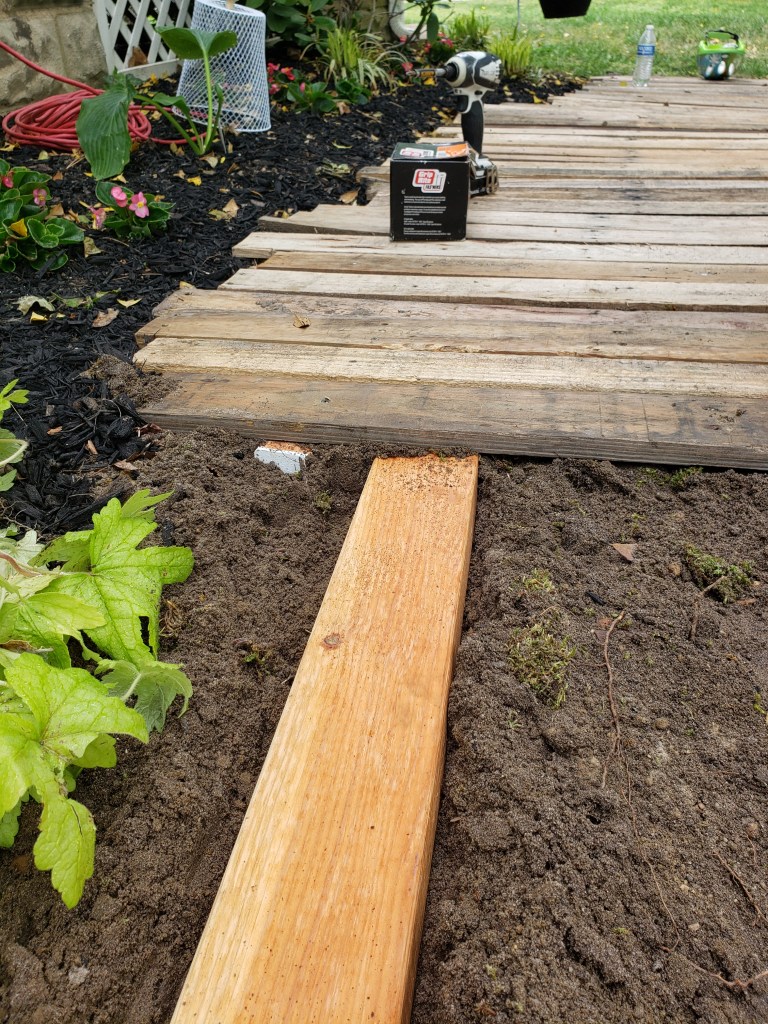
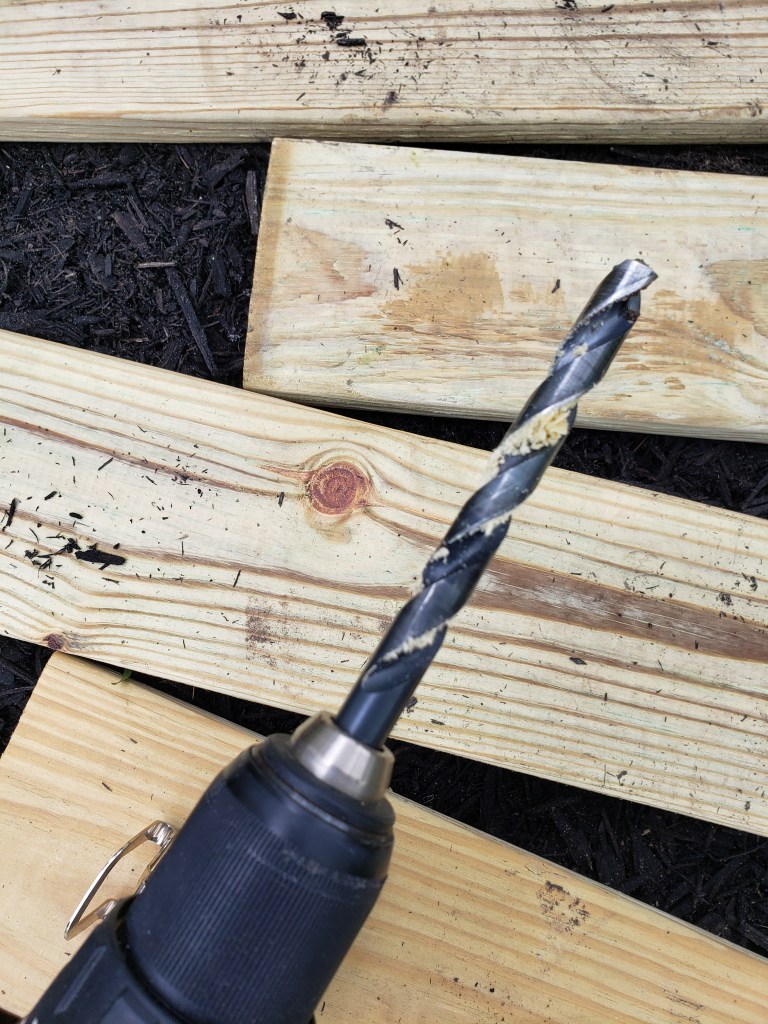
I dug trenches for 2x4s and made them level with the dirt and used wood screws to attach the pallet wood to them.
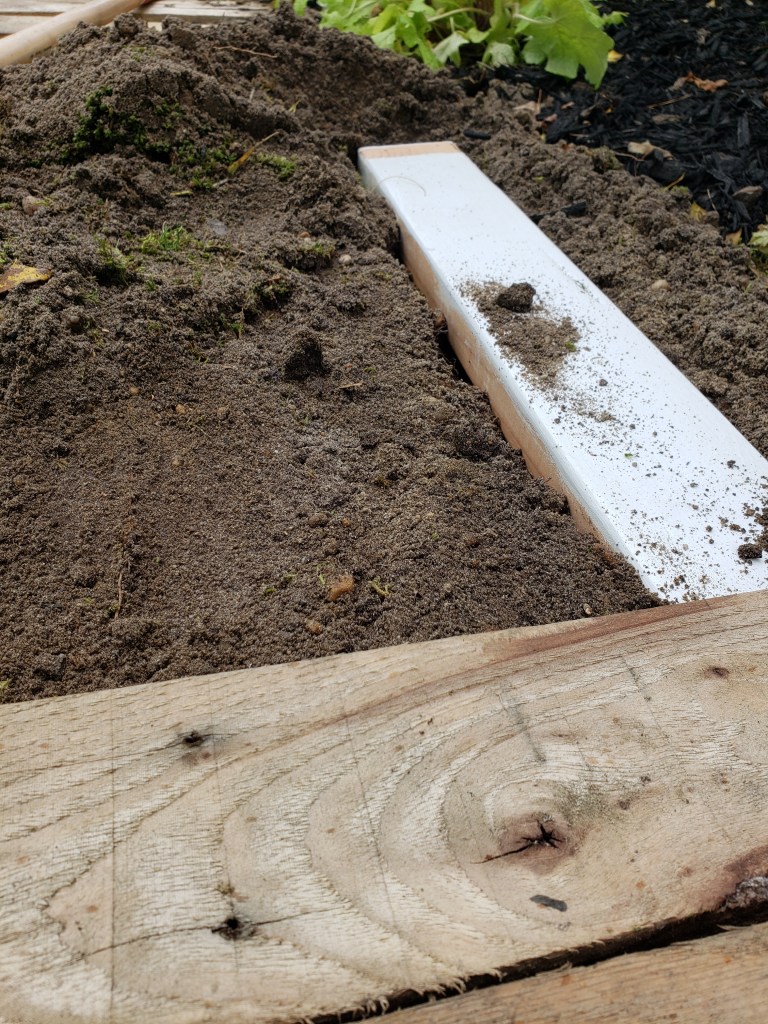
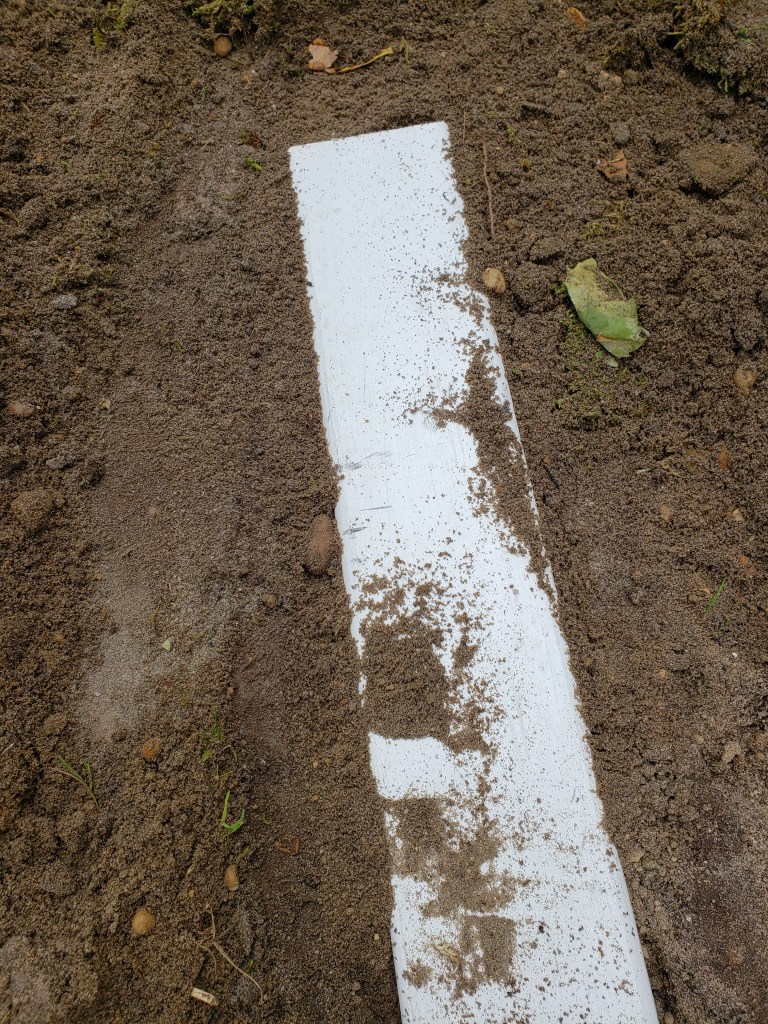
To adjust for the curves in the walkway, I moved the next set of 2x4s over to the left or right, depending on which way the curve moved. Shown above, you can see the new set of 2x4s is moved to the right a few inches from where the previous were. I was able to then attach the next set of pallet wood over slightly to the right.
Once I got all the pallet wood laid down and attached to the 2x4s, I had to rack my tiny brain again to figure out how I was going to wrap the walkway all the way around to the patio and make it level on the worst part of the slope. I decided to use only one 2×4 on the low side to make it more level. Now, I say more because in the end it wasn’t completely. My husband explained this was a good thing though because it would allow any water on the walkway to wash away from the house. I told him, Duh, I knew that already and that’s why I did it that way 😏🤫. I also went to Lowes to grab decking boards for this because they are much sturdier than pallet wood and at that point I was sure Jordan was tired of tearing apart pallets for me 🤣.
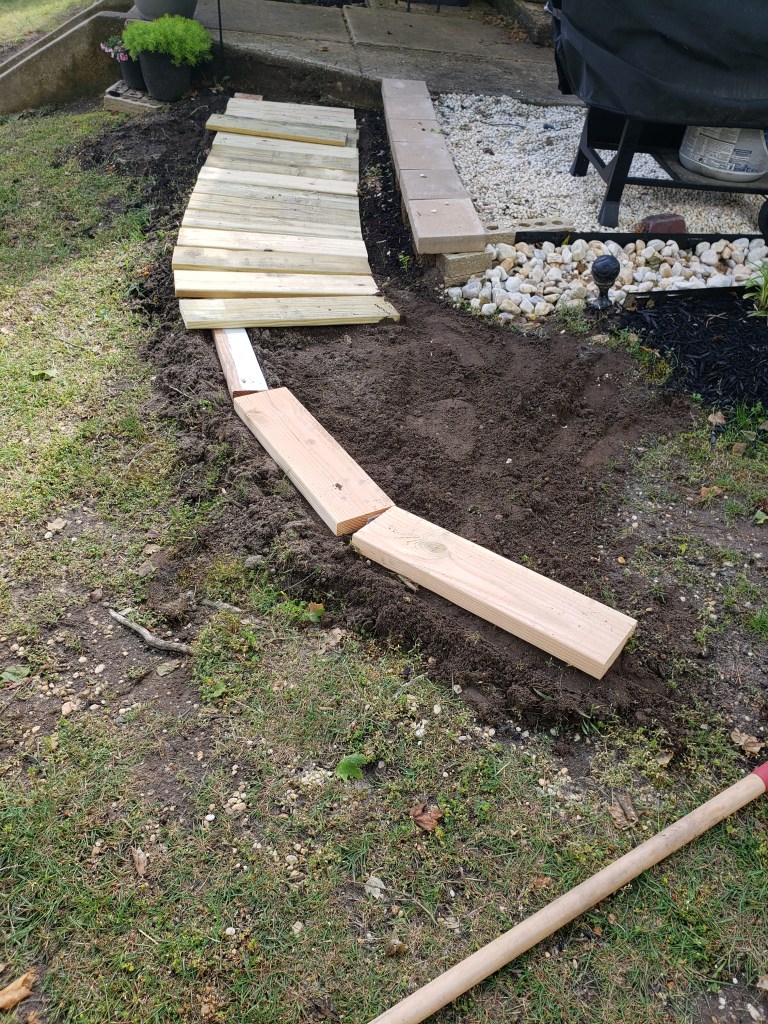
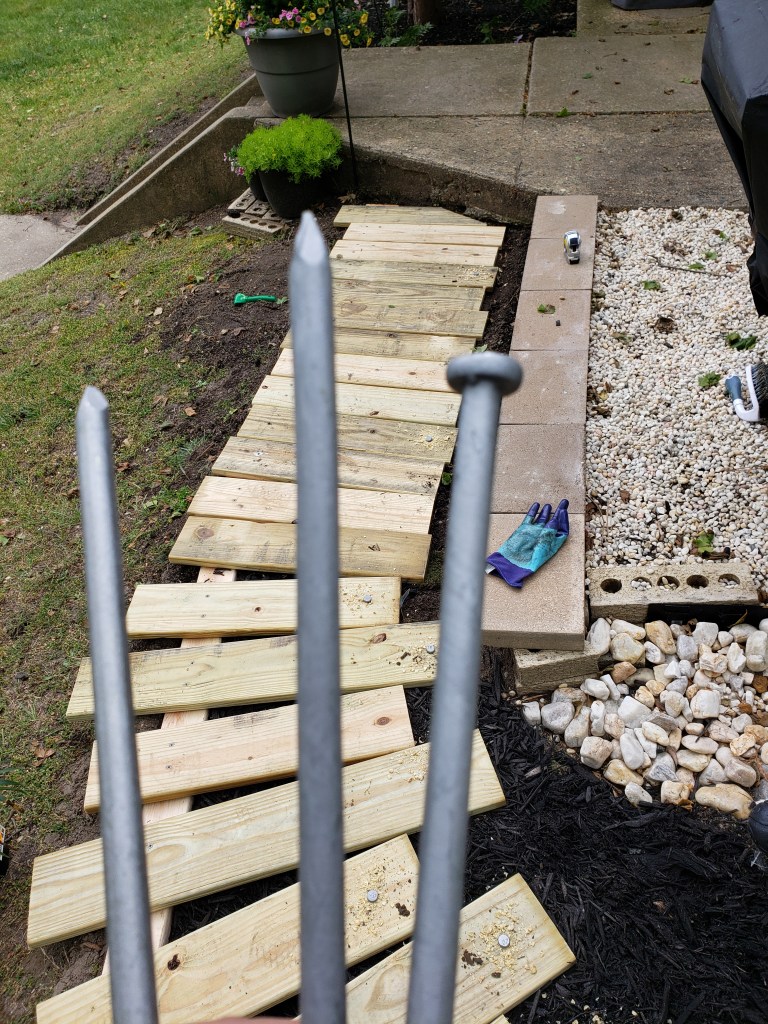
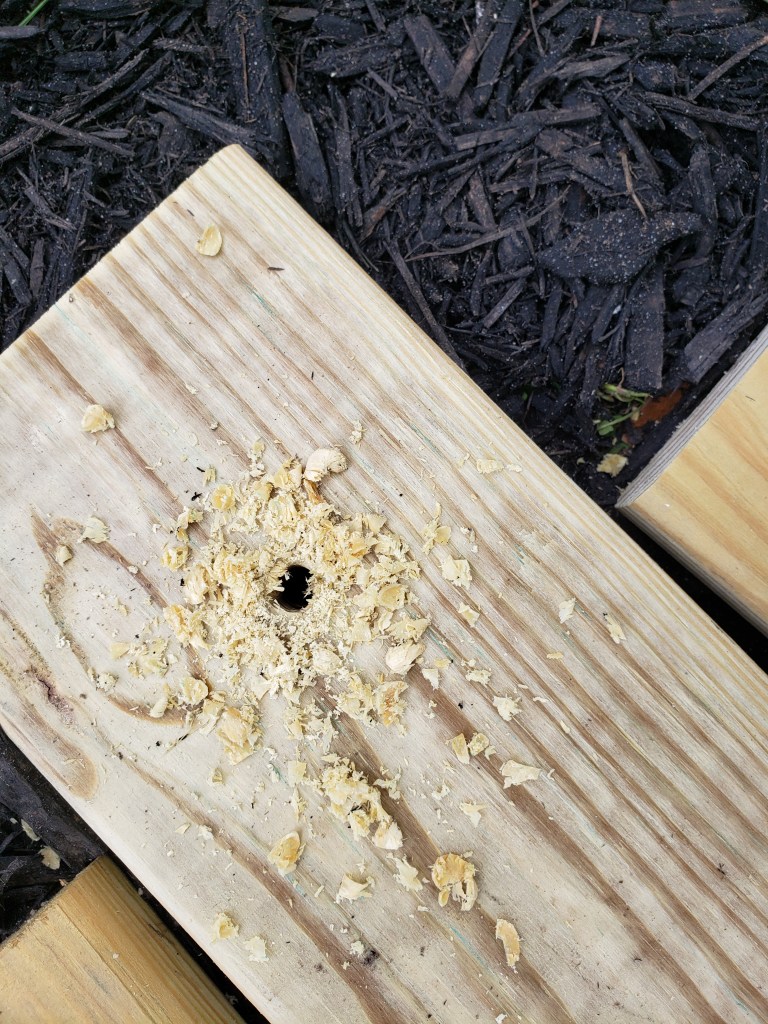
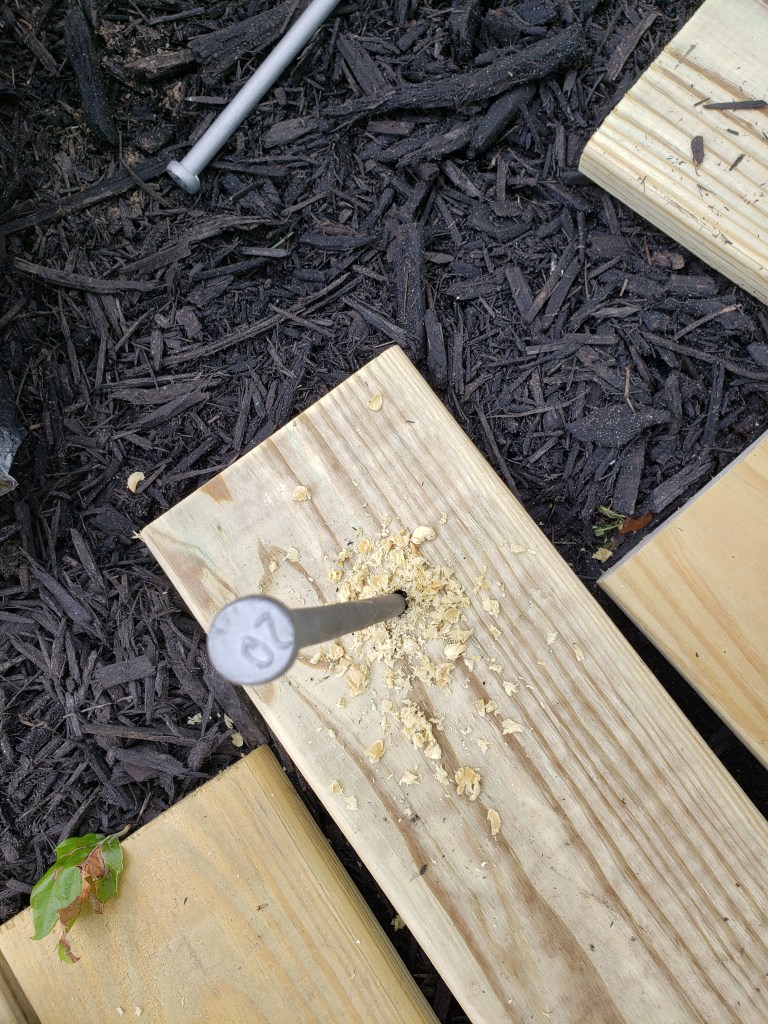
I used smaller pieces of 2x4s to make the sharp turn around the corner. (Yes, some of those are 2x6s. Not for any particular reason, other than as I told you before, I was using leftover wood from our stockpile.) I used more wood screws to attach the the boards to the 2x4s and then drilled holes on the other side for 10″ landscape stakes. The stakes help keep the boards from moving as we walk on them, but they aren’t as stable as the wood screws.
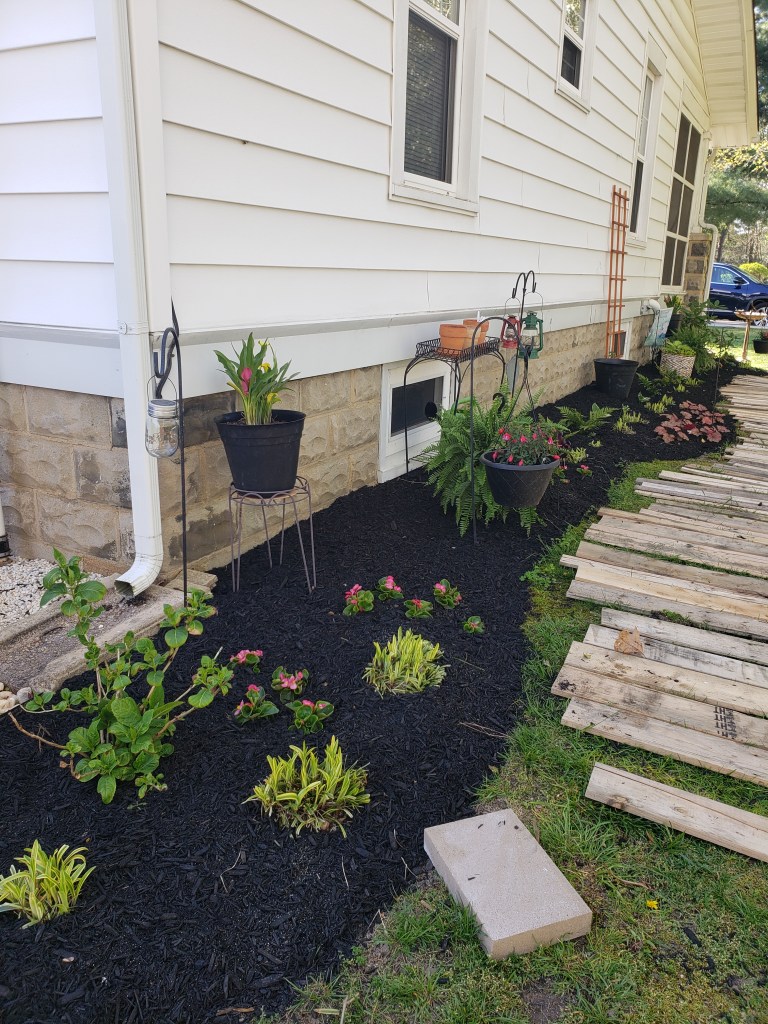
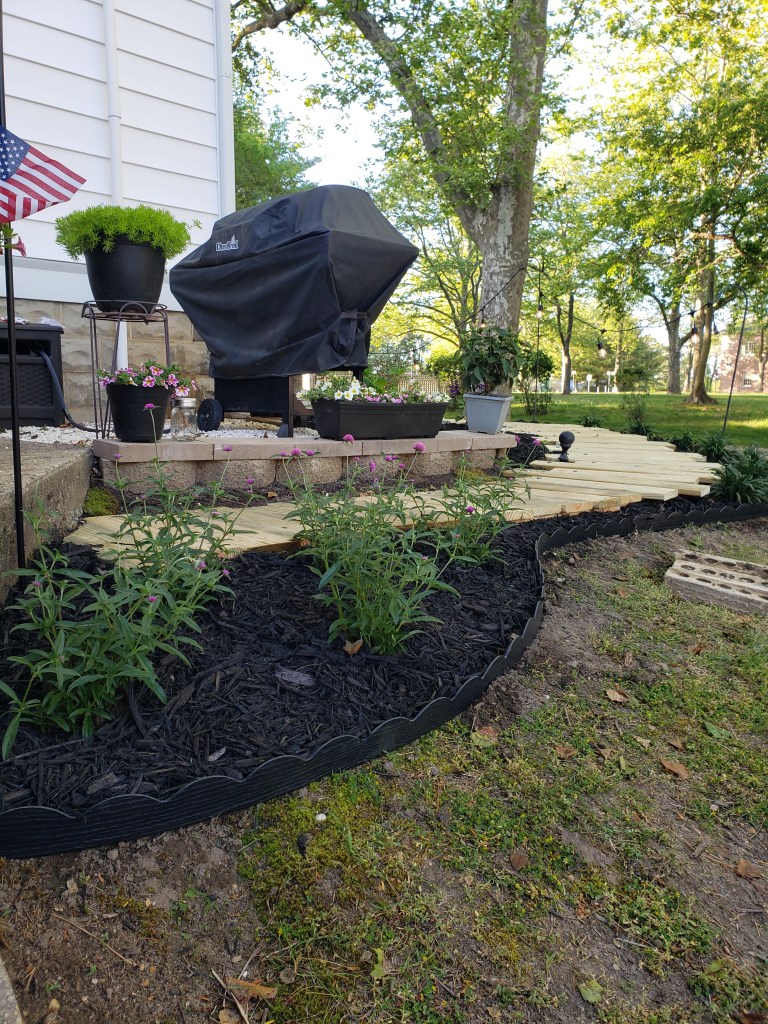
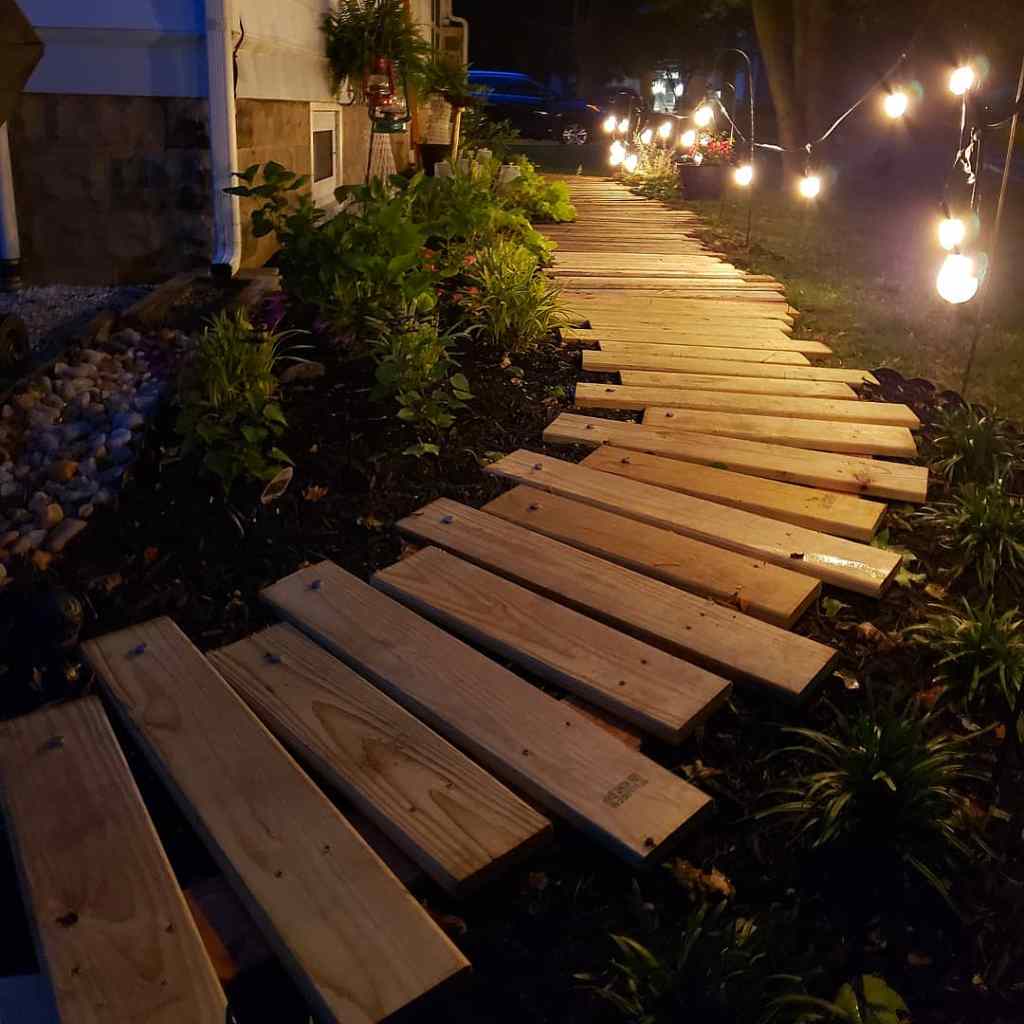
And because I was using new wood in this area, I cut and laid it in different lengths, so it would flow with the mismatched pallet wood.
I think that helped the transition from new to old nicely.
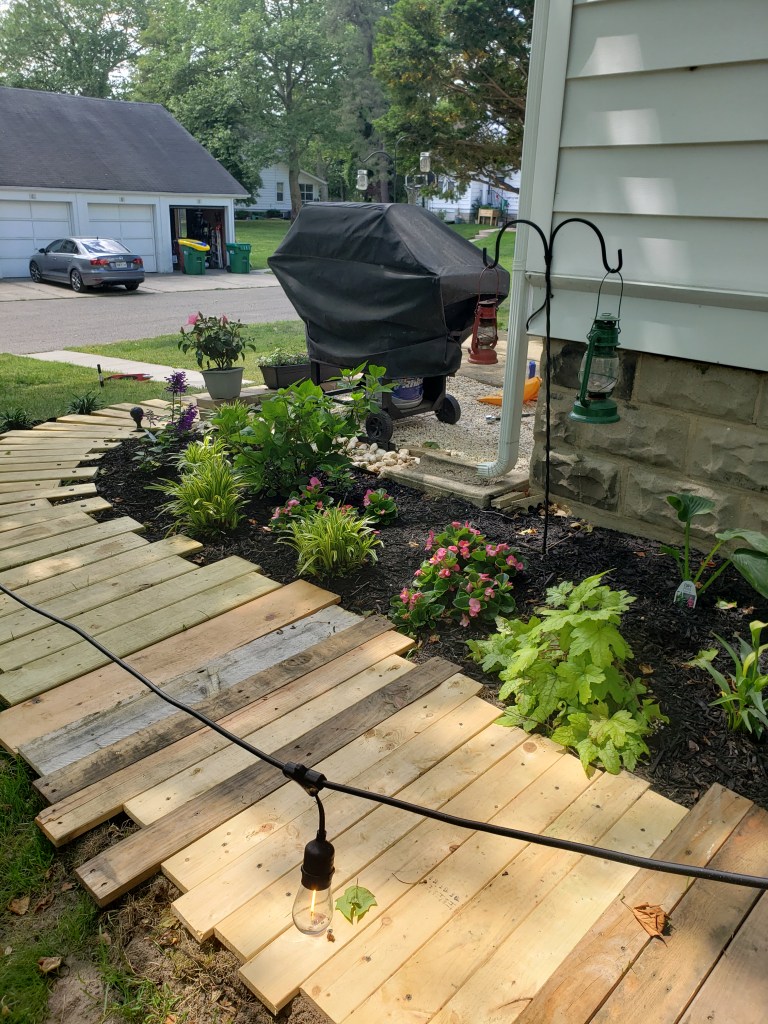
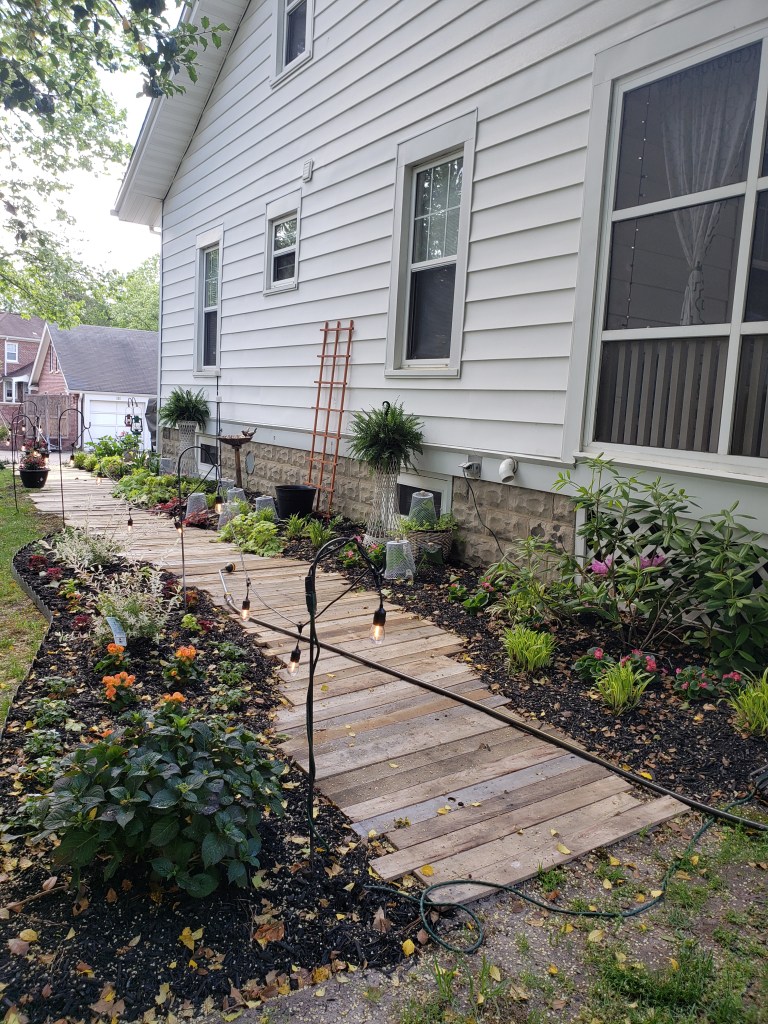
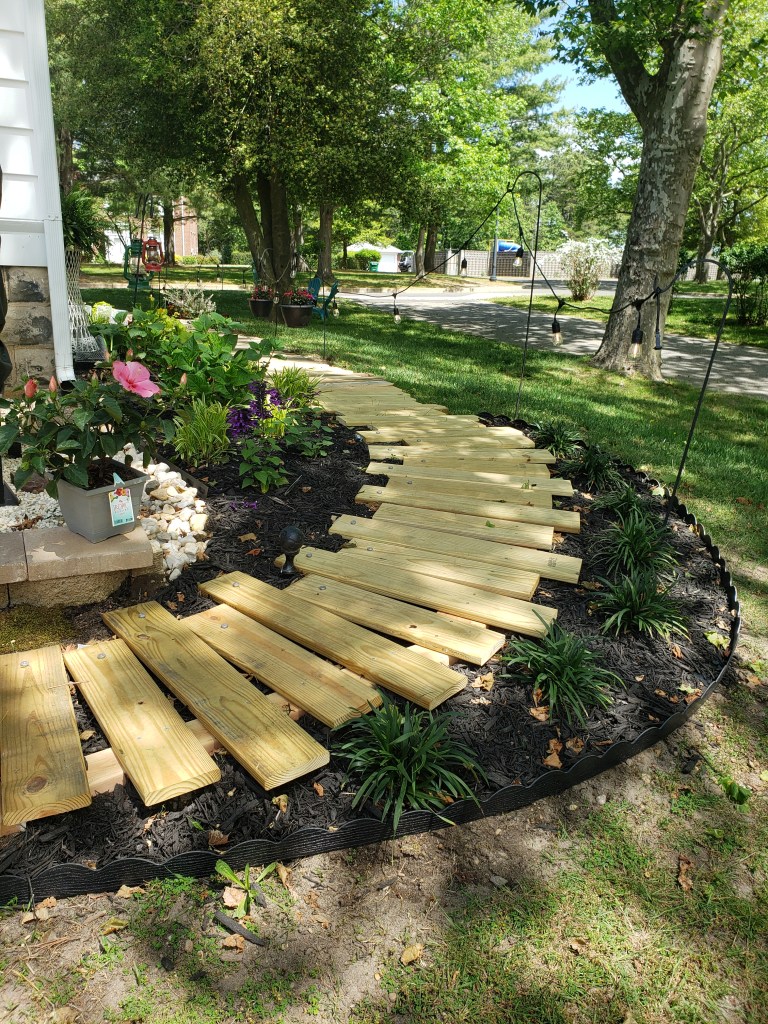
I added some new planting around the walkway to make it look like it was always meant to be there.
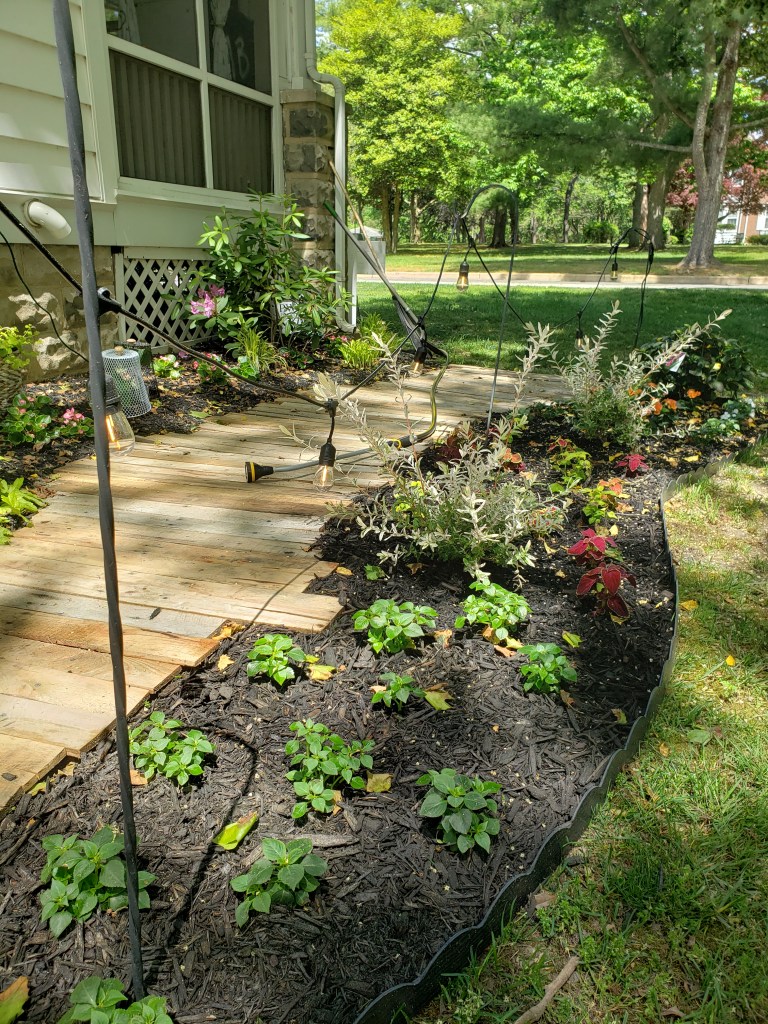
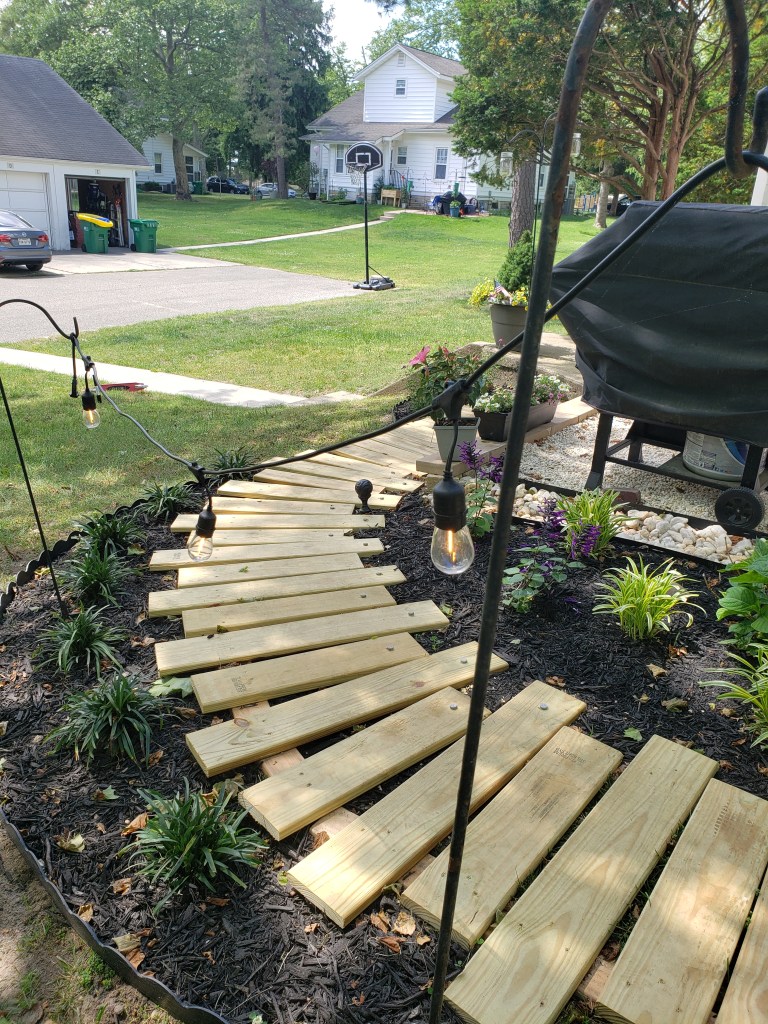
Finally, I hung some cafe lights from shepards hooks to light the way at night and the effect was magical.
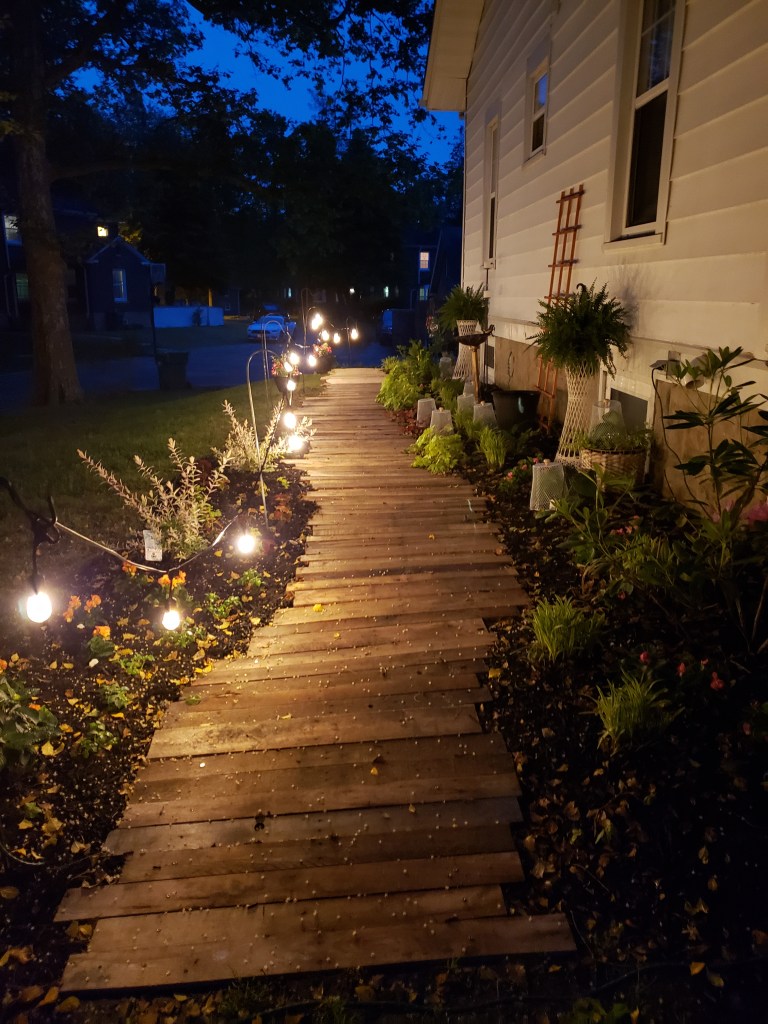
My little ones call this the fairy garden and I think that describes it perfectly. If you love this project and try it yourself, I’d love to see it!


I love the wooden path look. I have been working on the same idea in my garden too. I have been working on my path in stages depending on the lengths of the planks I anchor the pallet pieces to. I chose to screw the planks to the support so that if one gets damaged or splits or rots I can unscrew that piece and replace it.
LikeLiked by 1 person