Good Morning Everyone! I’m finally sharing my Ikea Tarva dresser makeover for the living room storage. As soon as we moved in I knew that I wanted some sort of storage to flank the sides of the fireplace. I looked at thrift stores first because I wanted something a little older that would fit in with the house, without a high price tag. But, if you’re a frequent thrifter like myself, you know that finding matching dressers in the exact same size, color and shape in a thrift store is no easy task. Needless to say, I came up empty. As a matter of fact, I came up empty almost everywhere I looked. Walmart and Target have great prices, but they’re furniture doesn’t last long in this house full of kiddos and all the furniture stores were way out of my price range. Then, one night as I was rocking Olivia to sleep in her room, it dawned on me that I could just steel her little Ikea Tarva dresser and stain it to fit my particular look.

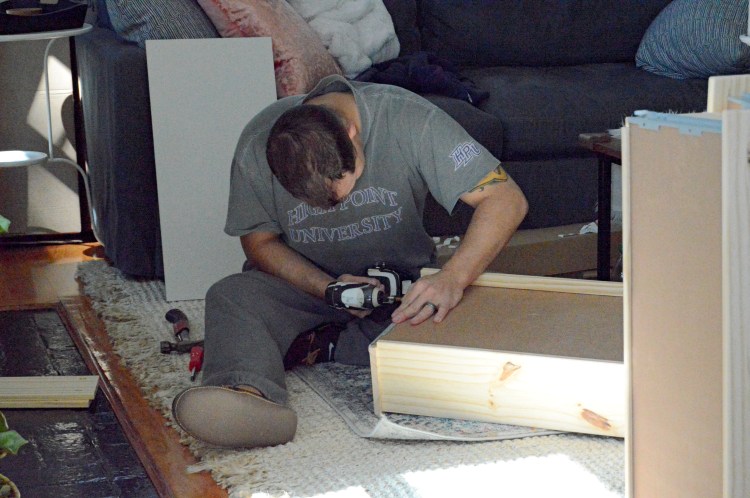
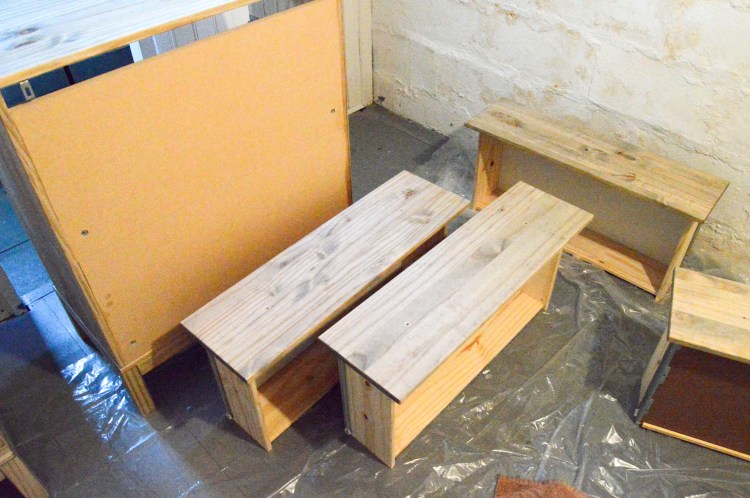
These are great dressers, y’all. They are solid wood and you can paint or stain them however you want. They come unassembled with easy to read instructions.
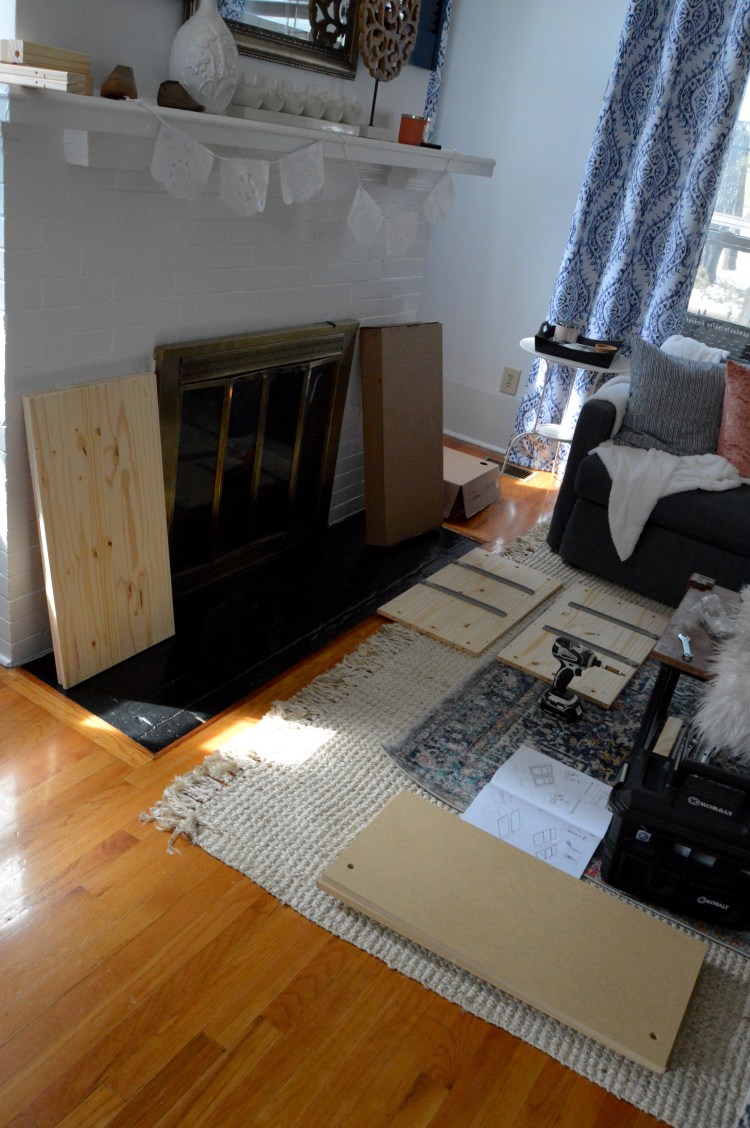
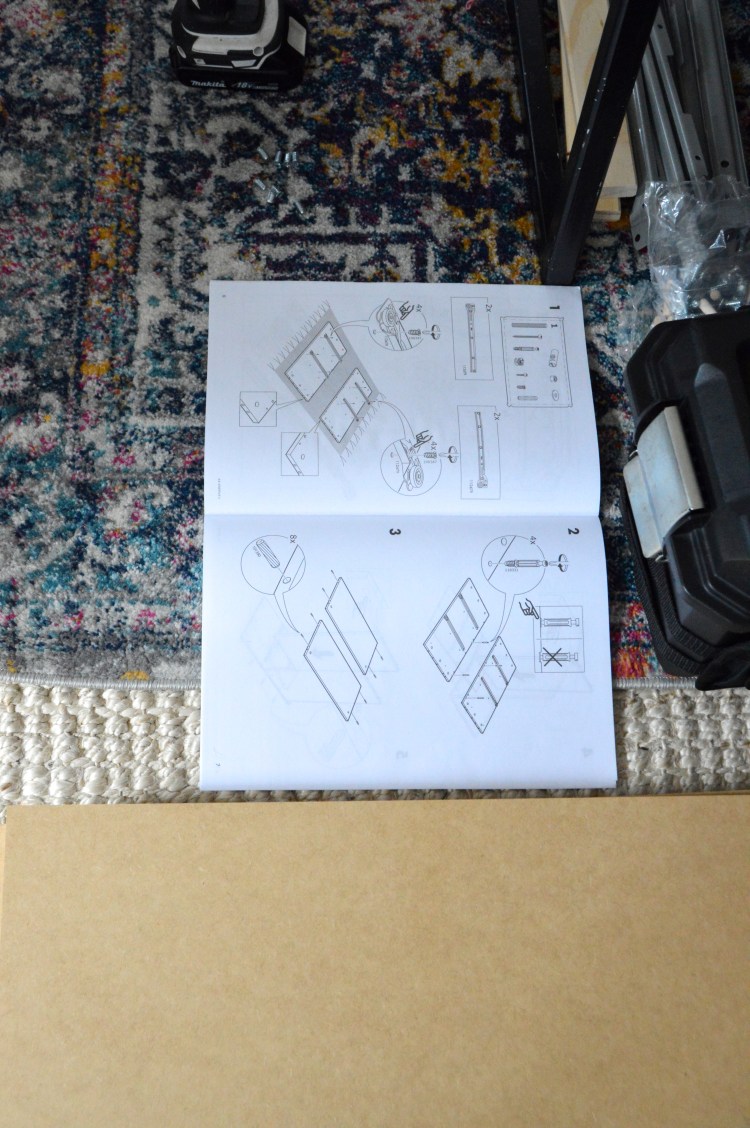
All you need to do is convince your husband to put it together for you on his day off 😉 (sweatpants and slippers optional).
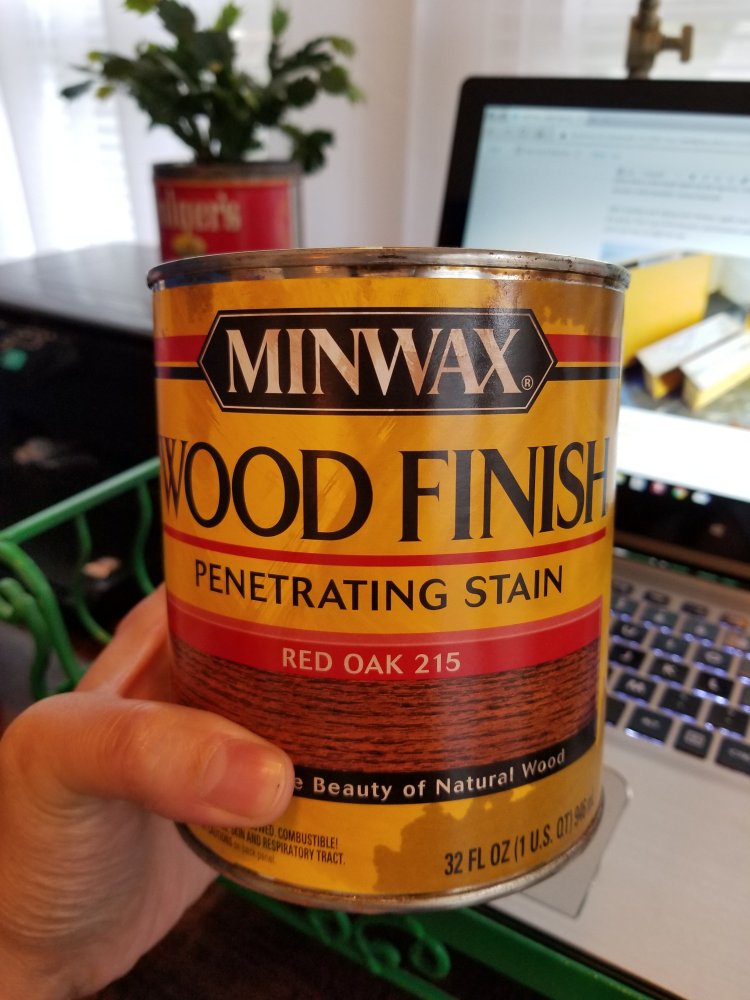
To achieve the older finish I wanted I used Weather Oak and Red Oak Minwax stains. I got them both at Lowes.
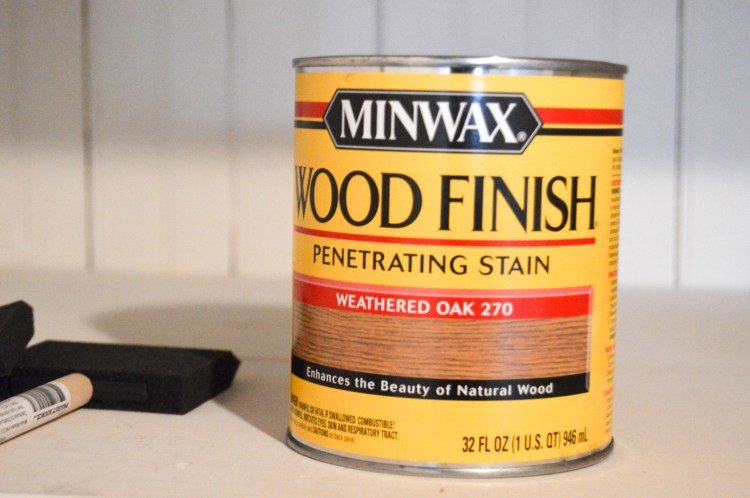
You will need to apply each coat separately. I started first with the Weathered Oak. I applied using foam brushes and a stain pad, but ultimately ended up using an old rag because I can apply the stain with more control than the pad, which is thick and awkward to dunk into the can of stain. Here is the dresser with only the weathered oak.
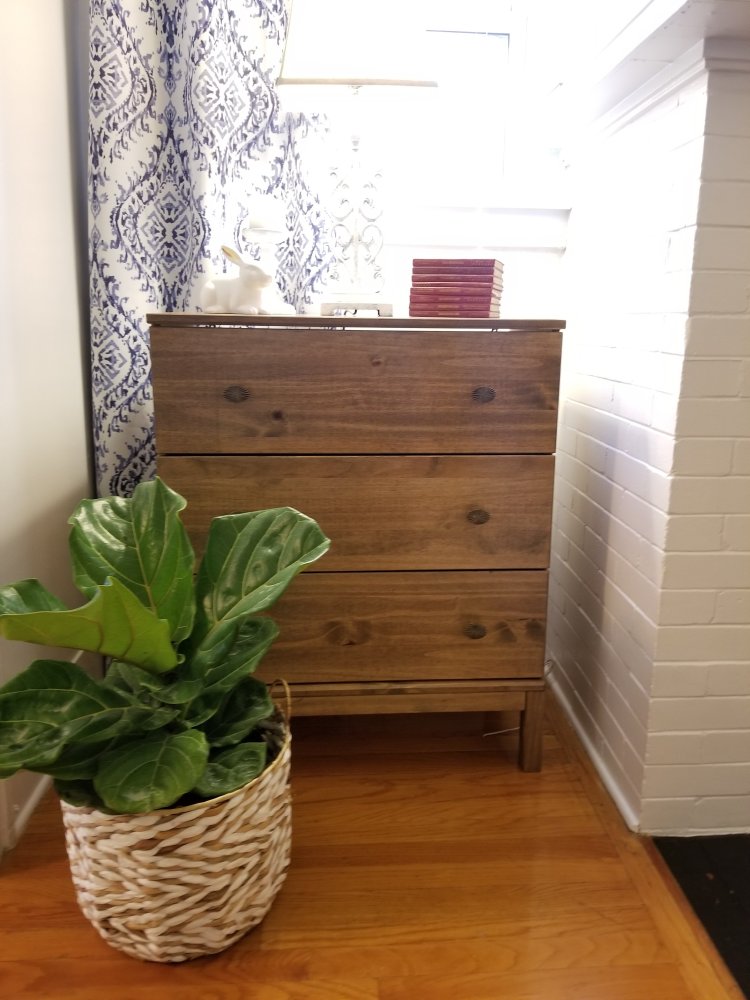
You can see that it looks really grey. That’s not exactly what I wanted. So, after 24 hours I added a coat of Red Oak.
I applied it the same way I did the Weathered Oak. As soon as I got the first drawer complete, I knew it was much better.
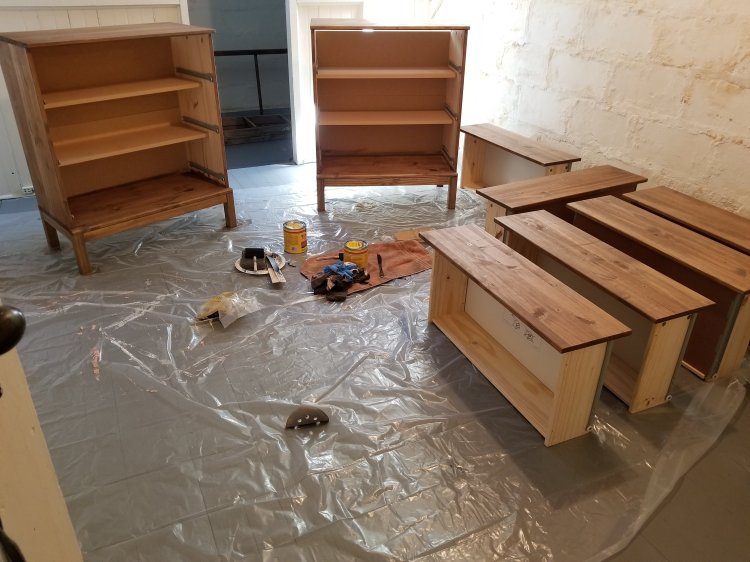
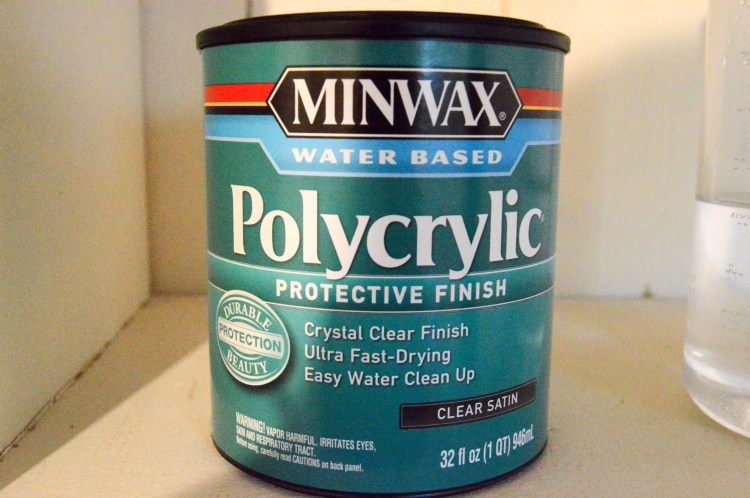
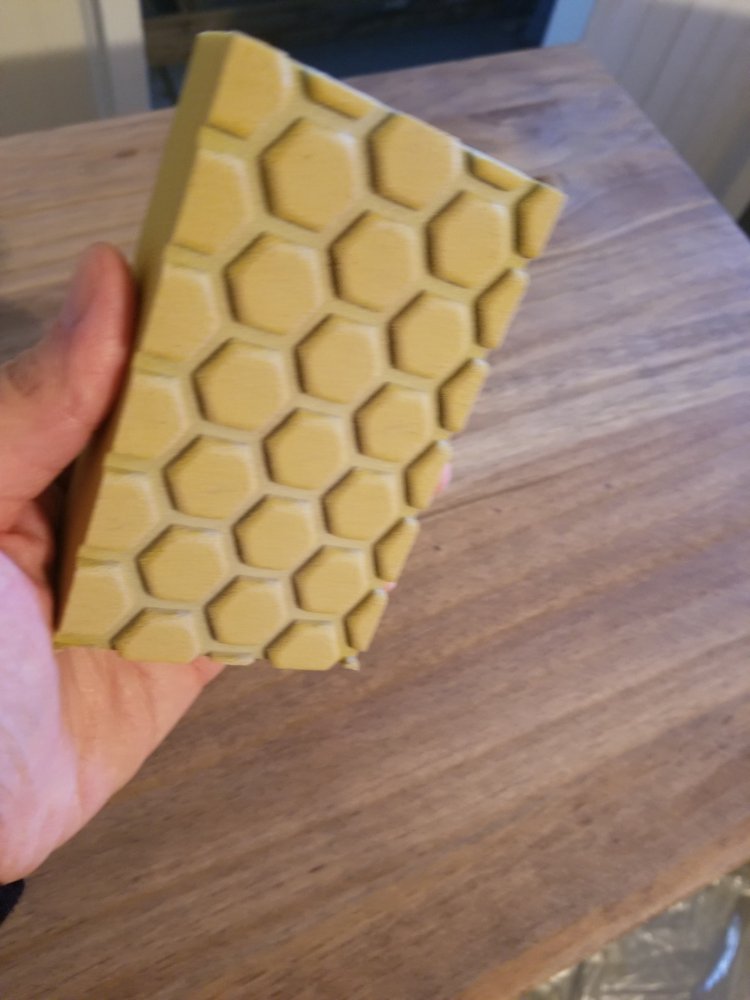
It looks warmer, but still weathered, exactly what I wanted. After the dressers dried for another full 24 hours, I applied top coat of Polycrylic, using the fam brushes. (I use foam rather than a regular paint brush because sometimes the hairs of the brush fall off) I did this 3 times, waiting 24hrs between each coat and lightly sanding before the next. (use a fine grit sand paper 220)
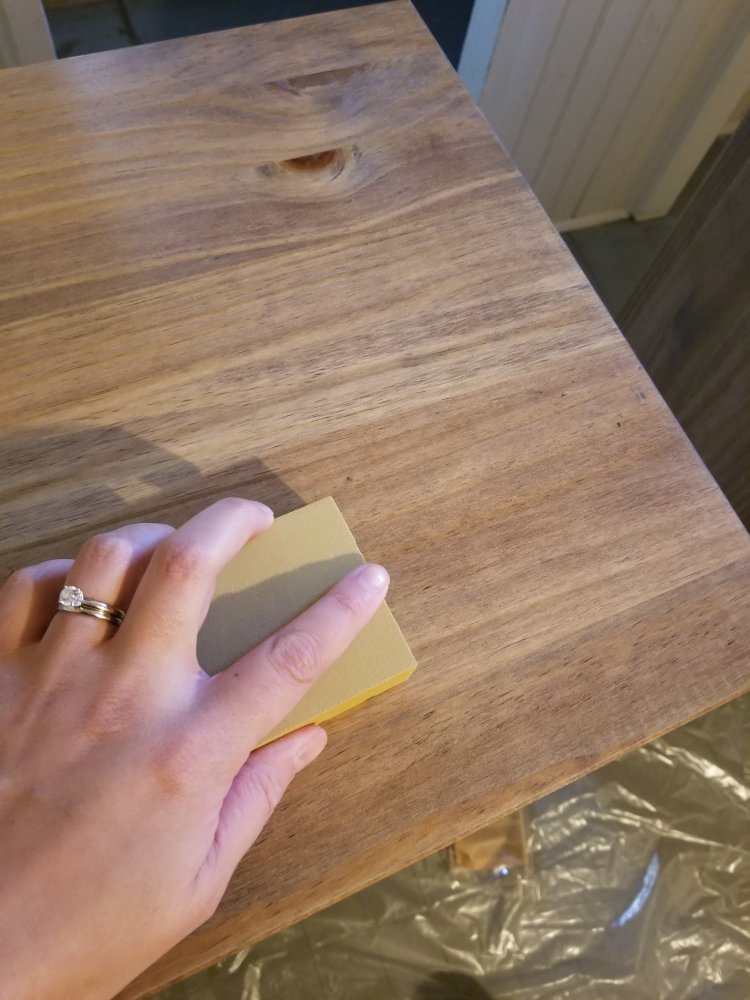
I always like to give it a good 48 hours to dry after the final coat because with little kids, you want to be sure it will withstand any wear and tear before bringing it into the line of fire.
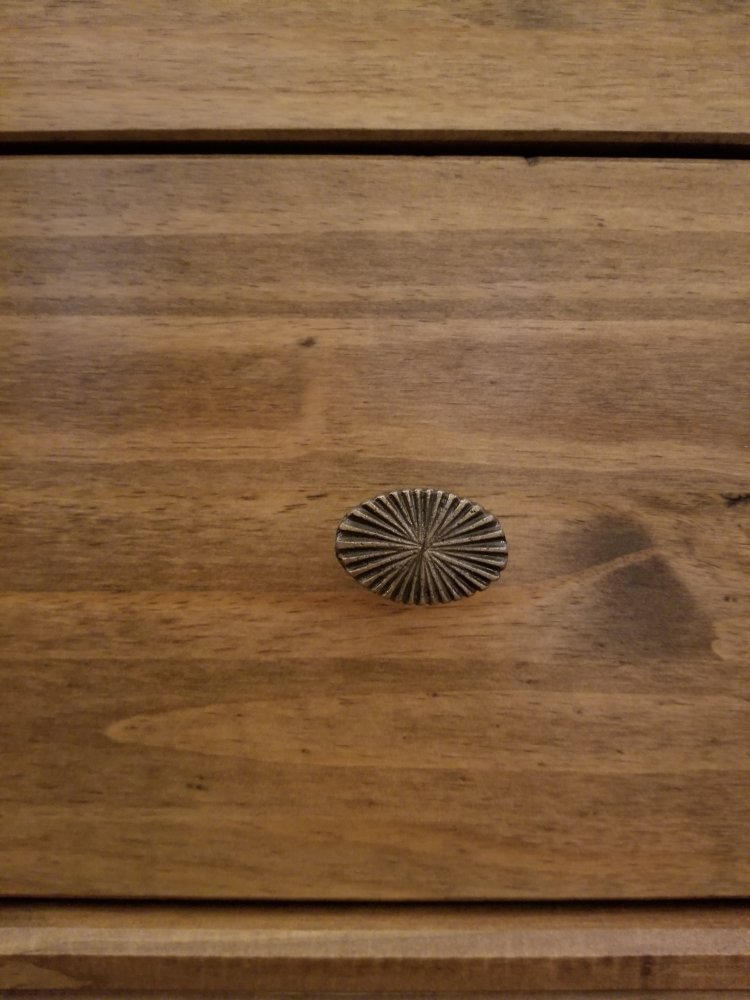
I finished the dressers off with some hardware from Homegoods.
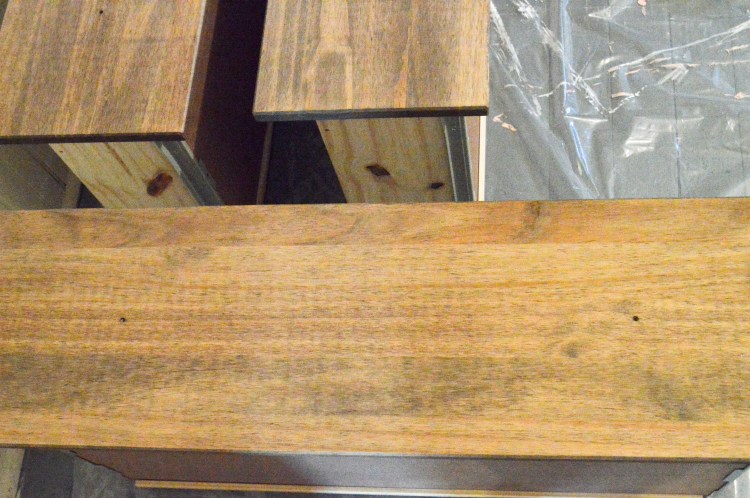
The final result is this warm red oak stain that looks a little weathered. It makes them look a little less like a brand new piece of furniture.

Mixing stains is a great way to achieve a look that is all your own. Happy staining everyone!

