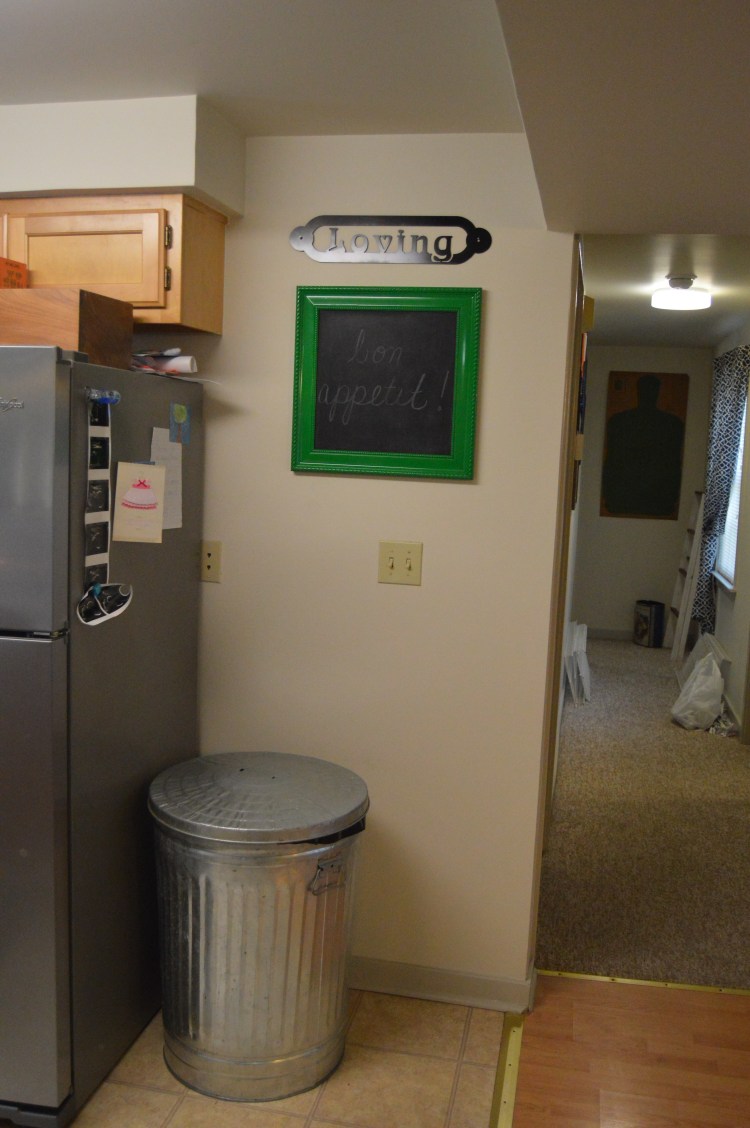
I have always wanted a chalkboard wall. I had to refrain at our last house for obvious reasons, but now I don’t have to worry about big renovations or pleasing buyers so I can do as I please (so long as my landlord says so lol). Luckily for me, I can paint all I want. So I decided to finally give myself a chalkboard wall. I put it in the kitchen because I had a nice spot and I figure I can use it to make grocery lists, school schedules, etc. It’s a perfect spot.
So let’s get to it. The first thing you will need is your paint. I got mine at Lowes, but you can find other brands at Home Depot, Target and Walmart.

Take off any outlet covers and patch any large holes( I didn’t have to worry about this). Tape off the wall well. Obviously the paint is black so any bleeds will be pretty obvious.
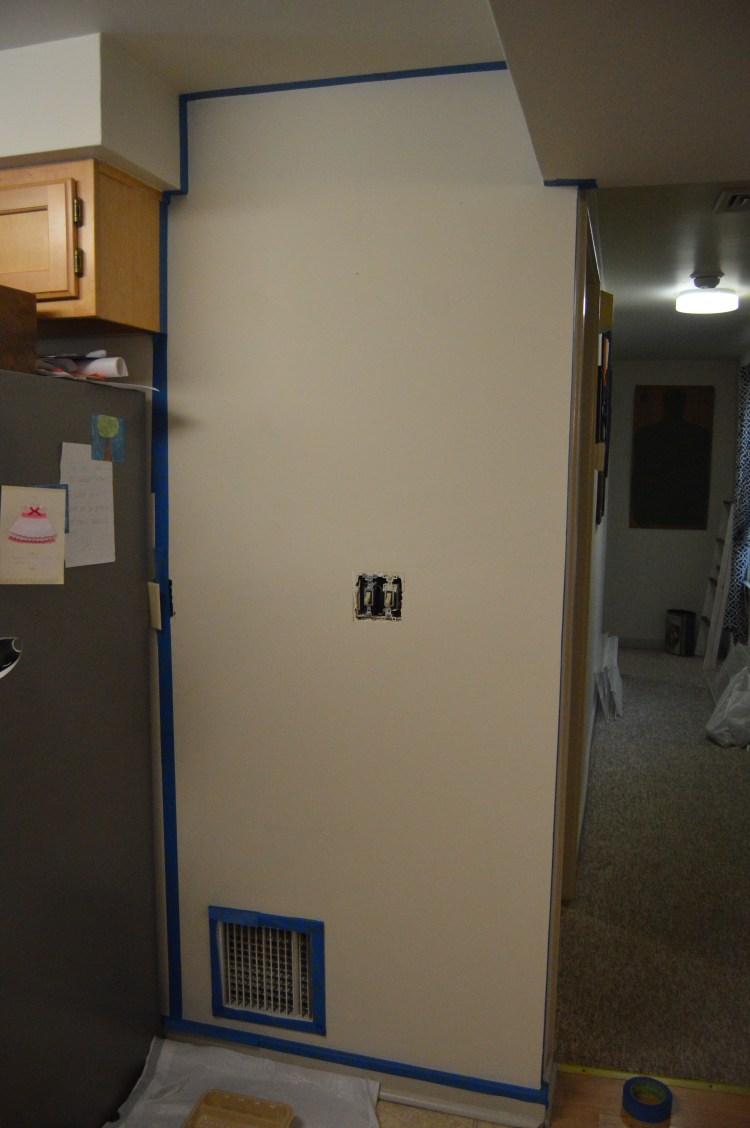
You’ll need the typical painting tools, a sponge roller and a tray. (I don’t have pictures for you, but I’m sure most novice DIYers are family with a paint roller ;-P )
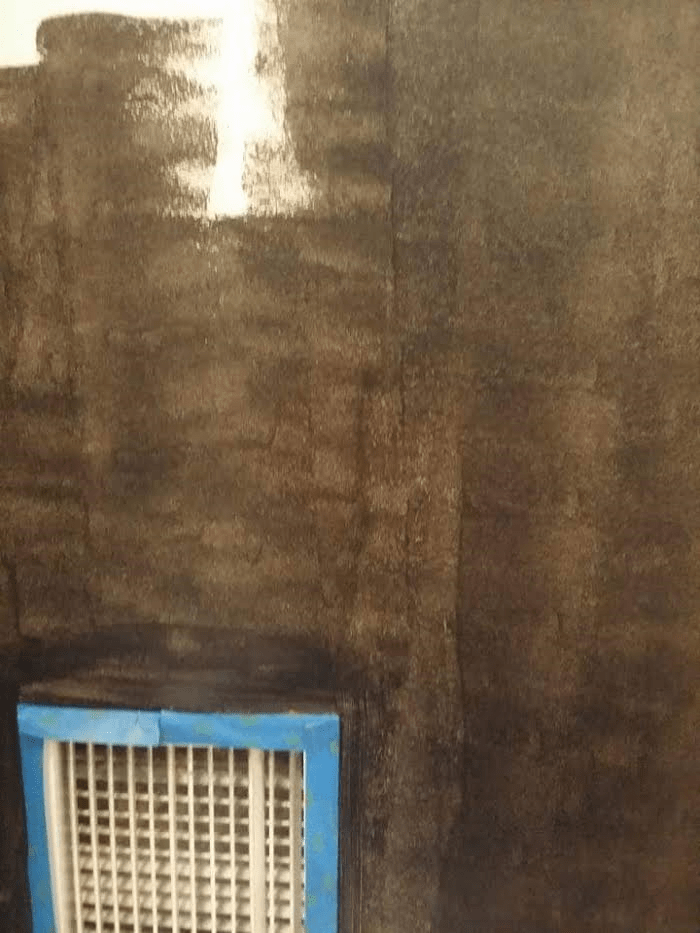
Give your wall a good coat and let it dry before you add one more coat. I only needed two, but if you think you need another, you go right ahead.
Once you’ve let it dry (24 hrs minimum), you need to prime your board. This is where a lot of kids will come in handy, so if you’ve birthed em, use em. Take a piece of chalk, turn it on it’s side and rub it all over your chalkboard. You’ll go through quite a few pieces of chalk.


Make sure you get the whole board rubbed down. Then erase it all. Priming the board will prevent your first chalkboard drawing from staining the board. This is a mistake I have made with smaller boards I’ve made in the past.
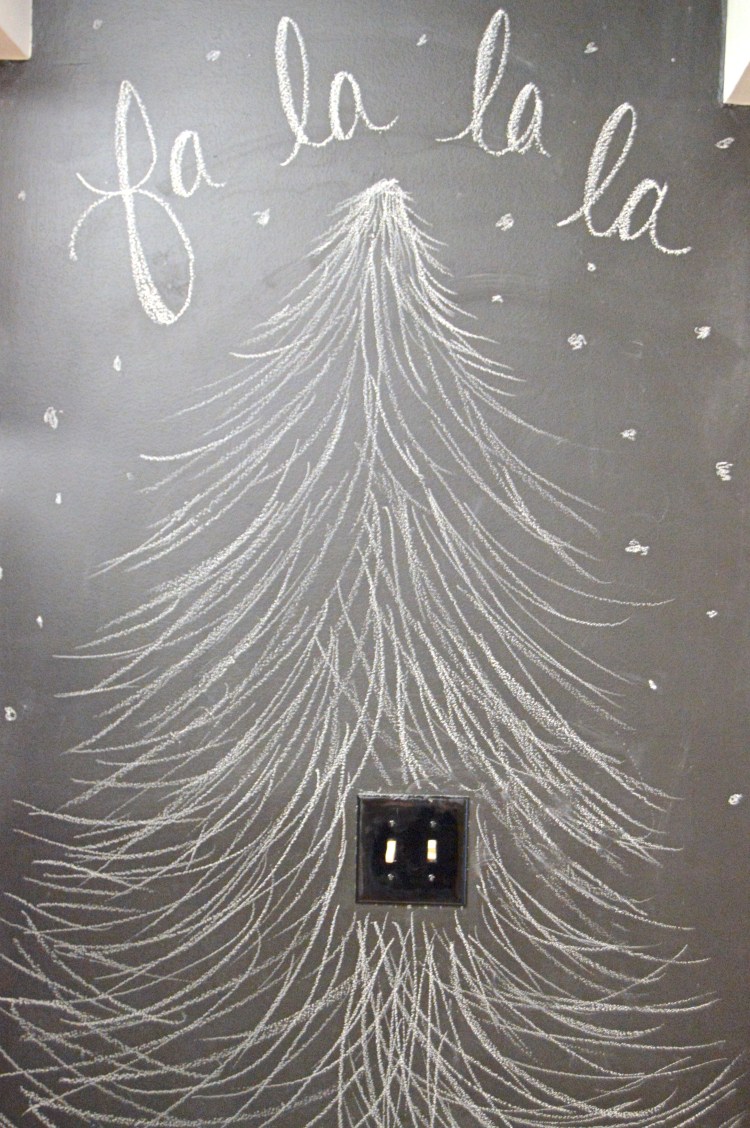
And that’s it folks, your board is ready!
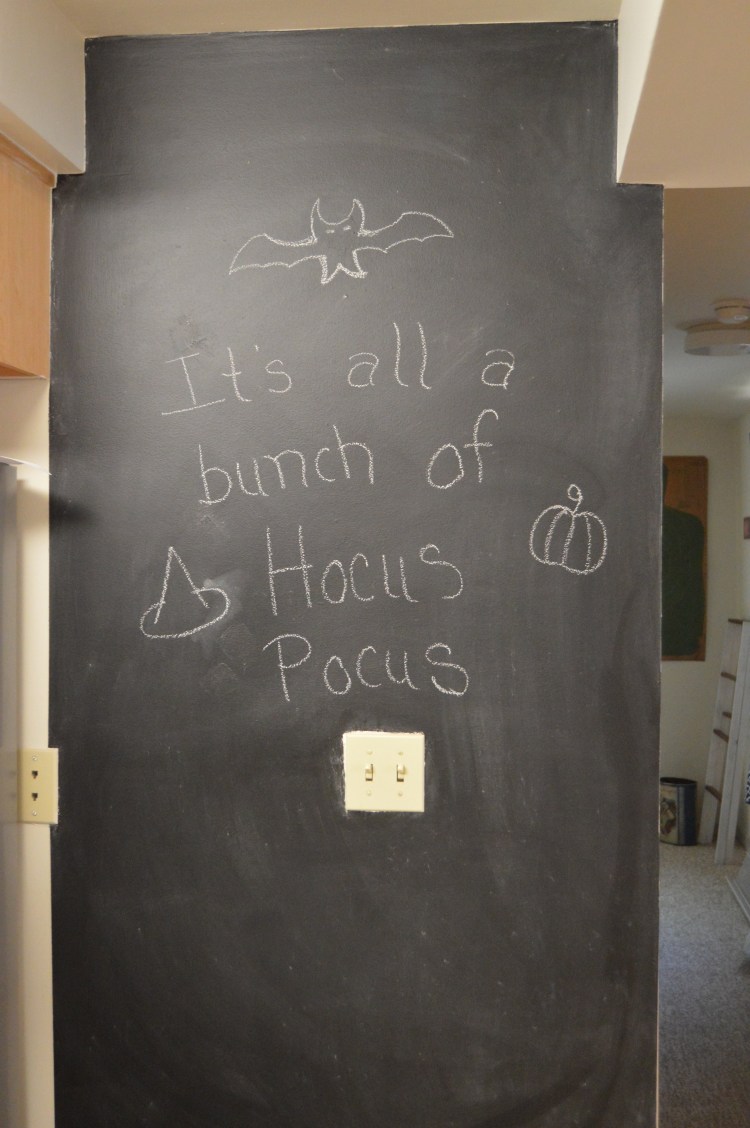
My girls love drawing on it and changing it up for the seasons.


Looks great
LikeLiked by 1 person