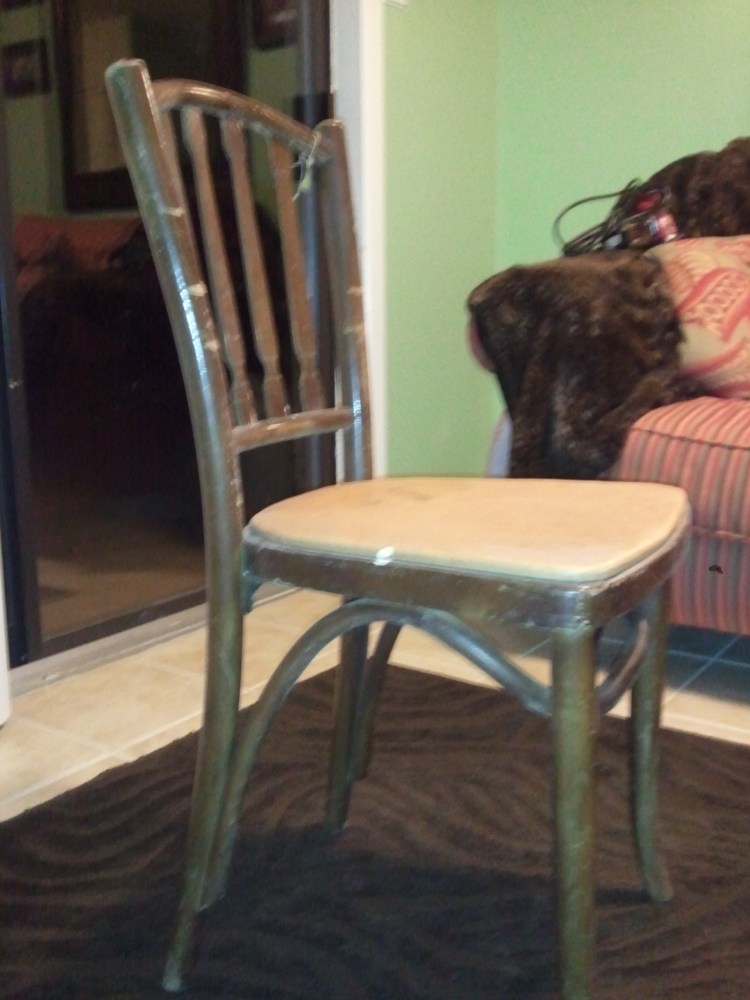
I’ve had these chairs for many years now. I found them in the attic of an antique store in Wichita Falls, TX. I told the owner what I was looking for and he let me go upstairs by myself and look around. Those antique stores are just one of the many things I miss about Texas.
They weren’t much to look at to begin with, but I knew I could bring them back to life. Please excuse the poor quality of this picture. It may or may not have been taken with a flip phone. Ugh, now I’m showing my age….
For their first makeover I painted them white, then added some new fabric. I really didn’t know what I was doing. I didn’t use enough padding and the fabric, well I’ll just show you how bad it was.
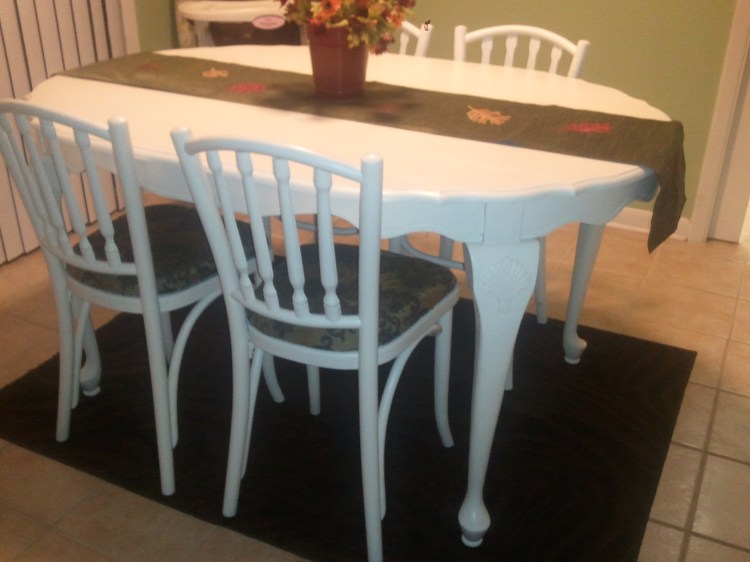
How I thought that was an upgrade I have no clue, but I was pretty proud of myself. This was at my first house in Wichita Falls and I was just dipping my toe in the DIY waters.
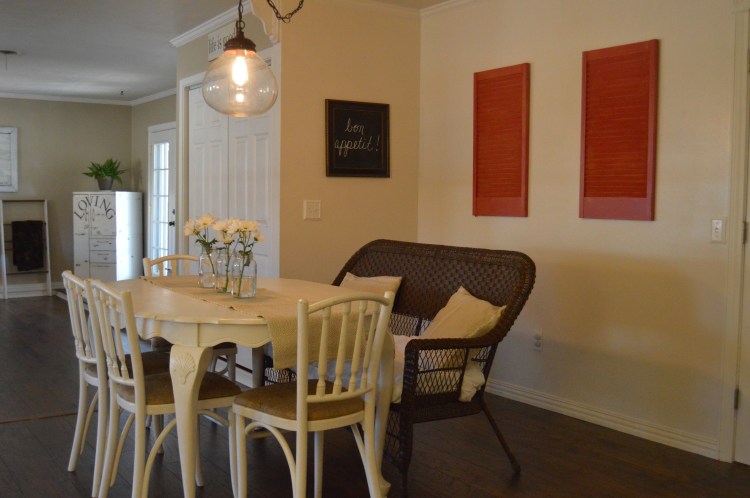
When my husband and I bought our first house, I gave them another makeover. Fixer Upper was just airing on HGTV and I was pretty sure Joanna Gaines was my soul sister, so of course I gave them a distressed, rustic look. I distressed the white paint by sanding a little and reupholstered them with grain sacks. They were definitely rustic and definitely uncomfortable to sit on. Grain sacks aren’t exactly the kind of fabric you want rubbing on your thighs or rear end.
As far as padding, I just slapped the grain sacks on top of the old fabric. It did nothing to make them more comfortable to sit on. Again, I was proud. 🙂
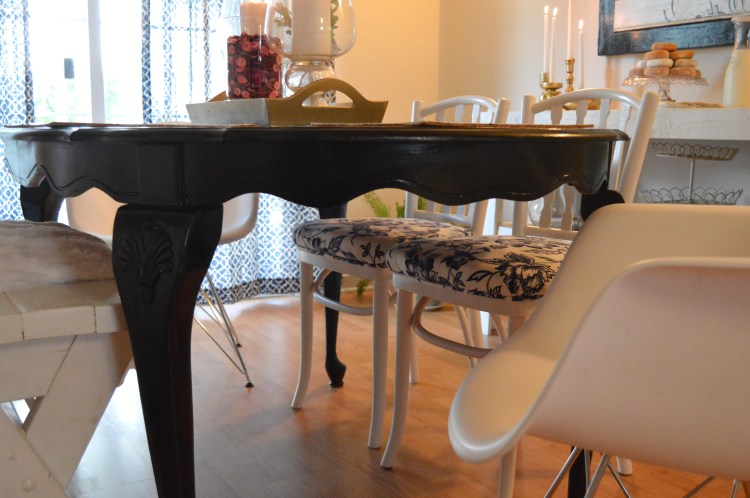
When we moved here to Jersey I had an entirely different direction I wanted to go. I feel like my style is constantly evolving. It has changed far past my rustic, cottage, white on white, distressed days. Now, as you may have guessed already, I lean more towards an eclectic, colorful look. I love mixing patterns and color to give a room a more put together look. I also feel like it’s more of a challenge for me to figure out how things will work together rather than just painting everything white with a few bits of color here and there. Anyway, when we moved here I decided I wanted a new fabric and I wanted to upholster it the right way. (Meaning the proper amount of padding so we don’t wince when we sit on them.) I headed to Joanns fabric store and picked up my supplies.
High Density Foam:

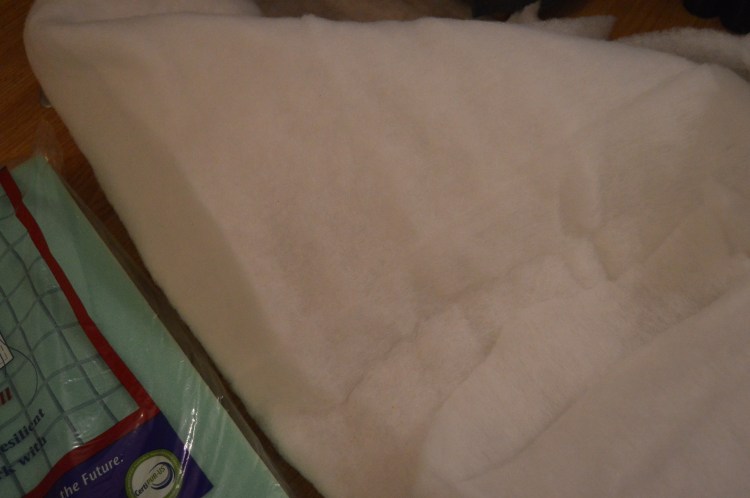
Batting:
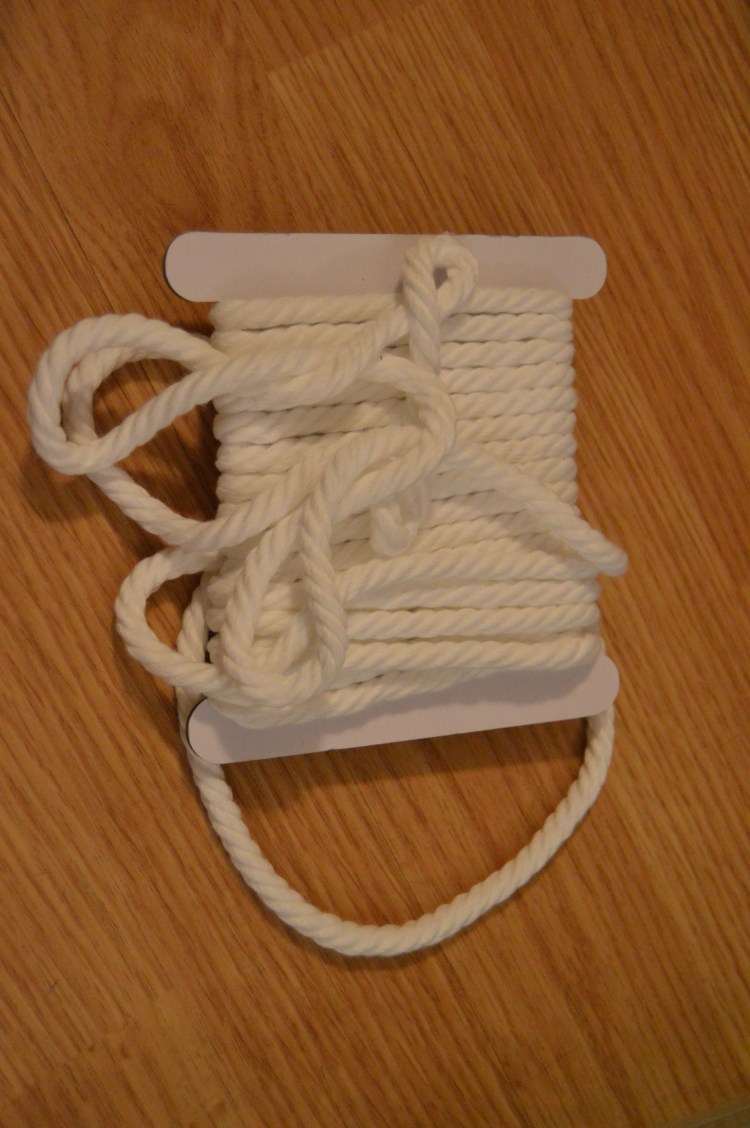
Piping:
And of course my fabric:
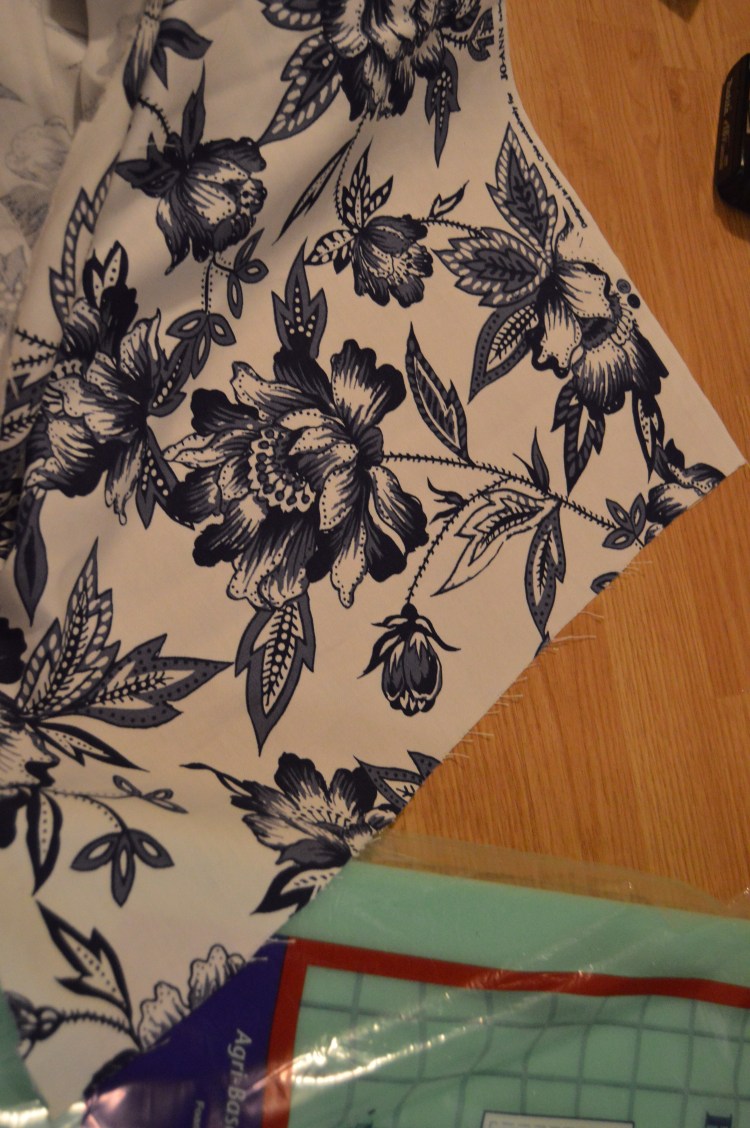
I love it. I tend to be drawn to blue when I design. It’s not even my favorite color. Or maybe it is and I just haven’t accepted it yet. Hmmmm….
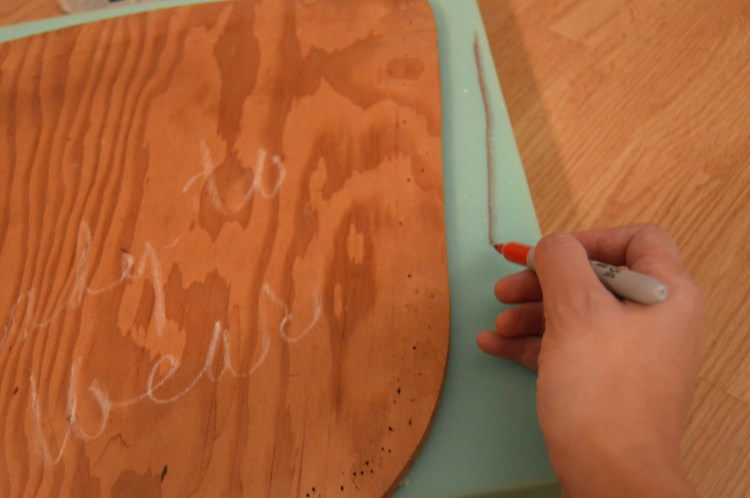
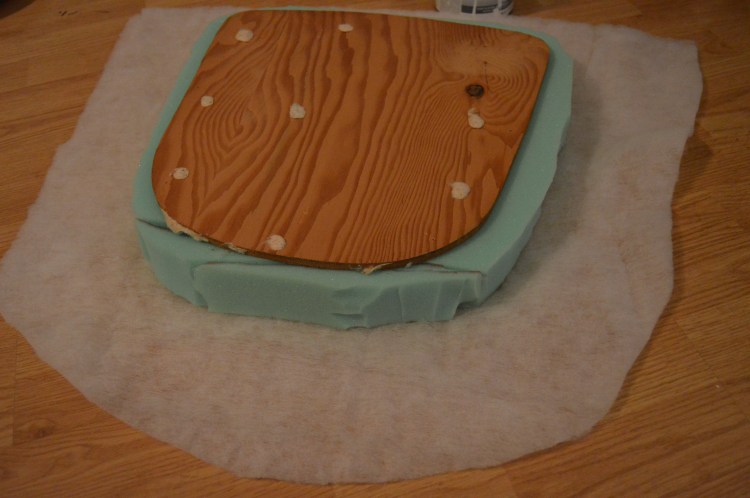
Anyhoo, First I removed the old fabric and foam completely. It left me with just the wood base. I laid that on top of my foam and marked my cut line about a 1/2″ to 1″ wider than the base.
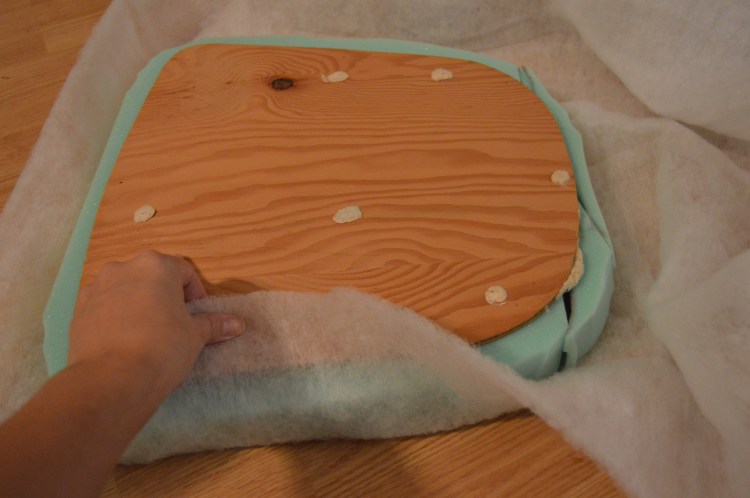
Then I wrapped the batting around both and cut it to fit around them without making the bottom too thick to add the fabric.
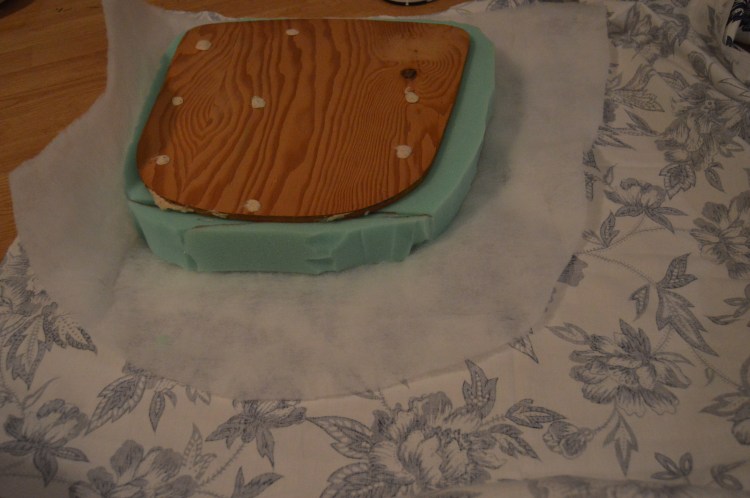
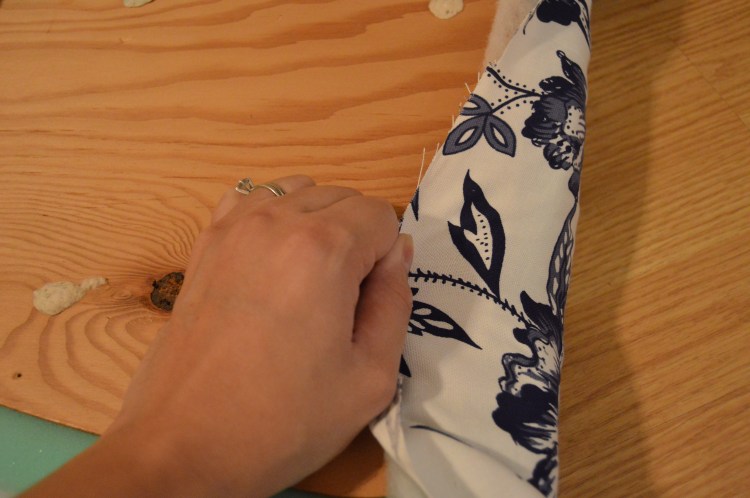
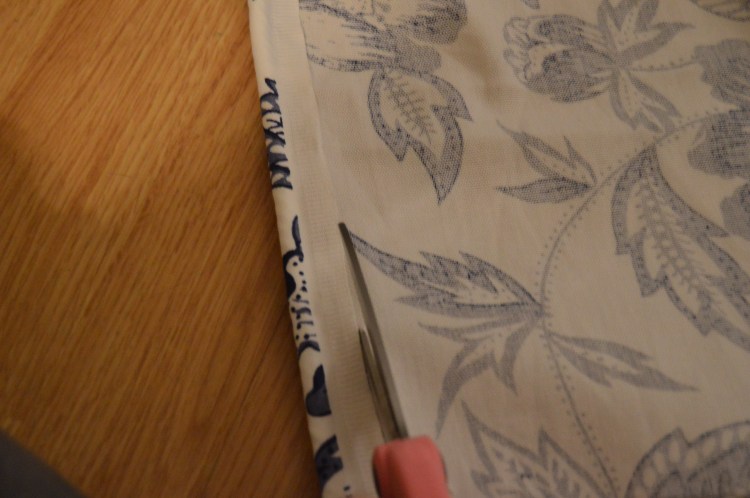
After that I grabbed my fabric and cut it to wrap around the base, foam and batting.
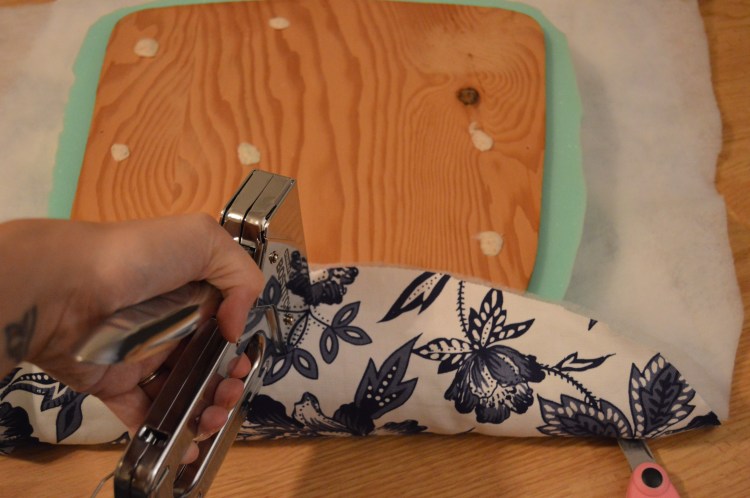
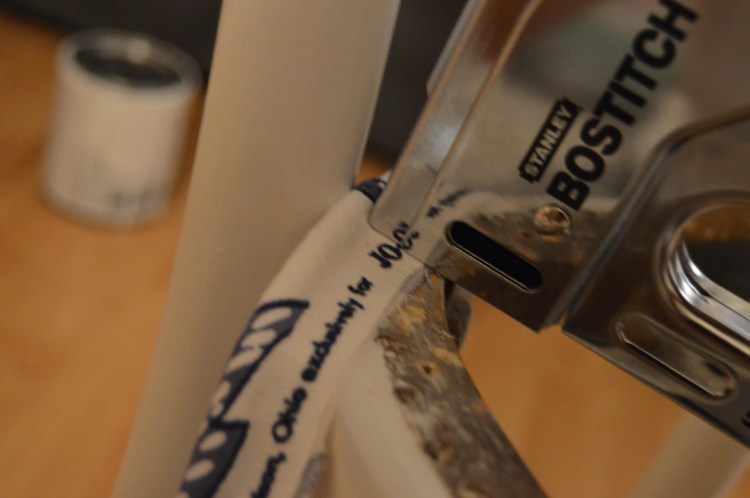
Once everything was cut, I was ready to staple. I used a heavy duty stapler. I wouldn’t use one you found at a craft store. They won’t be strong enough to go through your fabric and the wood base.

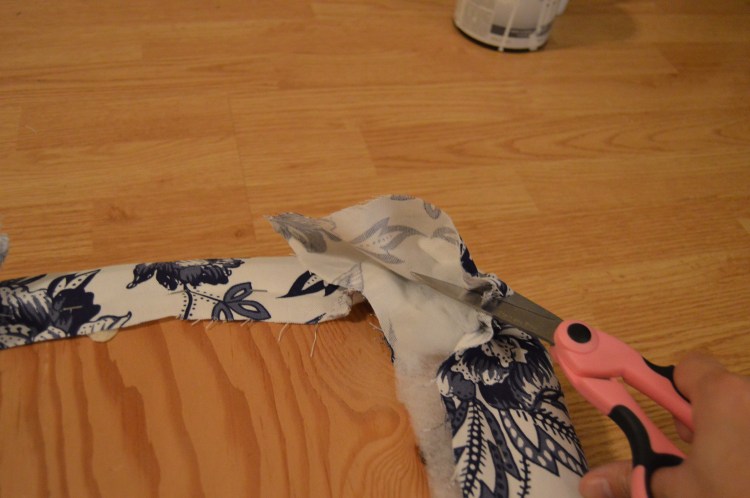
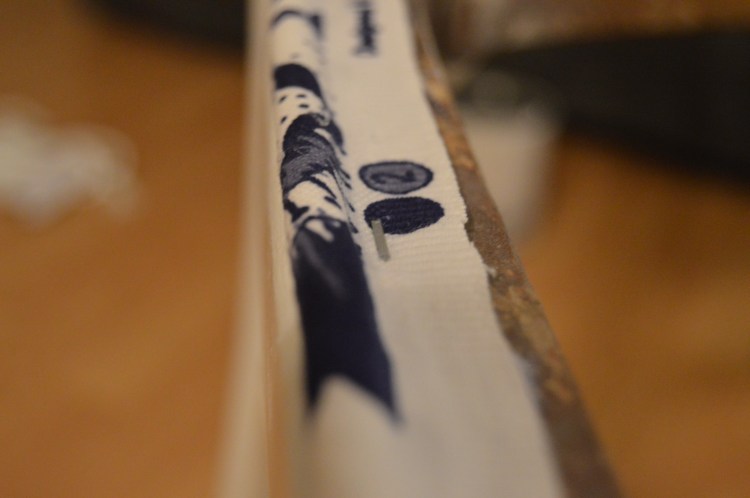
Start at one end and staple the fabric and batting to the wood base. You want to pull it nice and tight and make sure the foam hangs evenly around the entire base. You will have some extra fabric, so just cut it as you go.
Once I finished upholstering the base, I started to work on the piping. You don’t have to do this, but it will give your chair a nice custom look. It will definitely look more ‘professional’, so to speak.
Take your piping and cut it long enough to go around the entire perimeter of your chair.
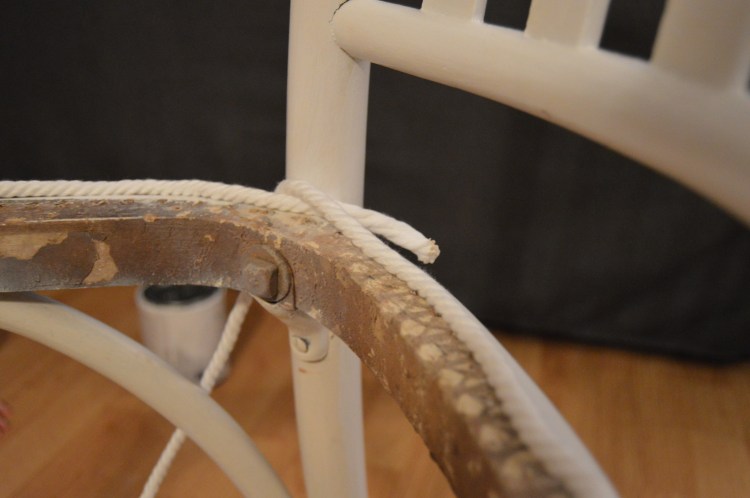
I burned the ends so it didn’t fray while I used it.
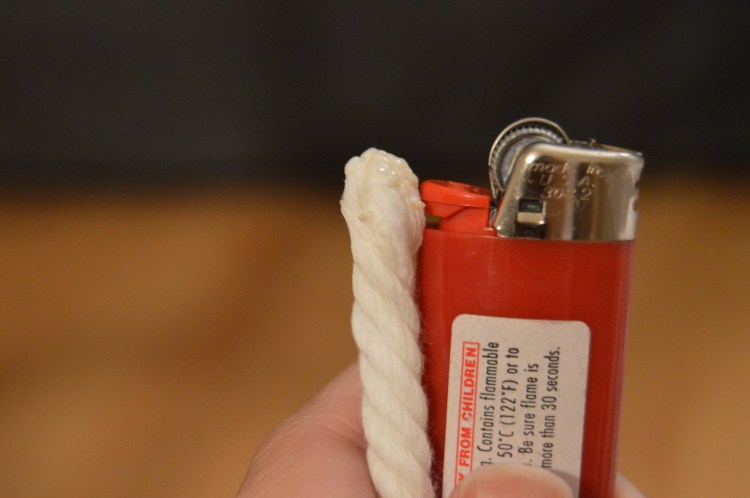
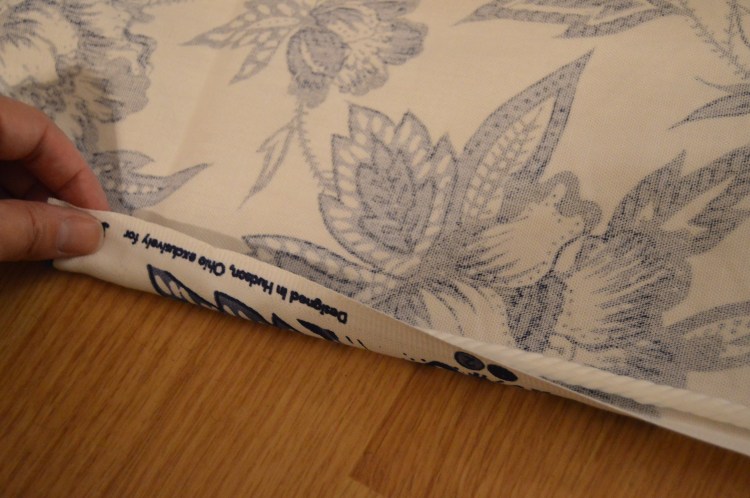
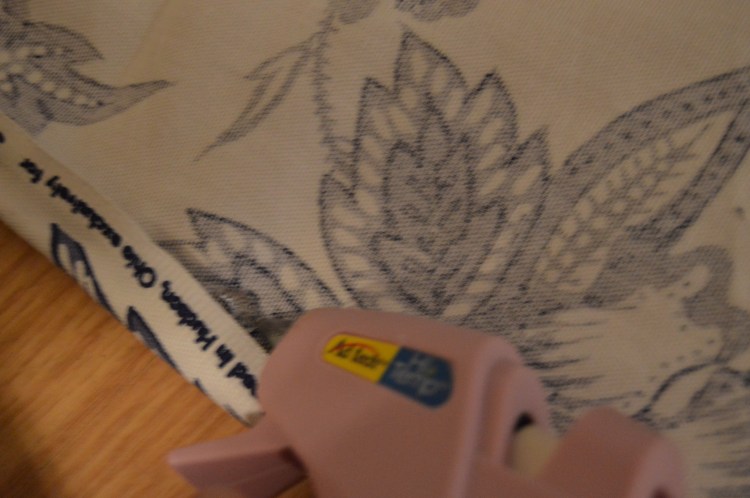
I wrapped my fabric around the piping and hot glued it closed.

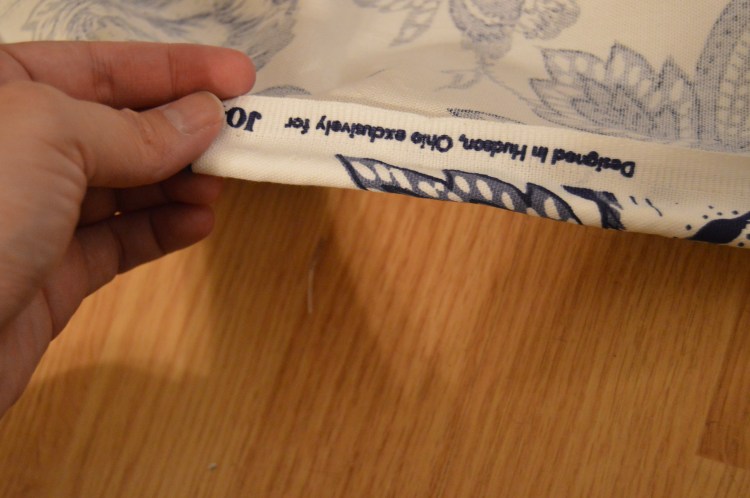
Then I cut it, leaving a 1/2″ fabric so I can attach it to the chair.
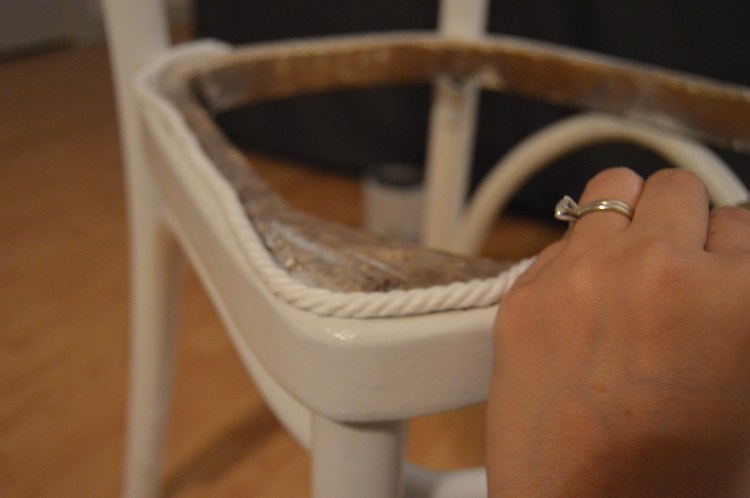
After I cut my piping, I stapled it to my chair.
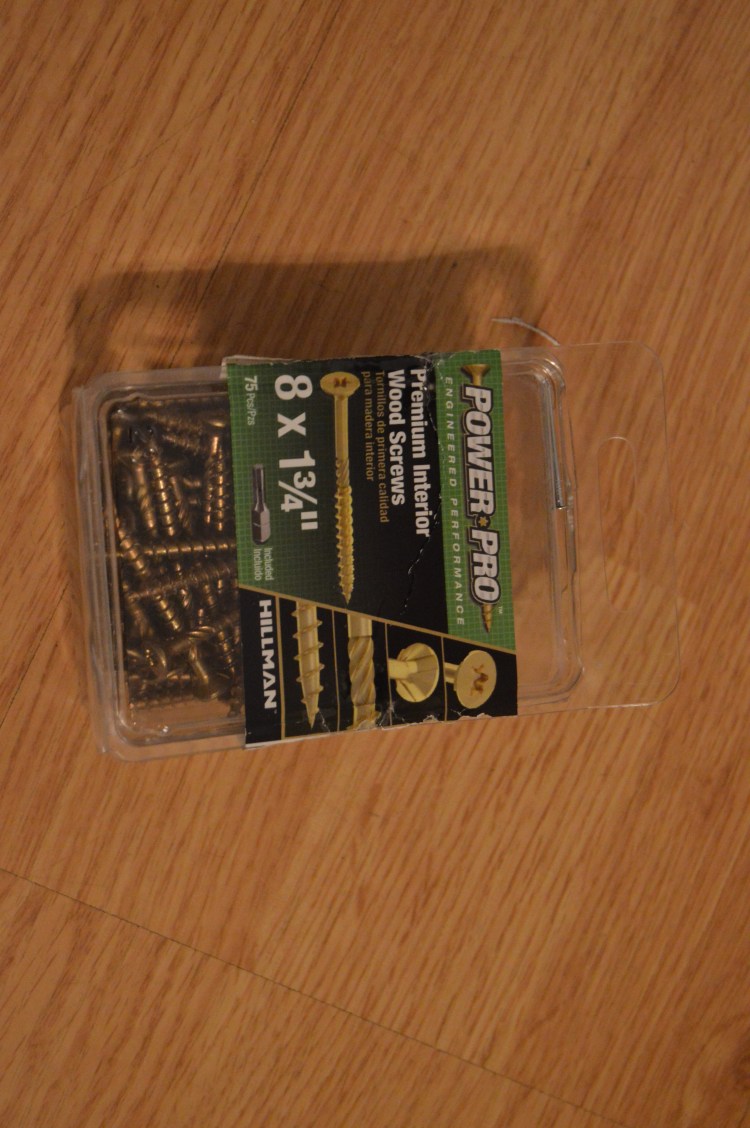
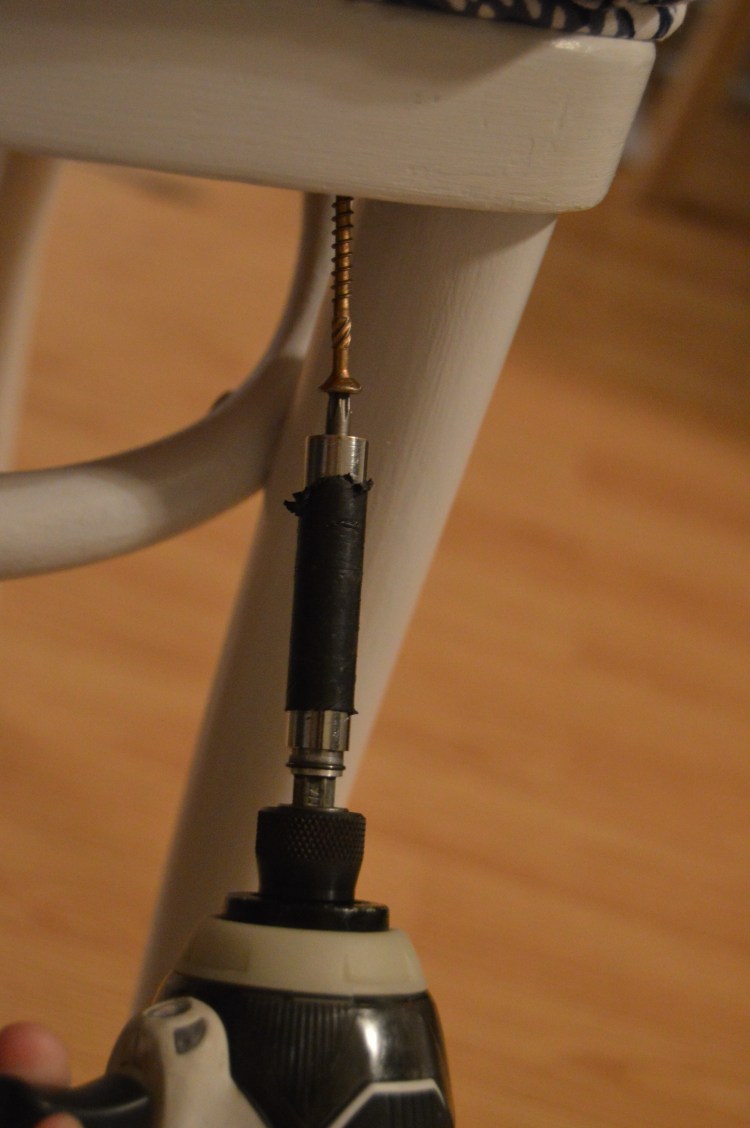
Make sure that you will see the piping once you attach your seat. If you don’t have enough overhang, your seat will sit on top of the piping. Next, I took my seat and attached it with wood screws. You want your wood screws to be long enough to grab the wood base, but not so long they protrude through the padding and poke your butt.
And finally, the finished product:
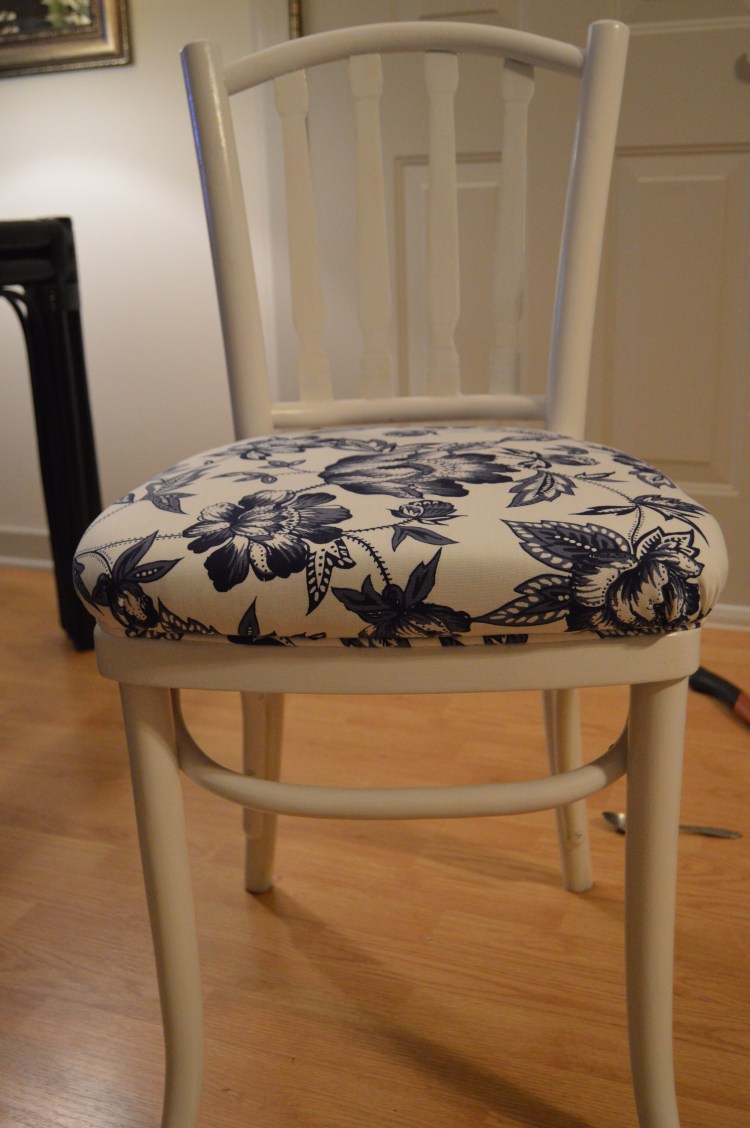
They are very comfortable. I made sure of that by using 2″ batting. If you’re contemplating a new dining set, but don’t like the price of the ones you find in furniture stores, browse your local thrift stores and fix up some used chairs. It really isn’t as hard as it seems and you can have exactly what you want.