I know most people start slowing down in their last trimester, but for me it’s like a race to the finish. Any mama knows what the first year with a baby is like. Not much gets done other than wiping butts, feedings, rockings and then of course there’s everyone else in the house that still need to be taken care of. I don’t know about y’all but my kids and husband expect to eat every day. Every day. I mean jeez. They also have laundry, school, work, they’re really needy. So basically, if you’re a pregnant DIY mama and you have a list of projects you want to tackle, you better get your butt busy.
One of the projects on my list is finishing off the design in the living area. I have been mulling over ideas on how to add color to the walls. I knew I wanted color, but I’m still trying my best not to paint. So my next option is wallpaper. Problem is, wallpaper is not an option my landlords will consider. It is hard to remove and often damages the walls so I get it. But there is removable wallpaper. You can actually find it in my home improvement stores and even Walmart and Target. There aren’t however many options, even between all those stores. So I checked online. Of course all the prints I found were beautiful and completely out of my budget. My last and final option was fabric. I have heard of different ways to use fabric as wallpaper, but one that was most appealing to me was a starch application. This, mostly in part because it’s temporary.
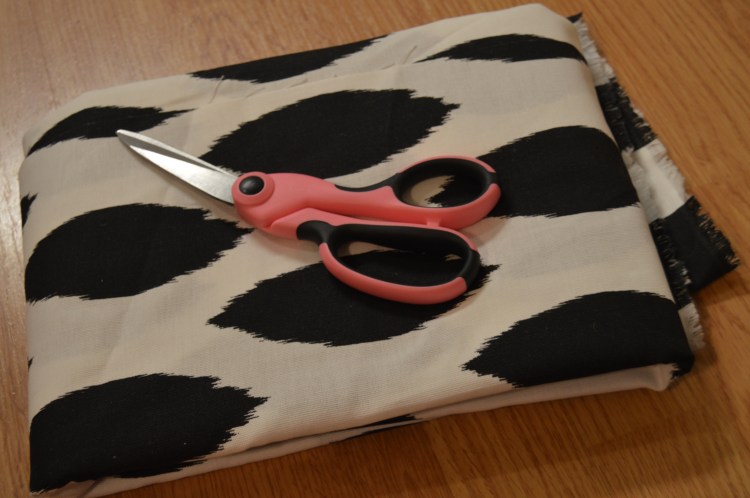
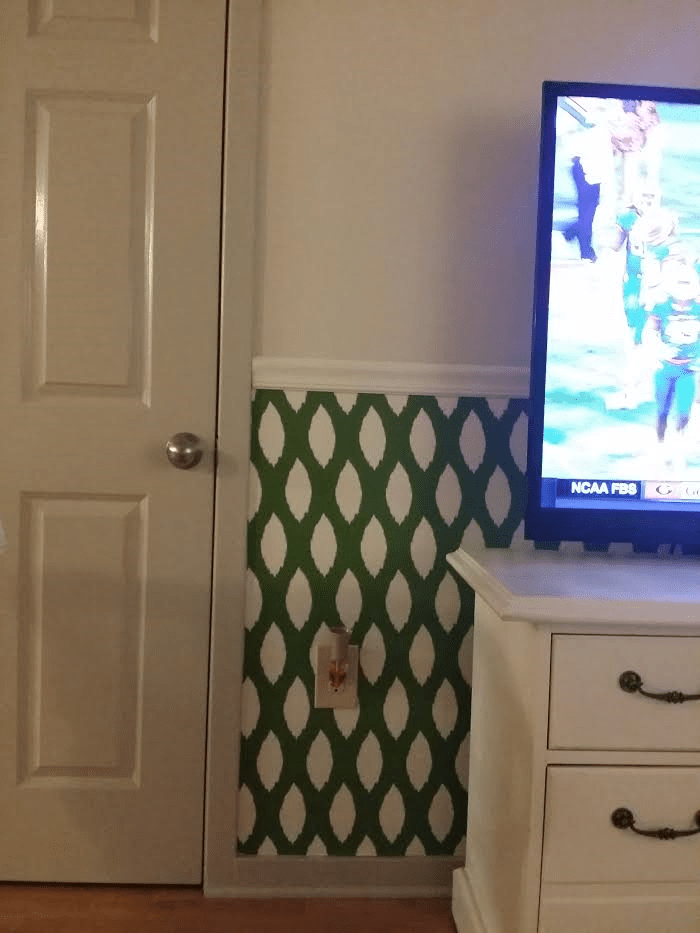
I get great fabric on Fabric.com for most of my sewing projects. They have a great selection and great prices. You can also buy in bulk. I actually already had some left over that I decided to use in the living room and then I ordered a coordinating fabric for my office/sitting area.
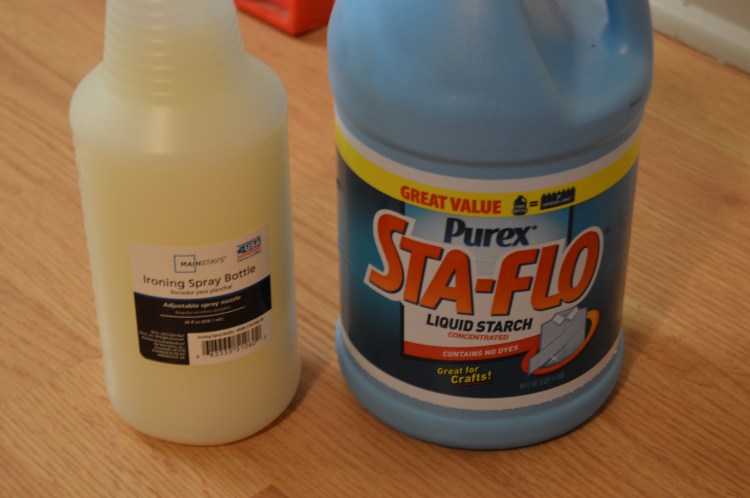
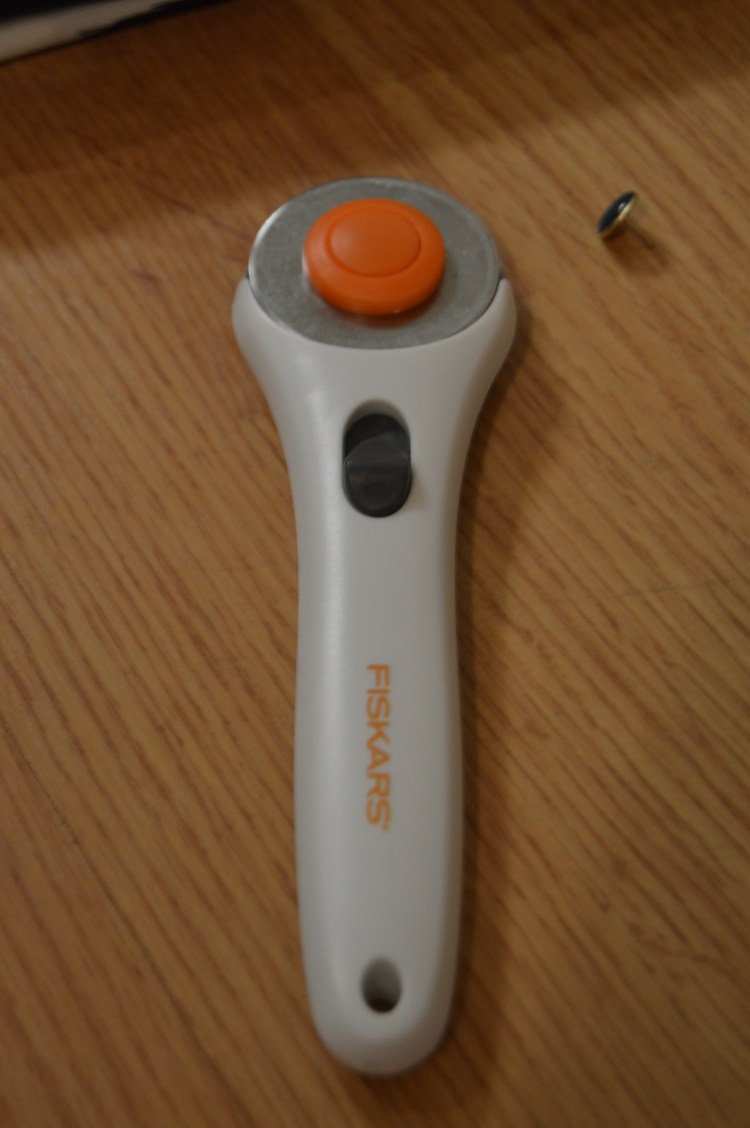
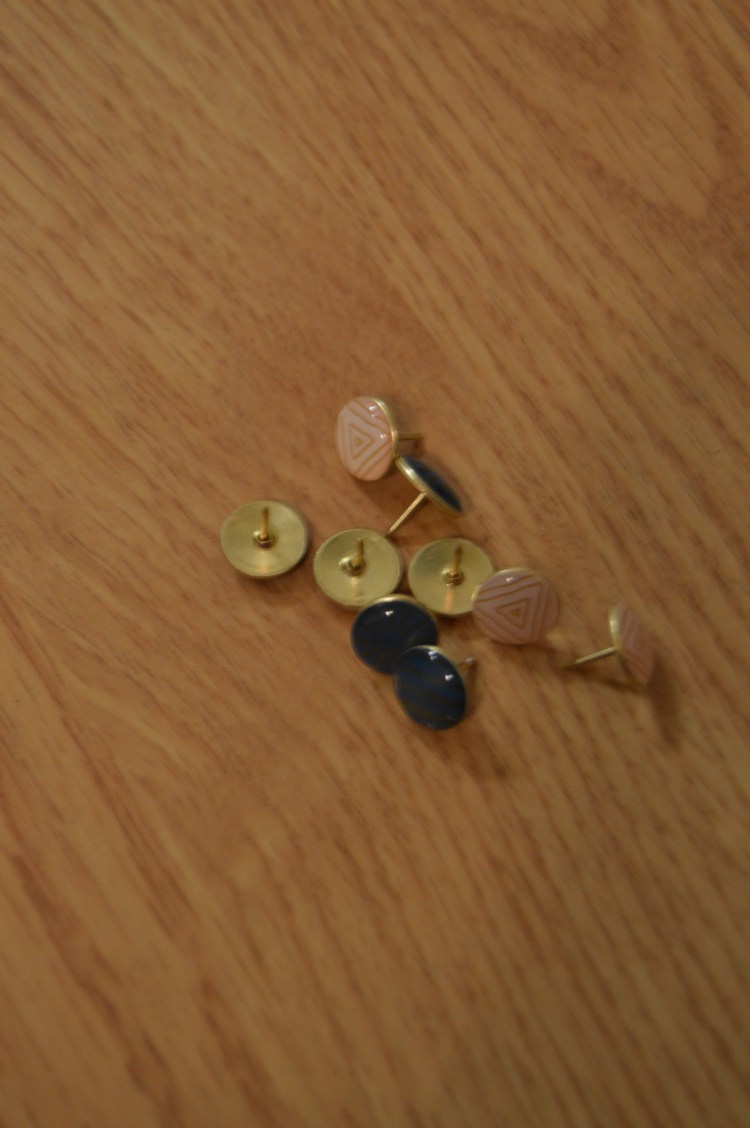
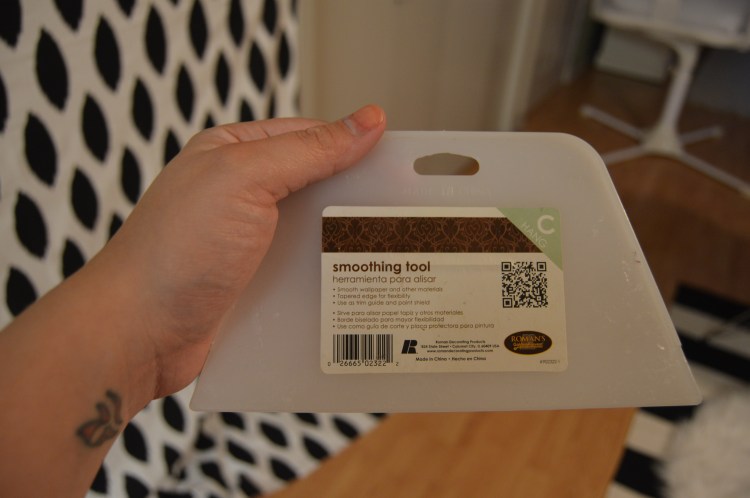
Now onto the tutorial. First things first, gather your supplies. Measure your wall to see how much fabric you need. Remember to measure twice and order extra. You also need liquid starch, a spray bottle, thumb tacks, a rotary sheer and a squeegee. You can find all these supplies at Walmart.
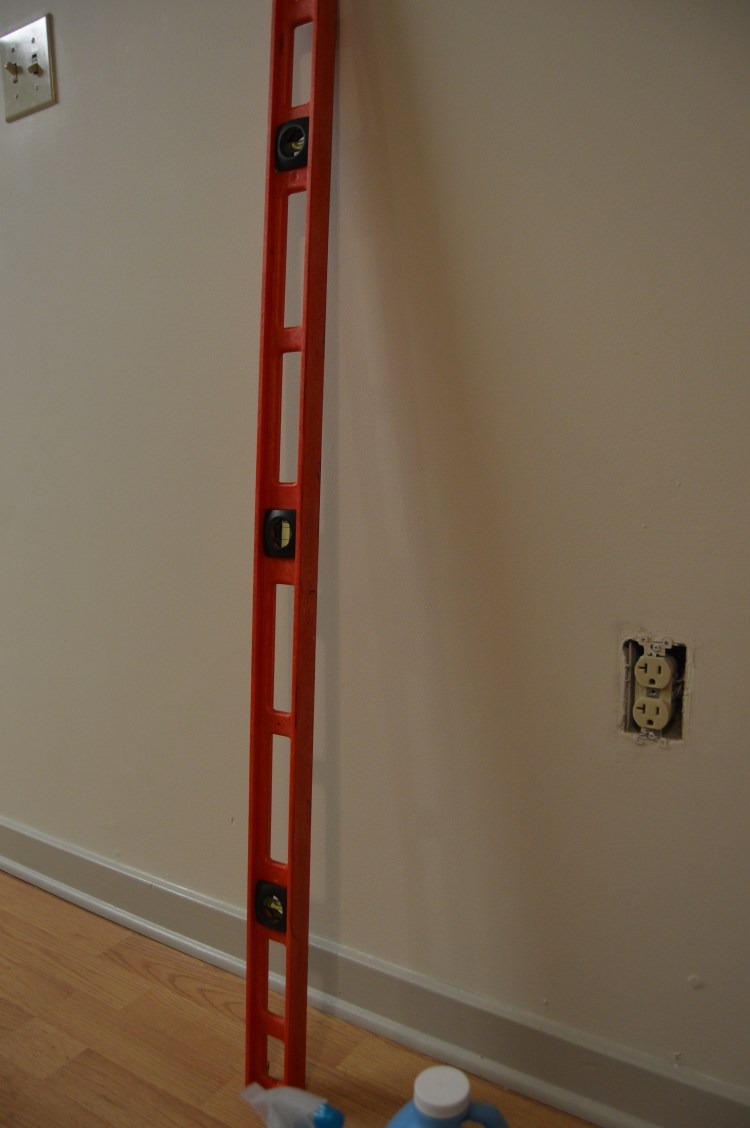
Since I only planned on putting the fabric up to chair rail height, I needed a level to ensure I kept my fabric nice and straight, but if you plan on putting the fabric on the entire wall, you probably won’t need it. Just make sure your pattern lines up straight on the wall.
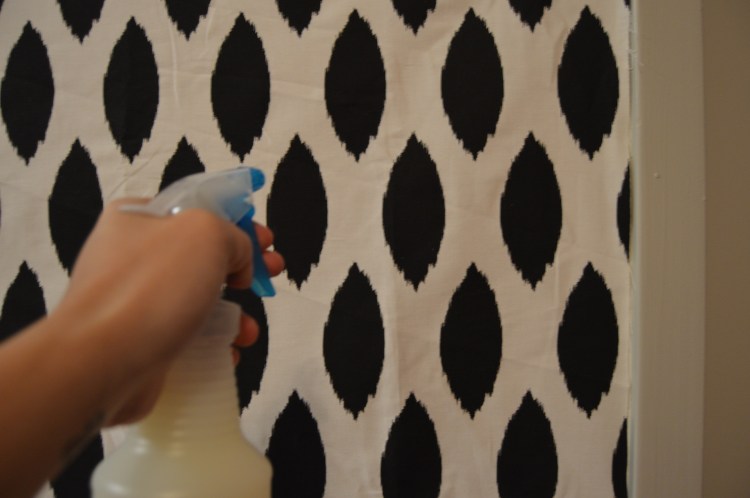
Use the thumb tacks to hang your fabric in place while you starch. Now it’s time to make a mess. You need to completely saturate the fabric so it sticks to the wall. I used my hands and the squeegee to do this, but if you’re not big on getting our hands messy you can you use a small sponge roller.
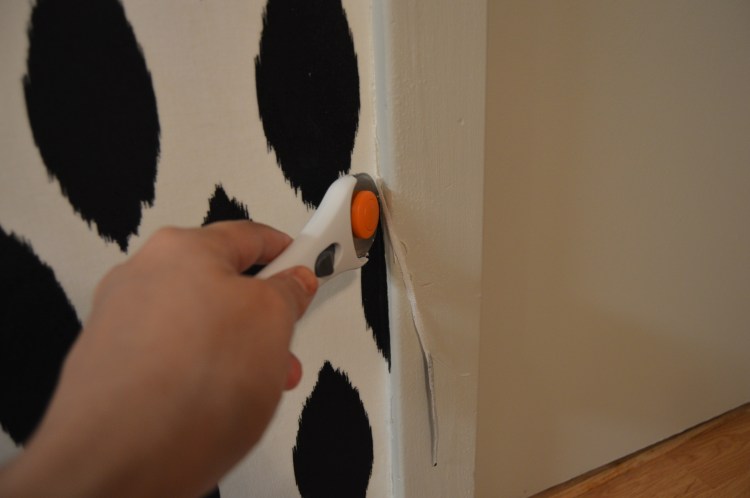
Use your squeegee to get rid of any bubbles and make sure it is nice an flat against the wall. Once you’ve got your fabric completely saturated and all the bubbles worked out, you can trim your fabric. The rotary cutter is a great tool. You could attempt to use a regular razor blade, but it would be a little more difficult. I highly recommend picking up the rotary cutter.
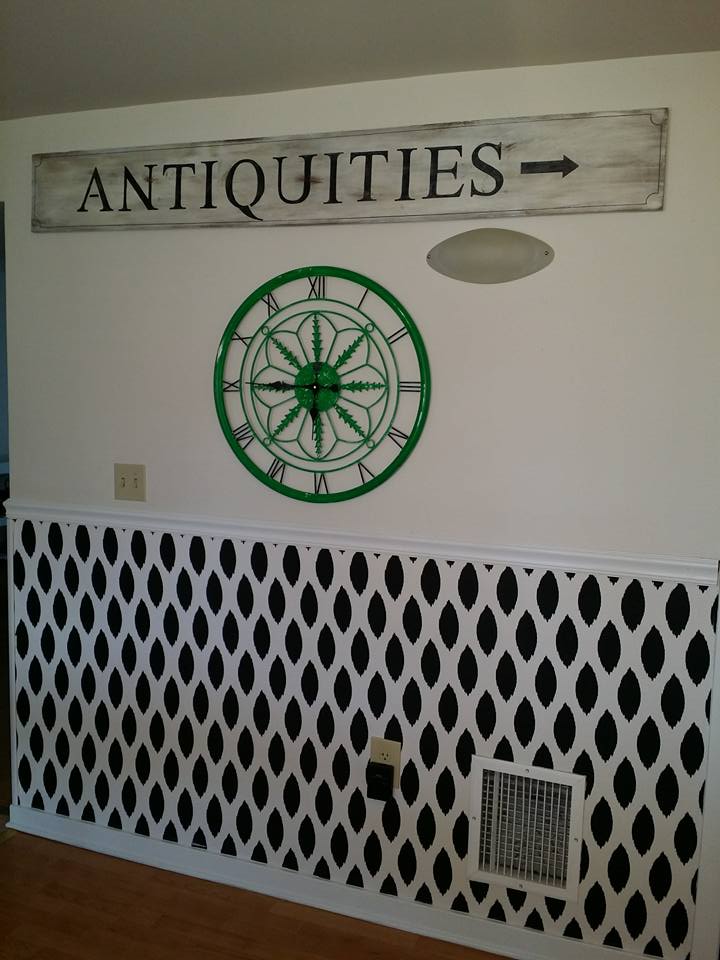
Remove your thumb tacks and let your fabric dry. Once it was completely dry, my husband added molding and trim to finish off the look. You don’t have to do this, but if you put it on an outside corner like I did, it may lift up after a while. A corner molding will take care of that problem.
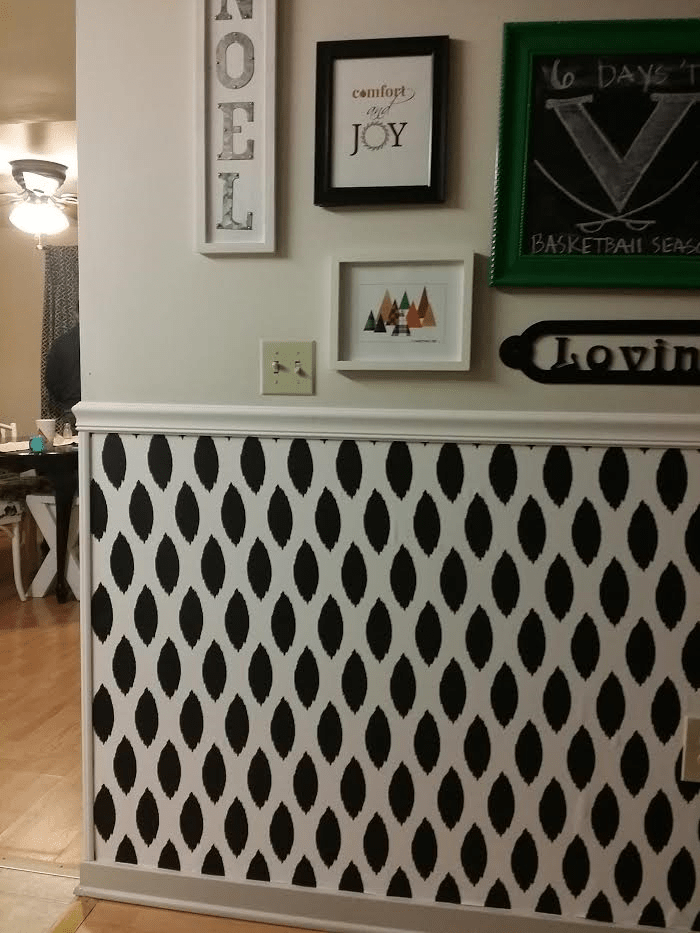
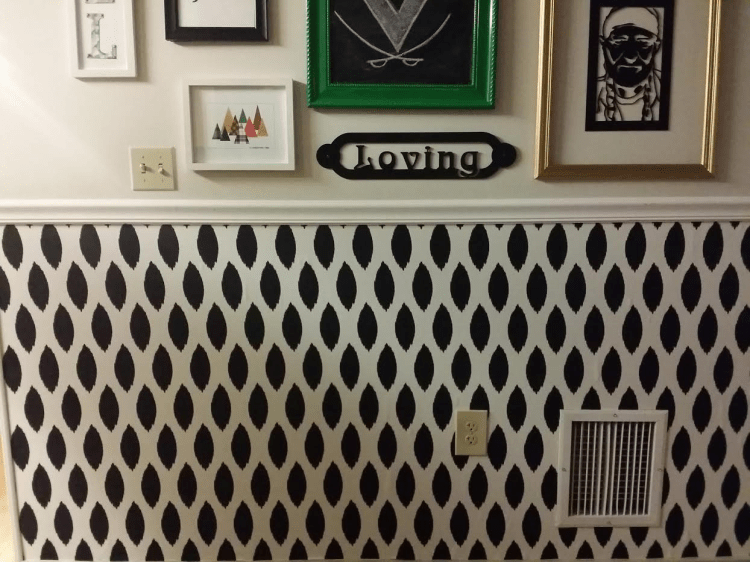
Voila! All done. It took about an hour to do each side and another hour for my husband to put up all the trim. I love it so much. I can’t stress enough how easy this project was and it makes such a design statement. If you’re on the fence about wall coverings this is a great option because it is temporary. If you hate it, or if it’s time to move all you need is to apply warm water to your fabric and it will peel right off with no mess and without damaging the wall underneath. Easy Peasy!


what a great idea
LikeLiked by 1 person