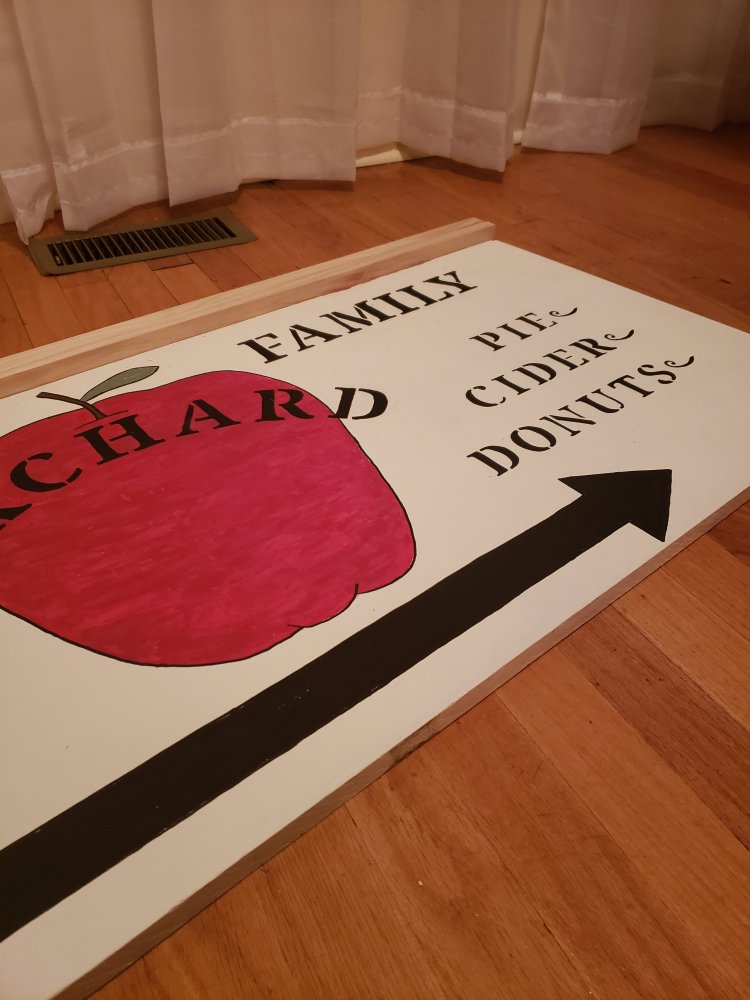
I have a big empty space on a bare wall in the dining room that has been screaming at me for some decoration. Since I was already planning on decorating for Fall, I figured now would be a good time for a DIY Fall sign. Apples are my fall theme this year so I made an apple orchard sign.
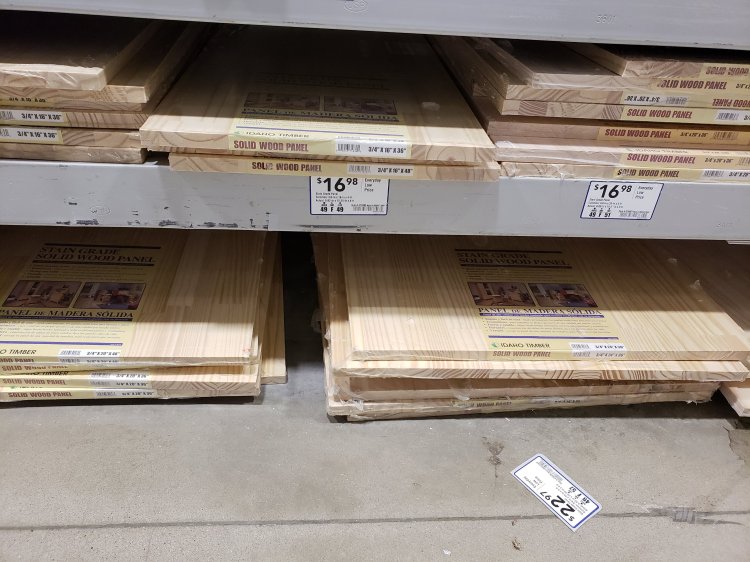
For the sign itself I used a solid wood panel from Lowes. They are a little heavy and I needed anchors to hang it so if you want something a little lighter, you can use plywood. I really only used this because I had it leftover from an older project.
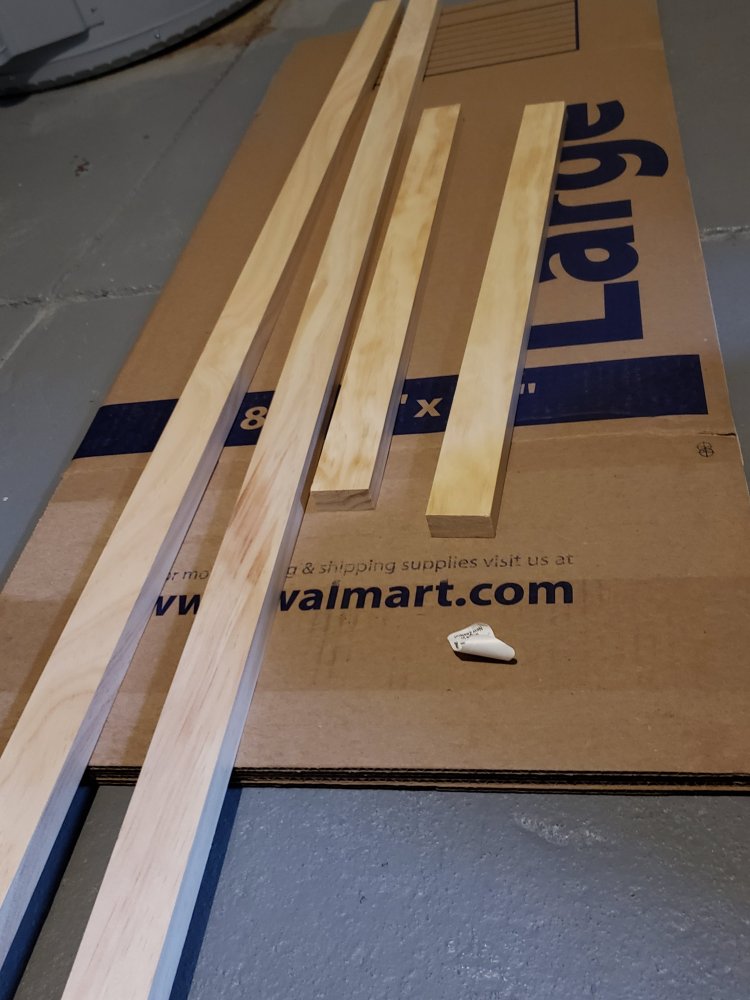
For the frame, I used 1×2 pine, which I also got at Lowes.

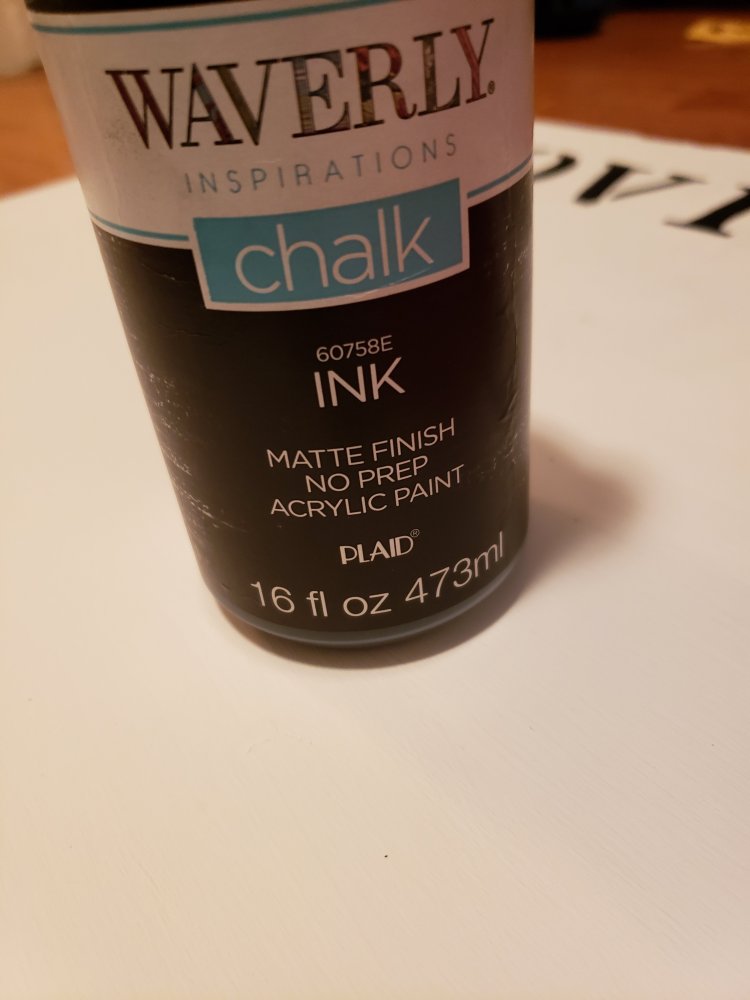
First, paint your board with youyour base coat. I chose to use chalk paint for many reasons. 1, it dries quickly. 2, I like the matte finish. 3, it will distress well and give me that ‘antique’ look I want. I used the Waverly brand from Walmart.
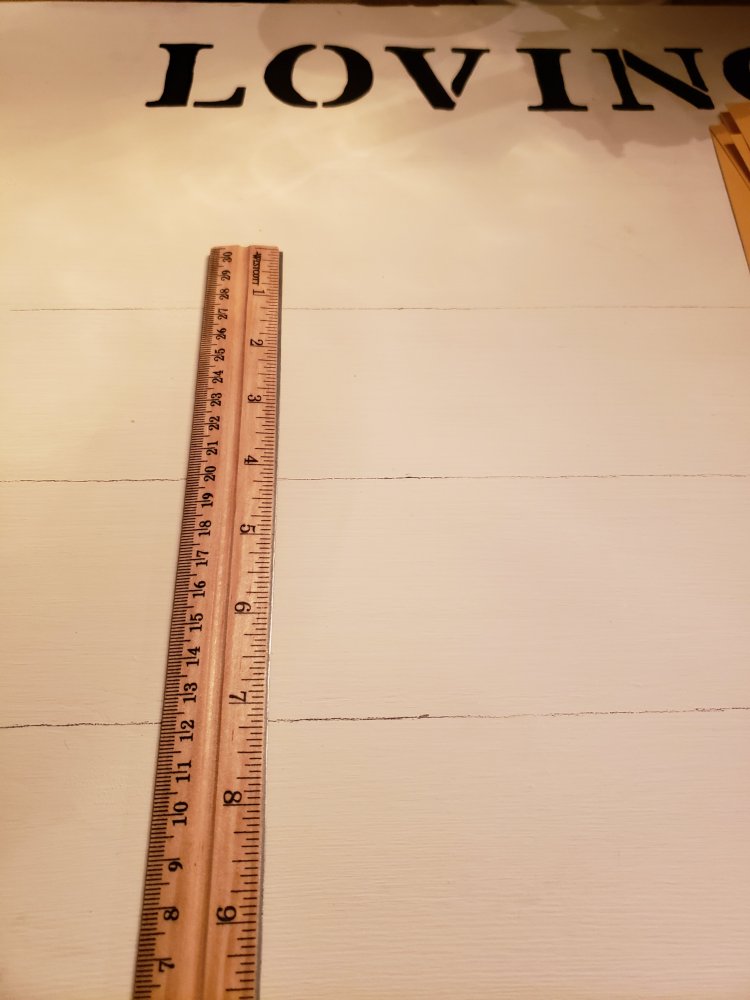
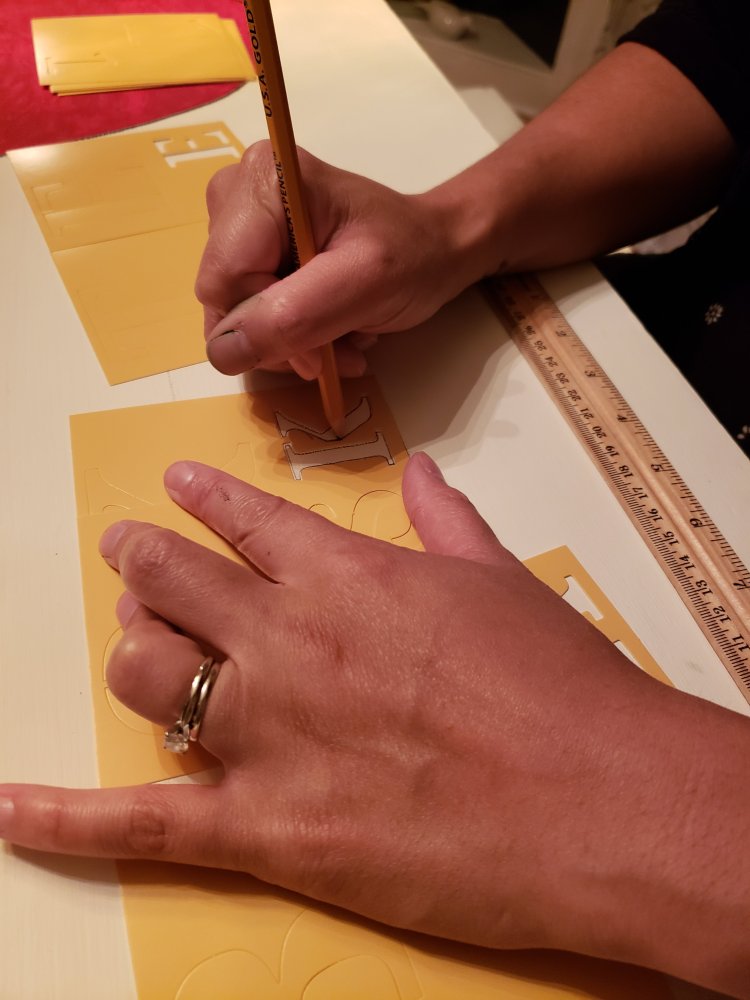
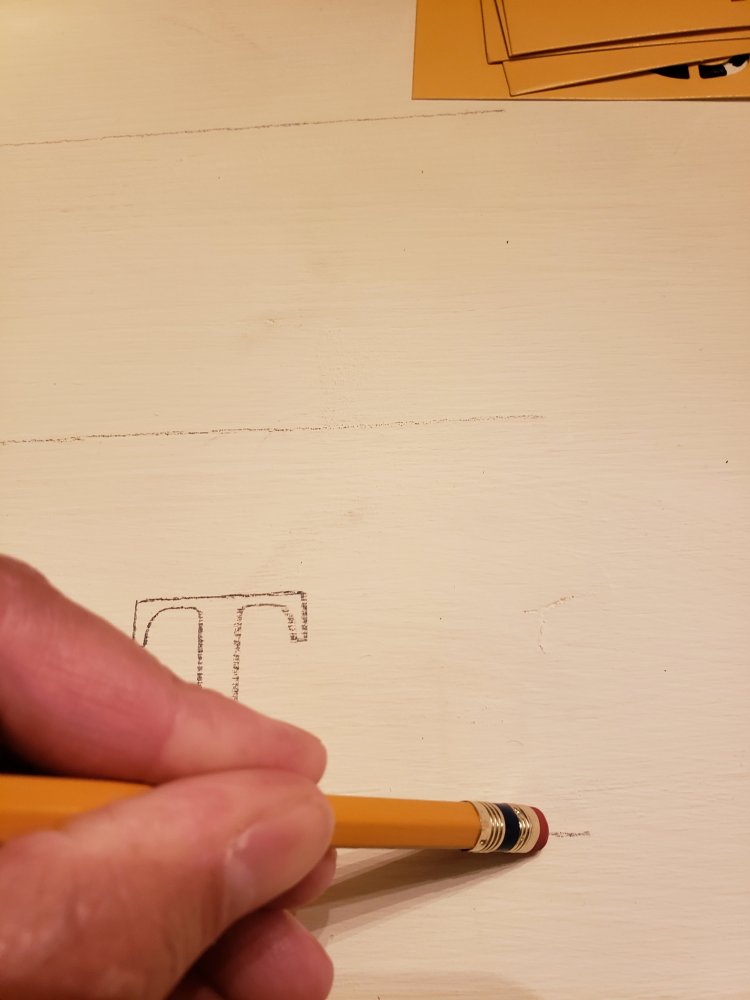
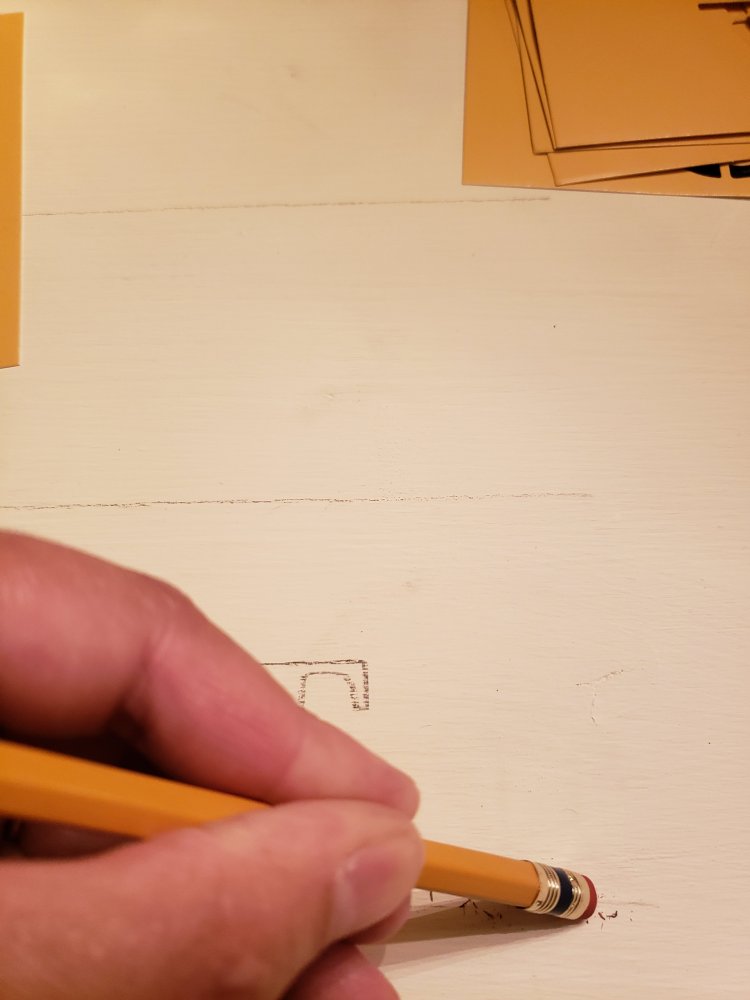
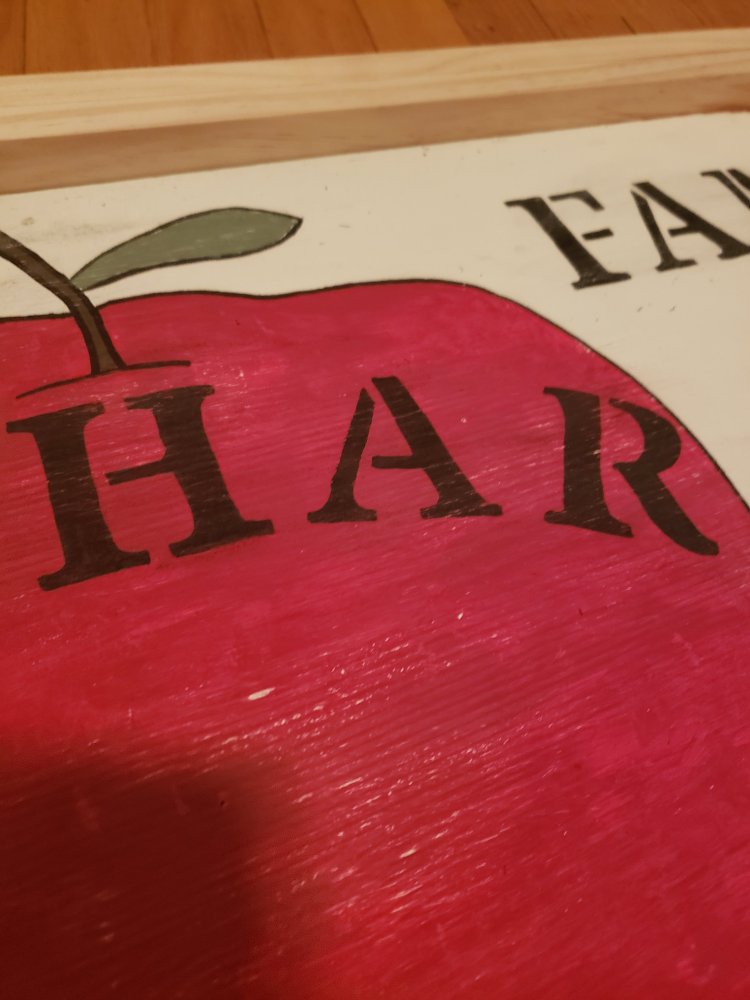
Once my base coat dried I drew a large apple freehand. I’m not artist so it took a little trial and error. I drew it in pencil, then painted it once I liked how it looked. I then added the lettering, with stencils. I also got these at Walmart. I like to mark and measure even lines so that I nice even lettering. The pencil lines erase easilooky once you trace your letters.

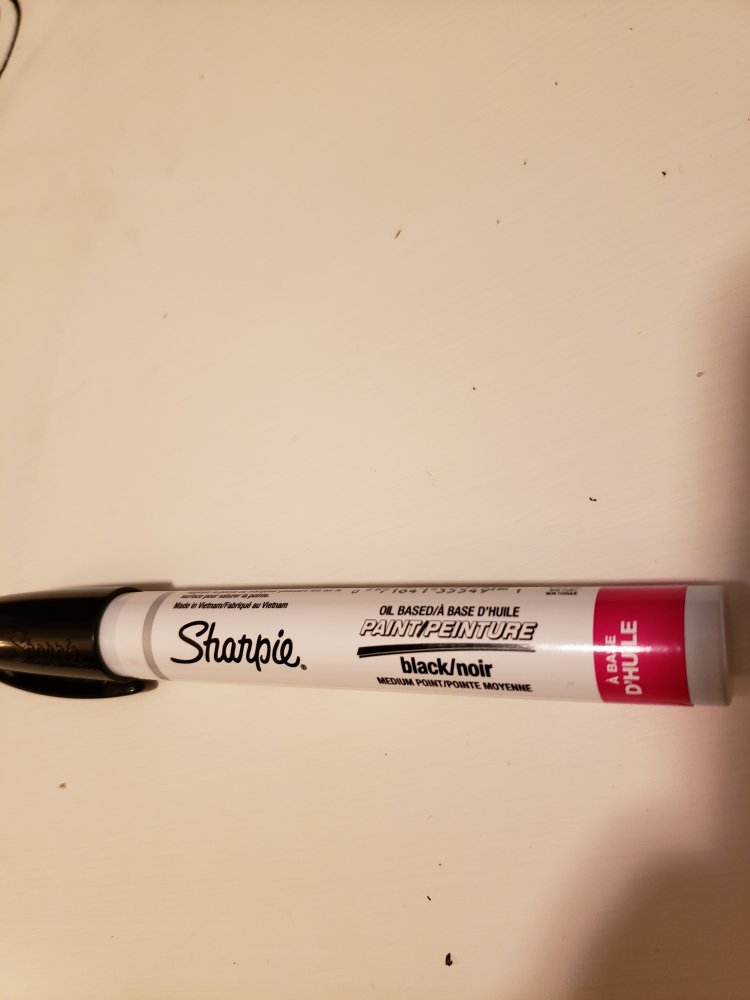
Again, I used pencil to draw everything, then filled in with paint. Initially I planned to use the black chalk paint and a thin paint brush to outline everything, but i didn’t have a steady enough hand. I ended up using a Sharpie paint marker and it was much easier. The only thing I was worried about was the glossy finish of the pen, but once I sanded everything to distress, it looked just fine. You’d never know the difference. So, if you wanted to use whatever paint you already had on hand, you could totally skip the chalk paint.
Once I had all the painting finished and dried, I used 150 grit sand paper to sand and distress the sign. This gives your sign a worn look which an older or vintage sign would have naturally over time.
Before and after distressing
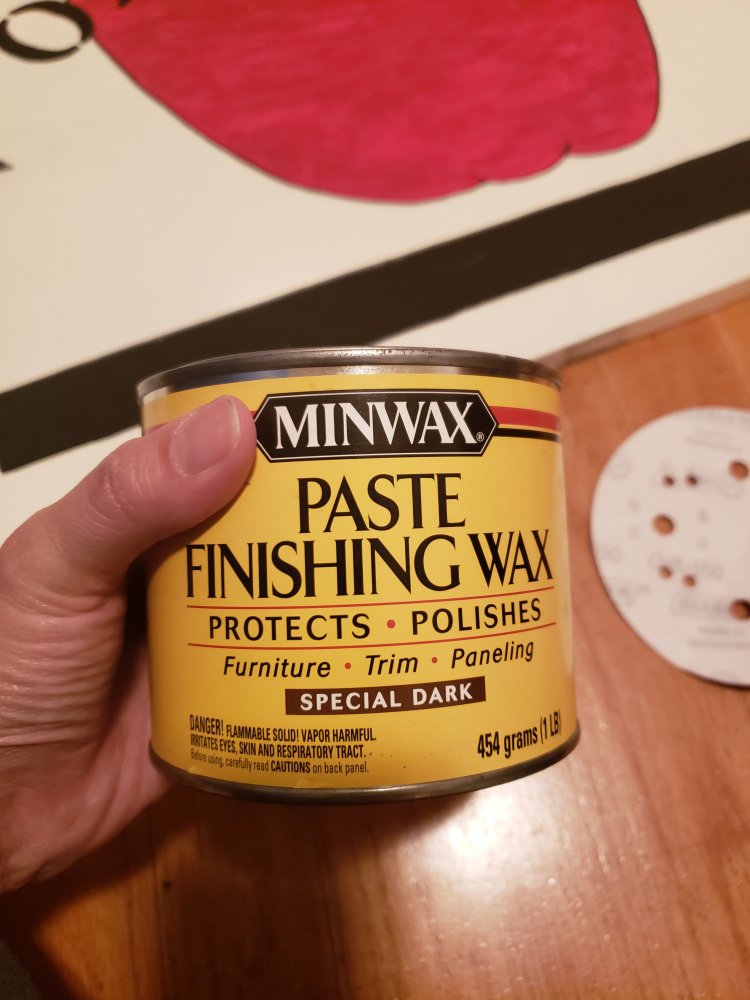
I wiped all the sanding dust and applied a dark wax over the entire thing. I prefer to use dark wax when making a vintage style sign because it adds another layer of “age” to the sign.
Unfortunately, I didn’t take any pictures of this step, so I’ll just have to explain it to you.
First apply the wax with a clean cloth. Rub it over the entire sign and let it sit for 5-10 min. Then use a clean, dry cloth to buff the wax. And that’s it, easy peasy.
Now, it is time to build the frame. Measure and cut your wood so that the 2 top pieces are the exact same length as your sign. Cut the side pieces to fit the width of the sign plus the extra 4″ the top and bottom frame pieces add. Again, I didn’t get any pics of this, but scroll down to see how your frame will look.
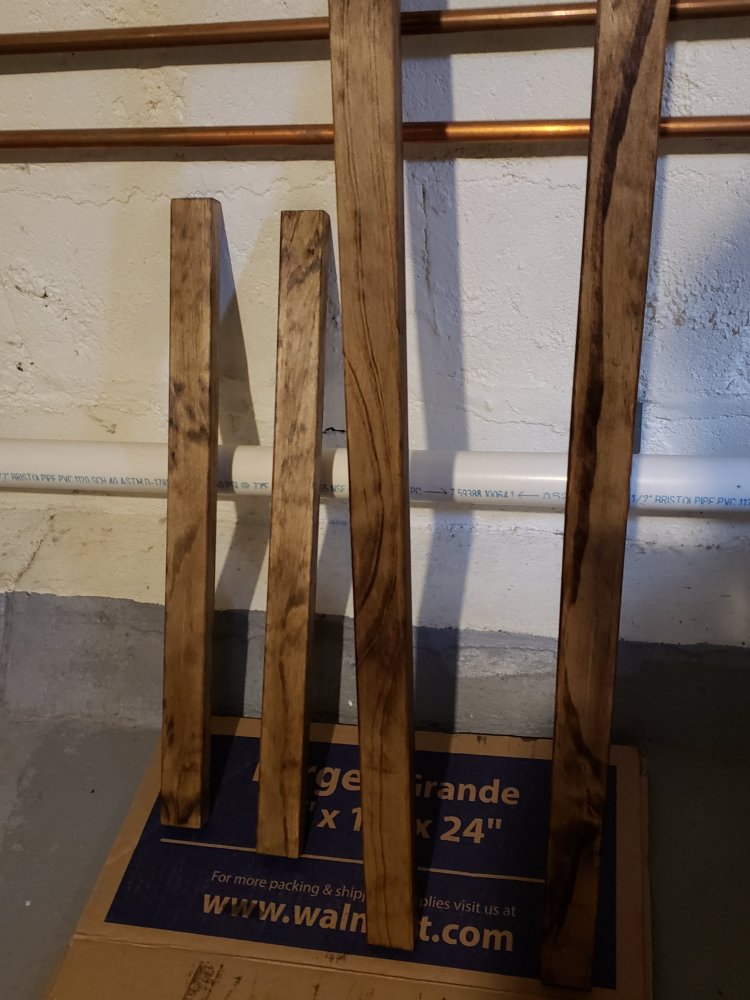
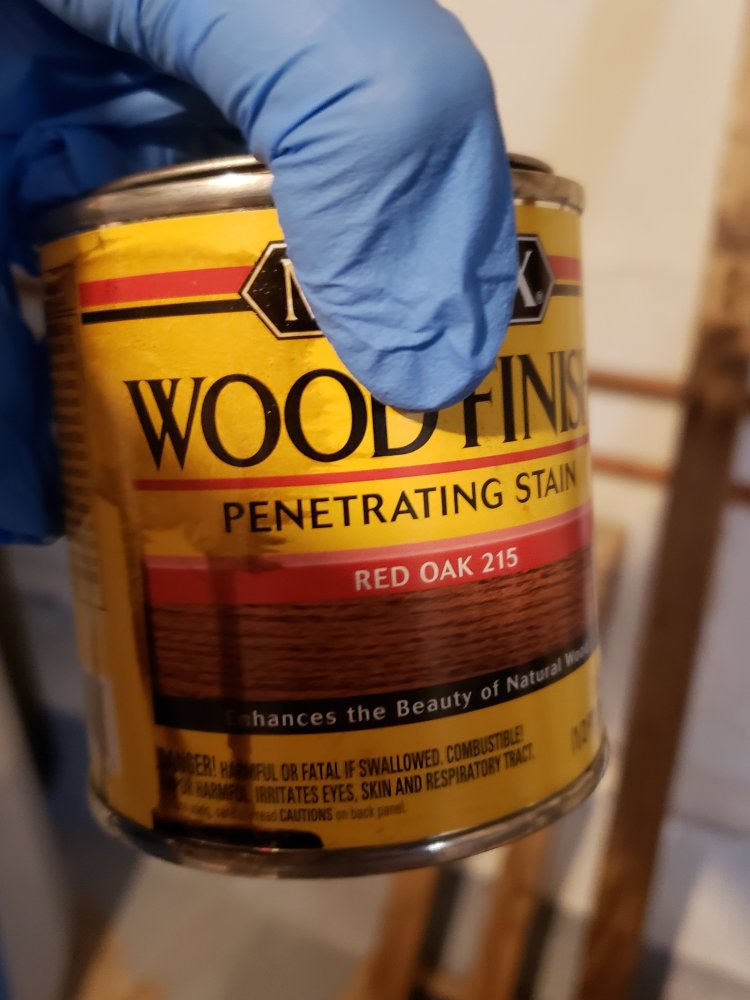
Once I had my pieces cut, I stained them in Red Oak by Minwax and left them to dry overnight.
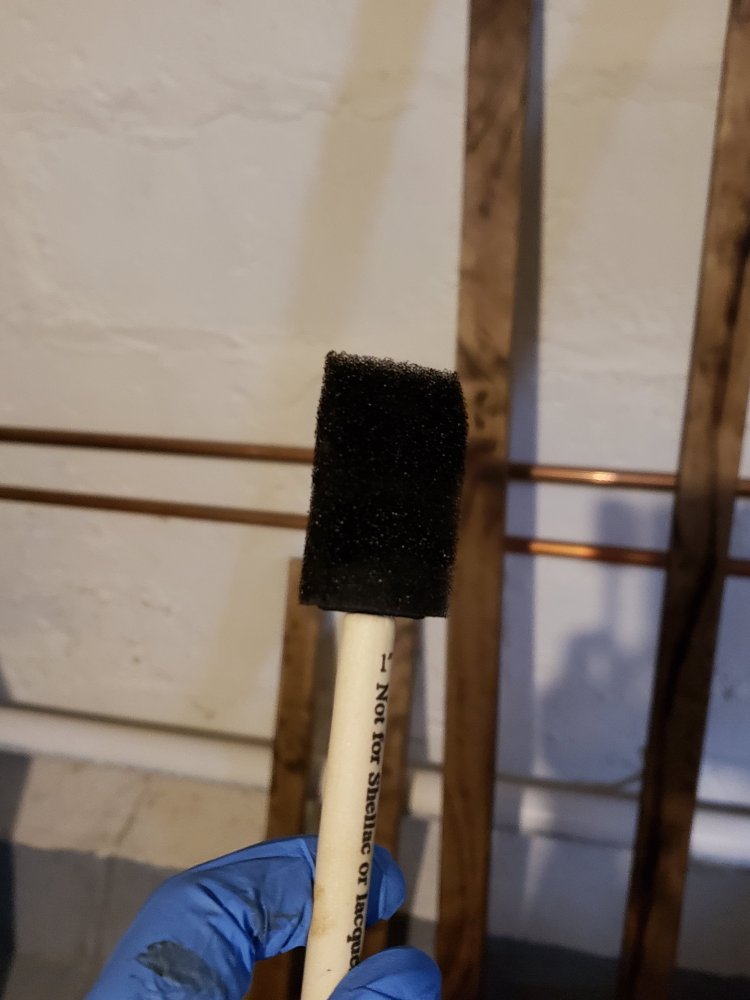
To apply your stain use a paint brush or foam brush to coat your wood. With a dry cloth, wipe down any excess stain that the wood did not absorb.
Now, it’s time to attach your frame. You will need wood glue, a finishing nail gun and clamps.
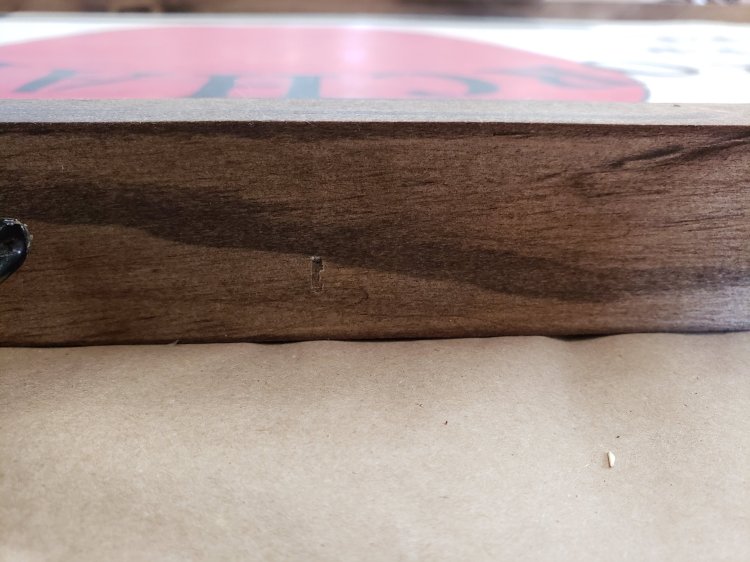
Liberally apply your glue, then attach to your sign and hold with wood clamps while you nail your pieces to the sign. Finishing nails are great, but it’s the wood glue that does most of the work. If you don’t have clamps or in my case, clamps that weren’t long enough, you can use an extra set of hands while you nail your frame in place.
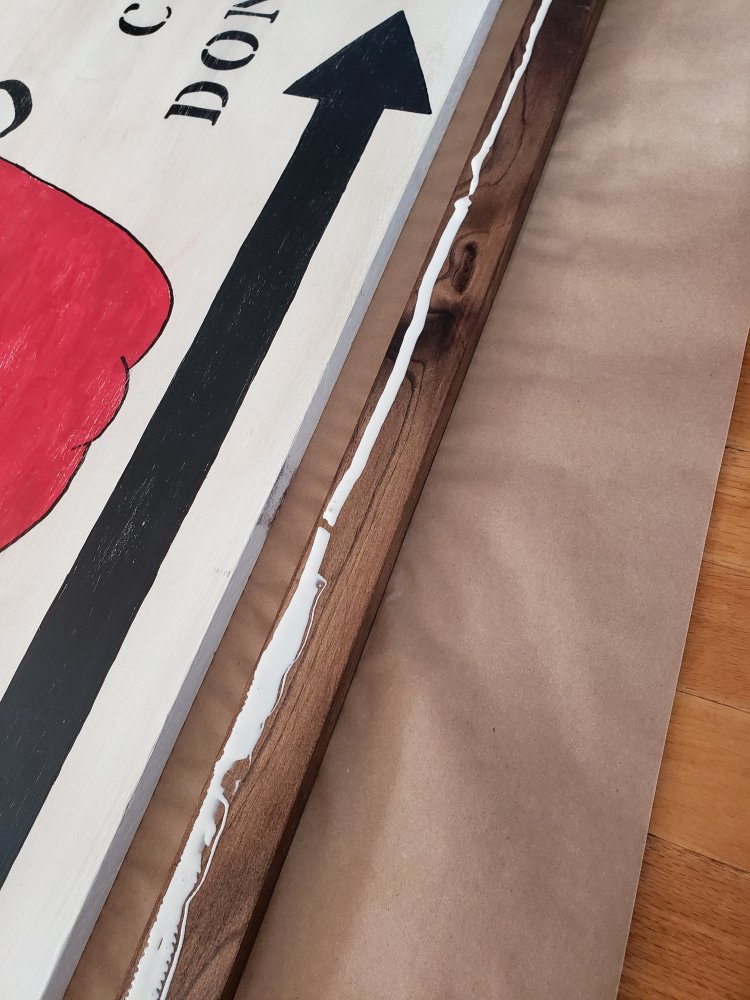
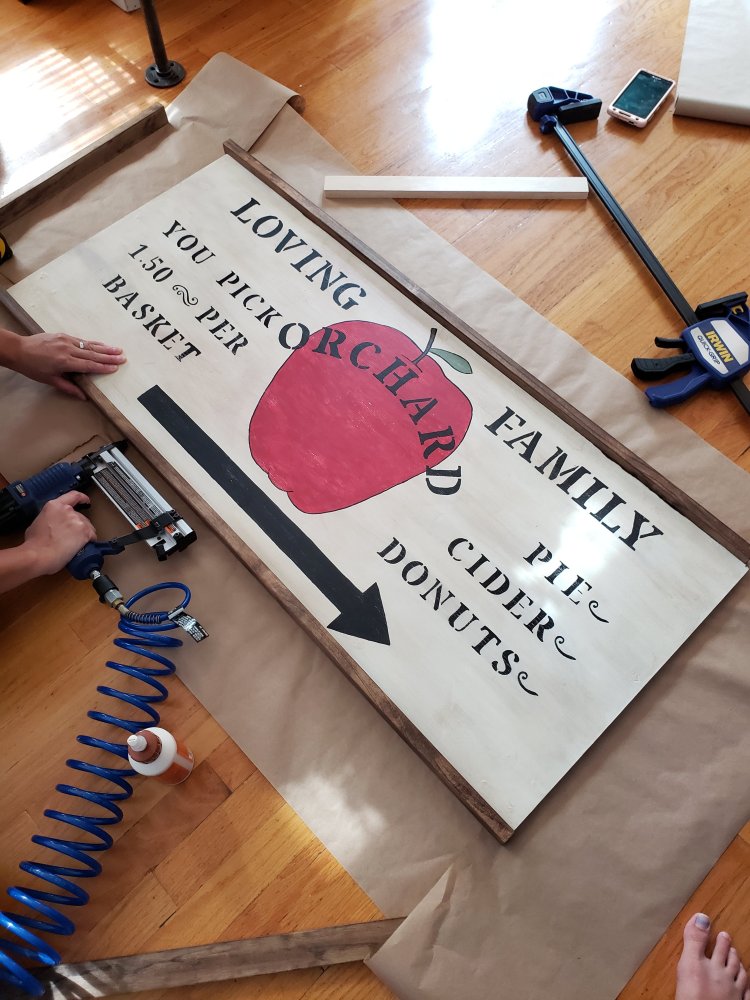
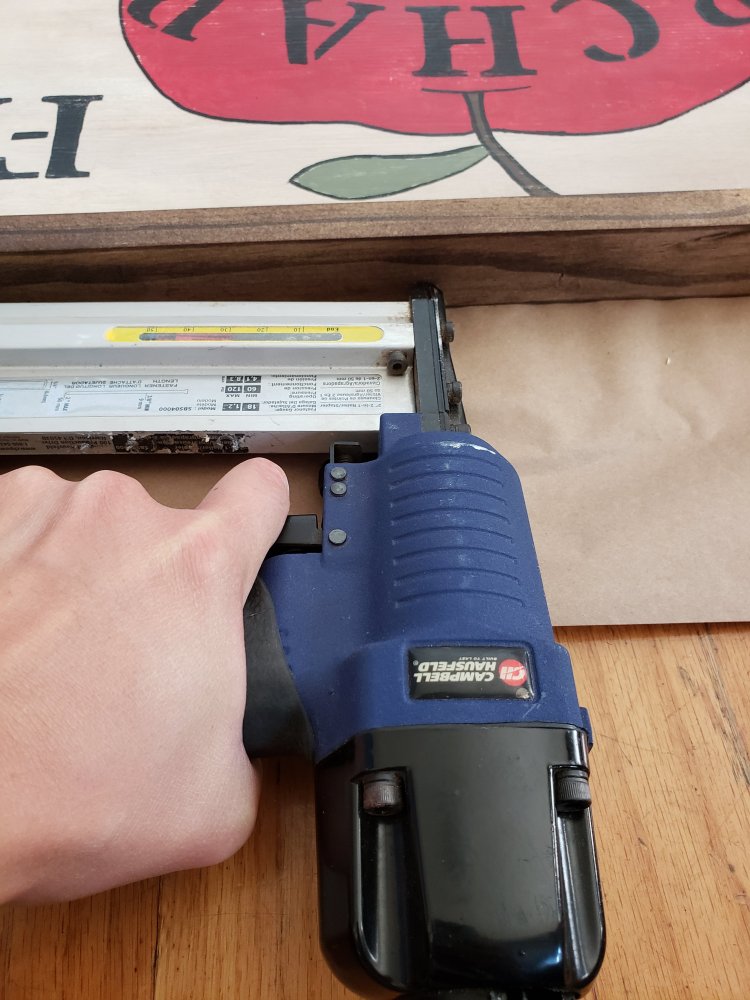
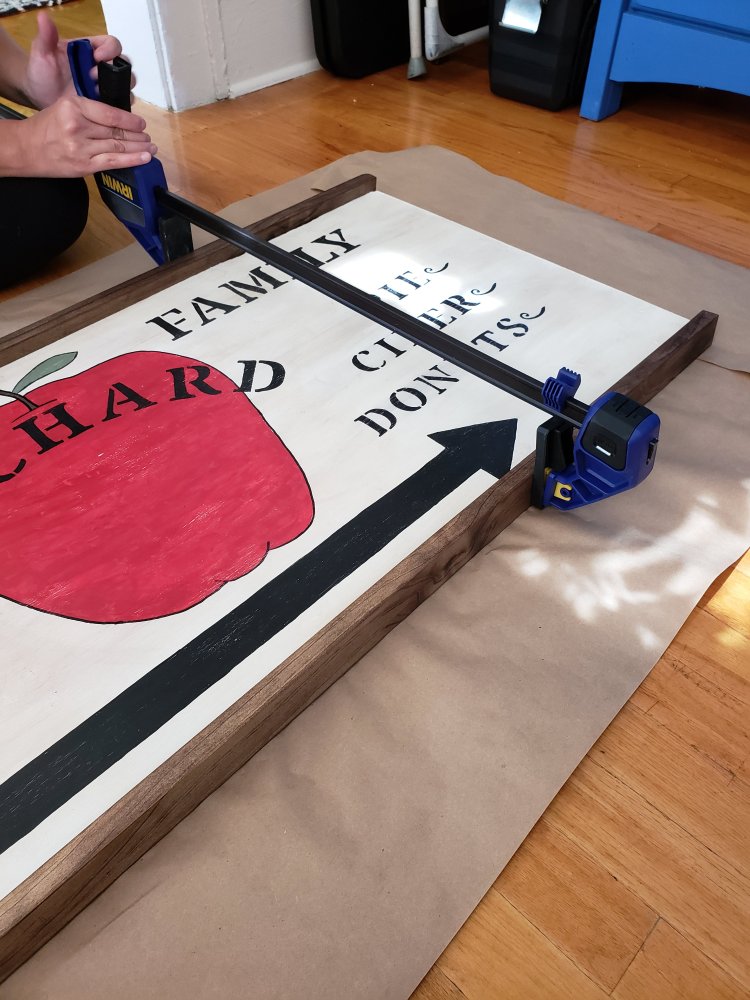
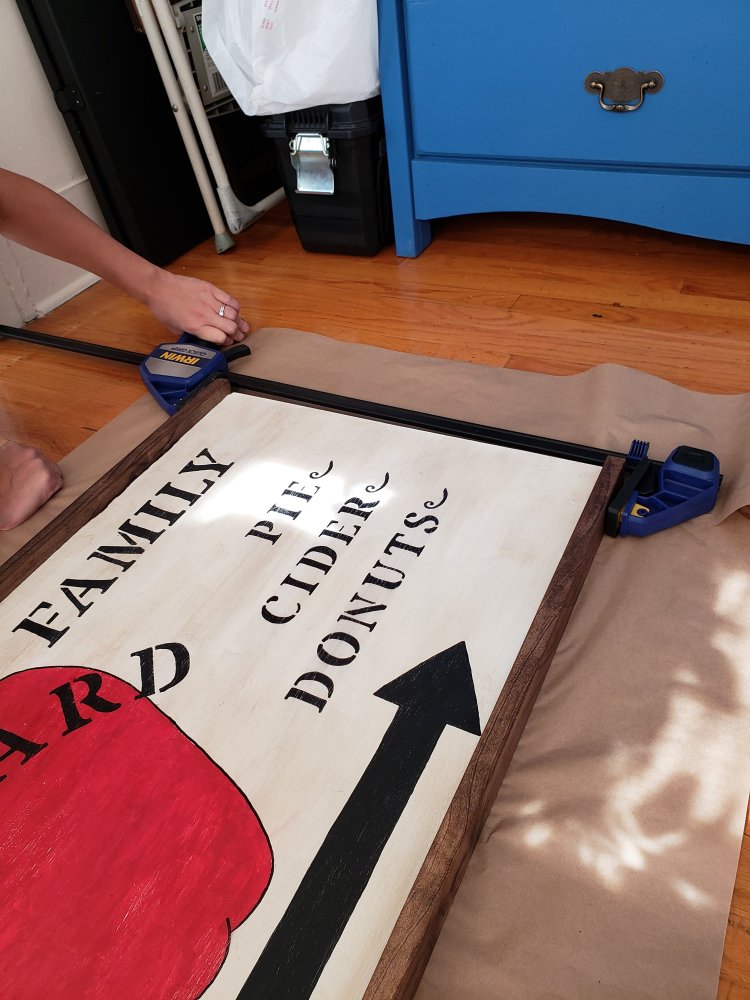
As you can see, my clamps were great height wise, but did not fit the width of the sign and I didn’t want to purchase another set of clamps. You only need them for a few minutes so it’s not a big deal. An extra set of hands will work just fine.
Allow the wood glue to dry for 24hrs before attempting to hang your sign.
To hang my sign, I used picture hanging hardware that I picked up from Lowes.
These DRing hangers are for large pictures and will work great for my heavy sign. Attach them to the back of your frame with the screws provided.
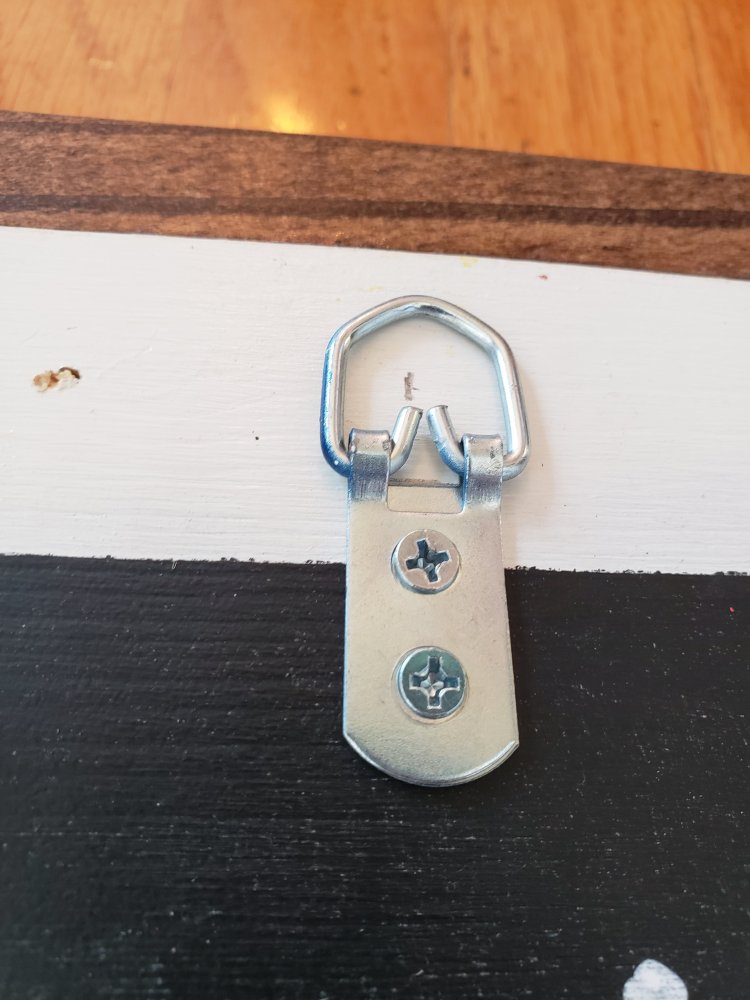
I also used drywall anchors to attach it to my wall for added insurance that it won’t fall down.
And here she is in all her Fall goodness glory!
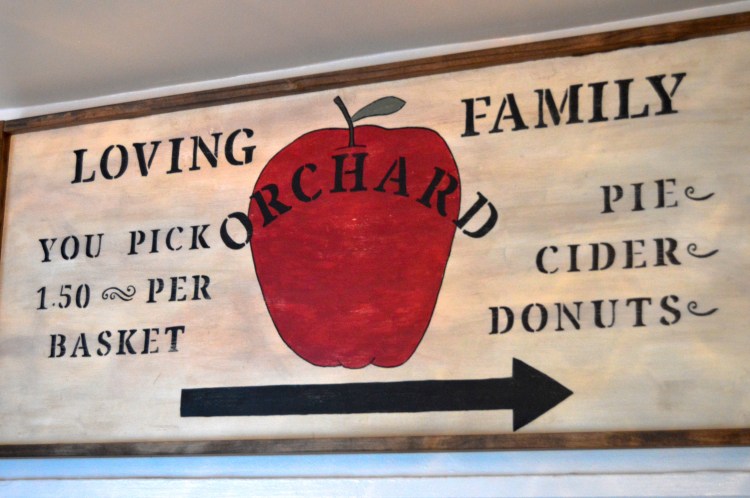
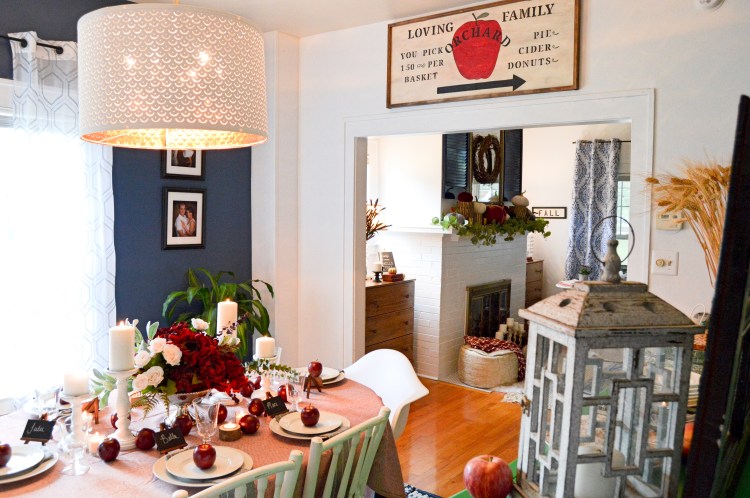
I absolutely love how it turned out! It really wasn’t a hard project and I love having a customized sign for our home. I’m already thinking of another sign that I can use for every day once the season is over. 😁


Came out awesome. Reminds me of my pie shop back home.
LikeLiked by 1 person
Thank you! I love it and it looks great with all my Fall decor out 😁
LikeLike
I love your sign. Thanks for the tutoring.
LikeLiked by 1 person