Hey folks! As promised, I am sharing my experience with chalk paint. Some of you may be thinking, why the heck is she just now trying chalk paint? Where the heck has she been for the last 5 years? And you know what, I can’t answer that for ya. There really isn’t a ‘reason’ that I haven’t tried it, I just haven’t. But that was yesterday and this is today (I’m real deep, ya like that??). After checking out what Lowes had to offer for chalk paint, I got major sticker shock. I mean I heard it was pricey, but what in the world?? I nearly changed my mind, but thought I’d check a few more places first. Next, I looked online for the popular Annie Sloan chalk paint. I realized that I’d have to track down a vendor for that and the price was still not great. So I thought, where do I get everything at a bargain? Walmart, duh!! So, off to Walmart I went. Here’s what I found in their craft section.

It’s Waverly chalk paint. They have quite a few options and in a few different sizes. You can find out the different options of paint colors here. I chose this bright blue because I thought it was awesome and I wanted something that would make a statement. I got a bottle of clear wax as well. 16fl is is the largest bottle they carry, but I was able to get two coats and still have some left in the bottle. A little goes a long way with chalk paint.

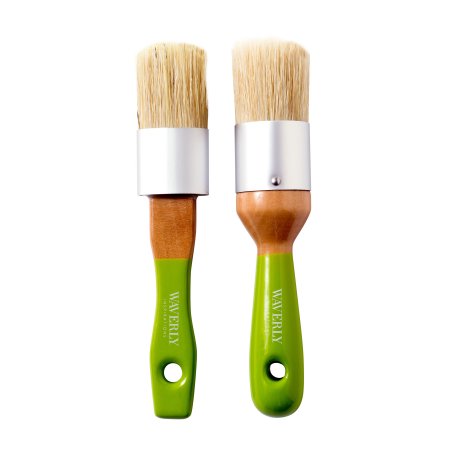
I also grabbed a wax brush, but it was not a good buy. I’ll get into that later.
Here is my project piece.
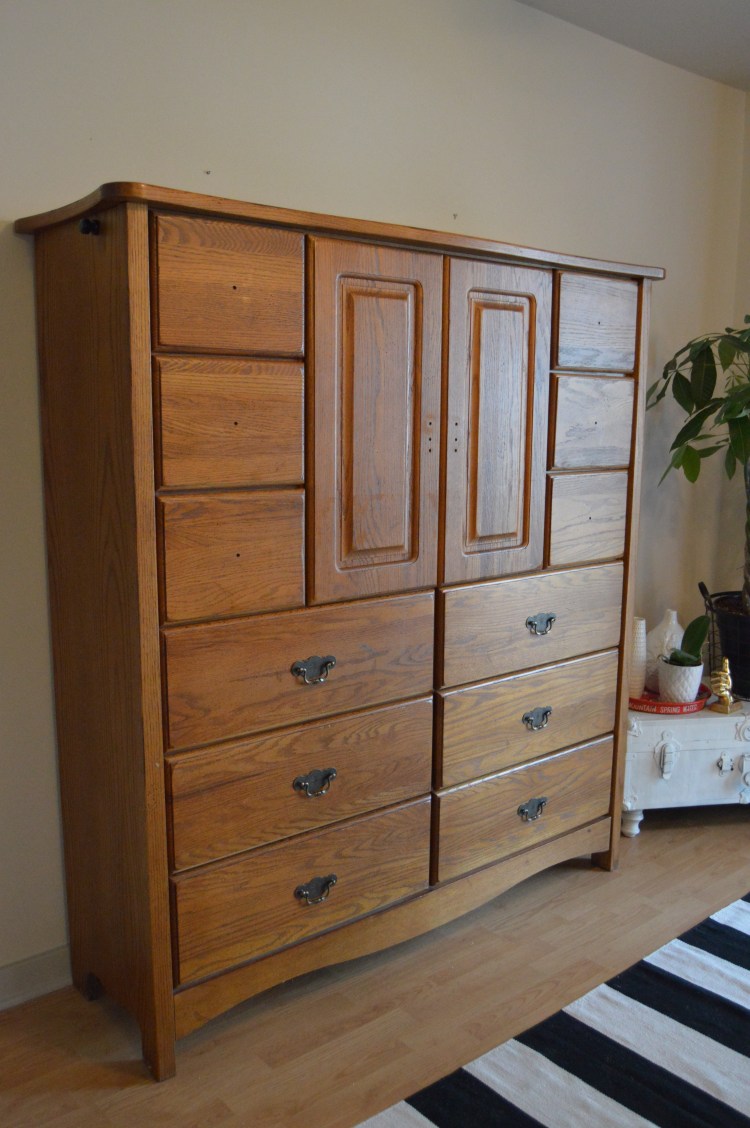
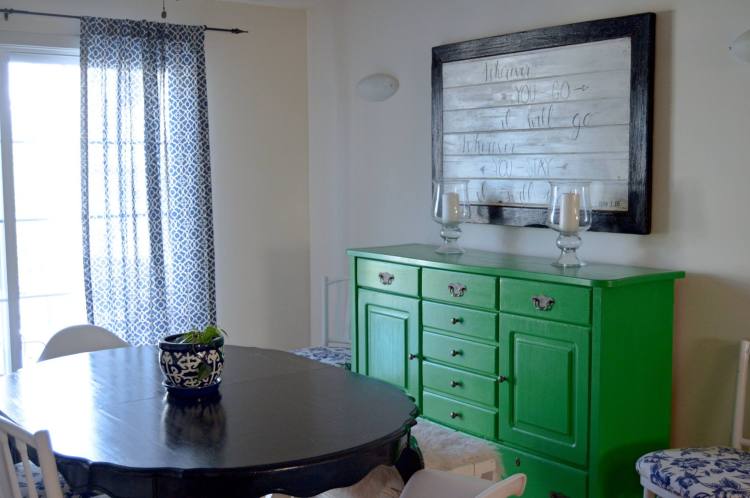
It is the matching armoire to the dresser that I painted Kelly green.
They both belonged to my husband when he was young. He had the dresser in his apartment when we met and then my in-laws recently brought the armoire up from Virginia to our house here in New Jersey. They know I have little storage space so they brought it for me to store some of my kitchen supplies.
First, I removed all the hardware.
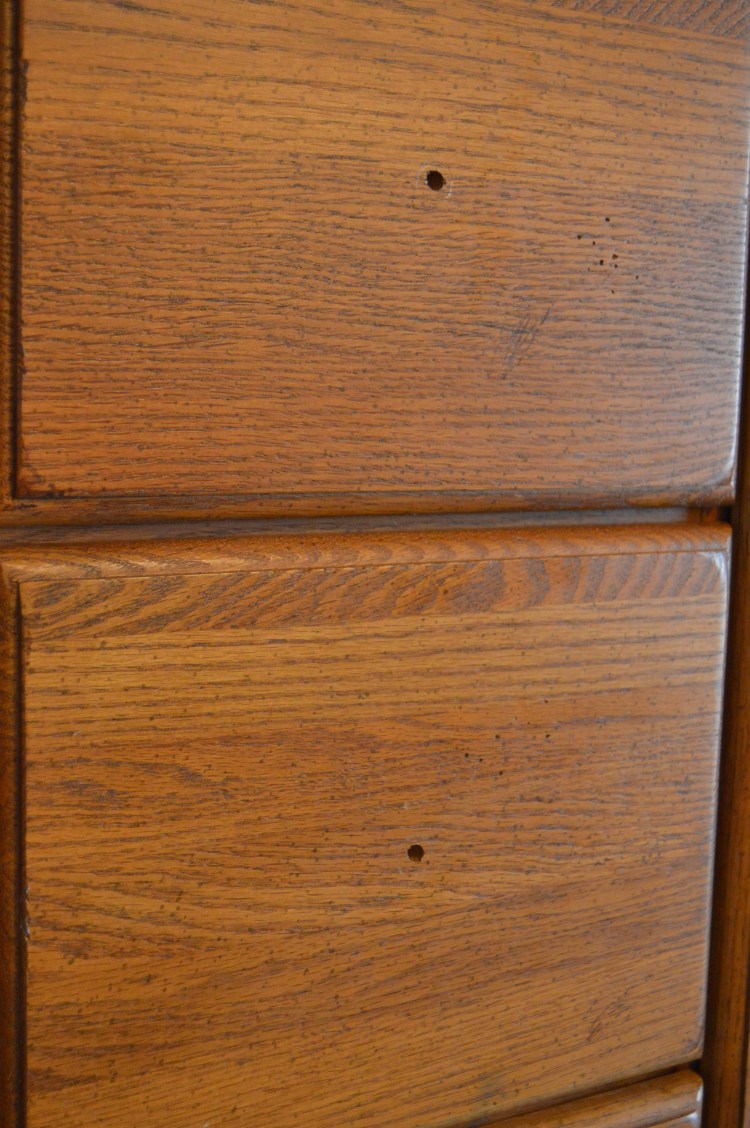
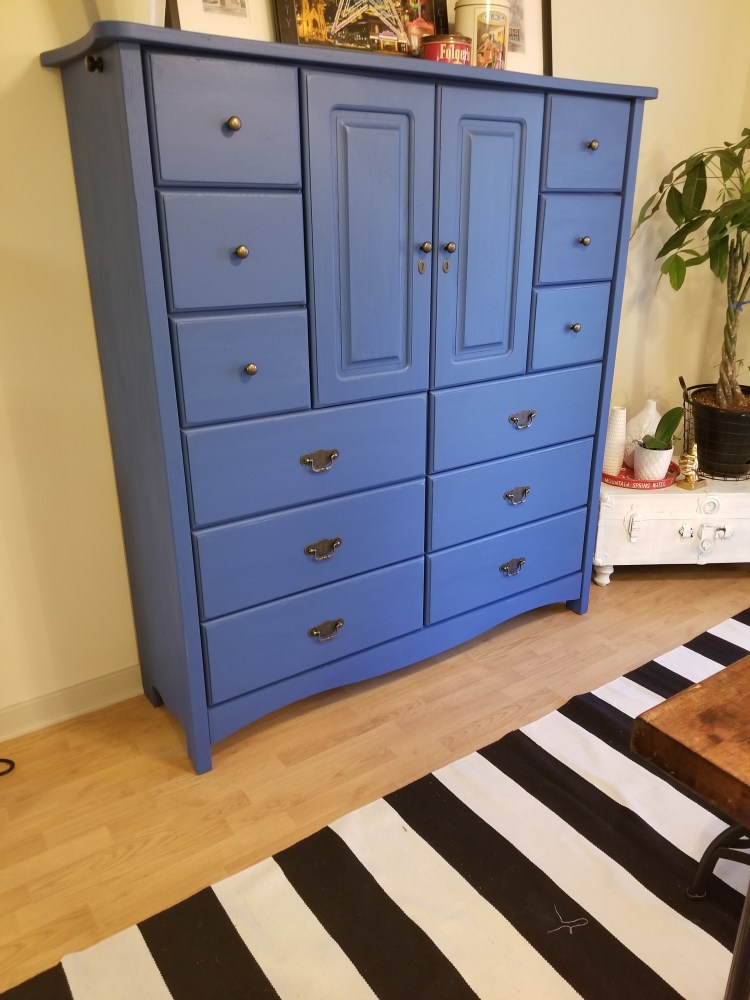
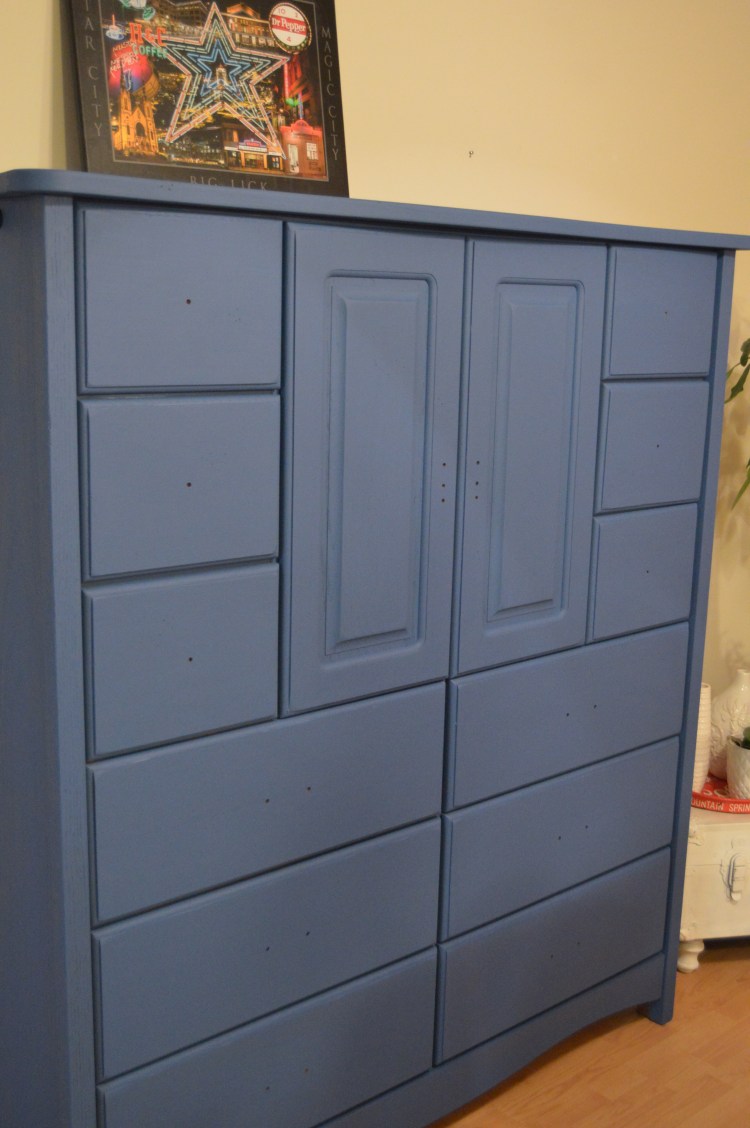
Then, I gave it a good wipe down with a wet cloth to get rid of any grease, dust, etc. I grabbed a regular paint brush that I got from Lowes and got busy painting. The best part about chalk paint is that there is no prep work. You do not have to sand your furniture before applying it. I gave it one coat and let it dry overnight. The next day, I gave it one more coat and let it dry for another 24 hours. Here it is with two coats of paint. It has a matte finish.
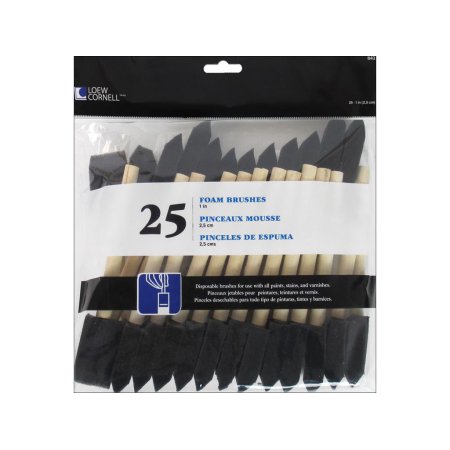
Finally, I grabbed my newly purchased wax brush and applied the wax in light coats. I instantly noticed that the bristles were falling off and sticking to the finish. I tried to wipe it with my hand and that just put big fingerprints in the finish. I don’t have any pictures of this because I was so frustrated about it and frantically trying to save my furniture finish. I finally grabbed a sponge paint brush that I had on hand and used it to remove the bristles and apply the rest of the wax. You can find them at any craft store or home improvement store and Walmart carries them as well.
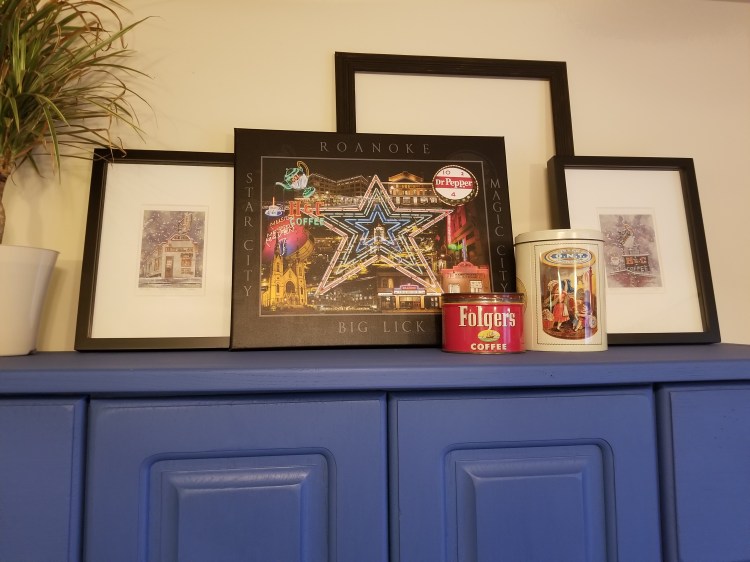
Thank God, it worked well. Once your wax dries it will have a sort of satin finish. If you want a more glossy finish, you can buff your piece. I chose to leave it as it was and I love the way it turned out. The blue is so pretty and I’ve gotten so many compliments about it.
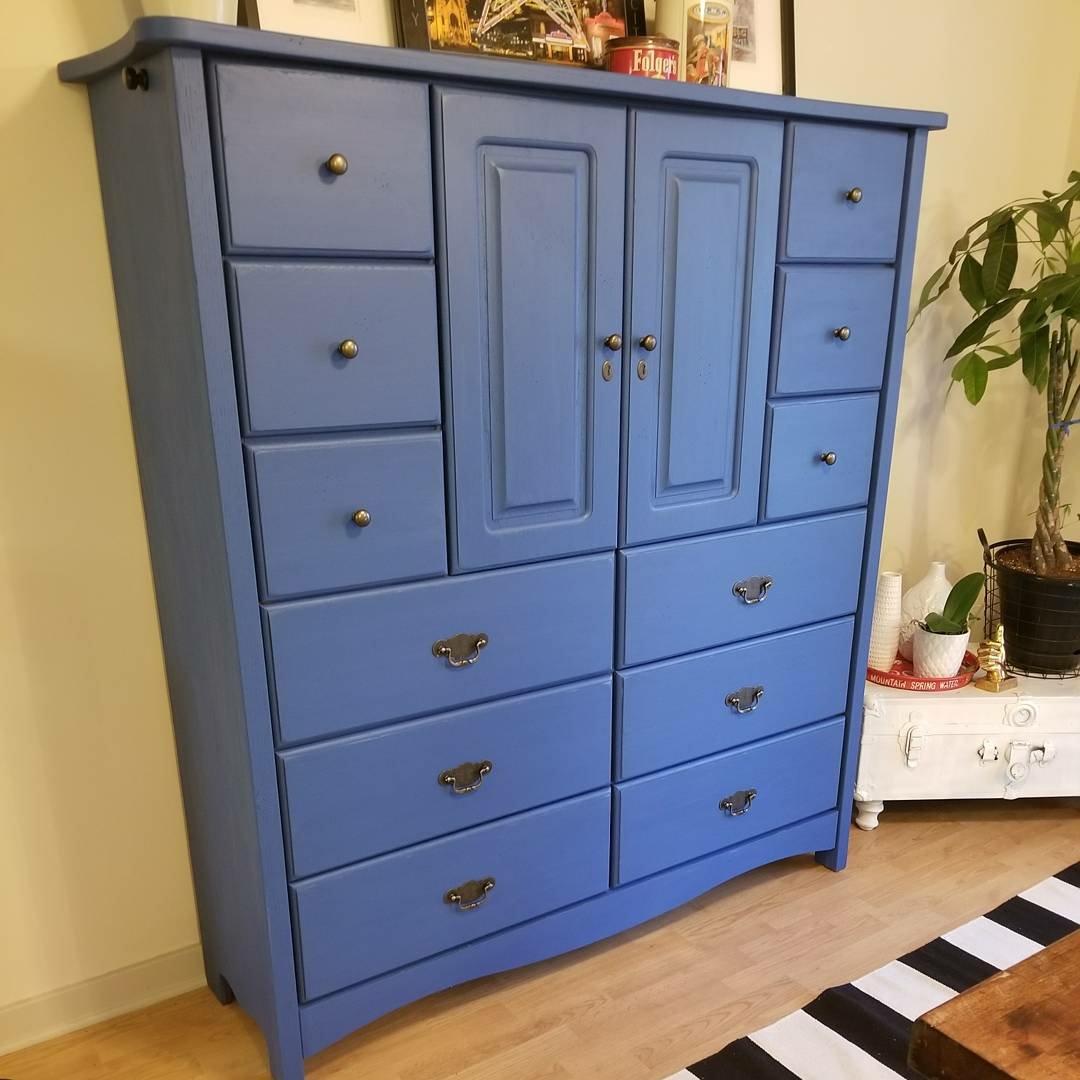
Needless to say, I am very pleased with the Walmart chalk paint. I like the variety of colors they have to choose from. I had no issues with the paint adhering to my piece and so far I haven’t had any issues with the paint chipping or scraping off. Other than my poor brush experience, I like the wax finish. If you would still like to use a brush on your furniture piece, I recommend getting a better quality brush. If not, you can use a cheap sponge brush like I did. If you’re contemplating trying chalk paint, go for it. And if you’re worried about the cost, try the paint from Walmart. Happy painting!!

