
I made this bench for our mudroom area. I was sick of seeing piles of shoes and jackets by the back door. I’ve seen similar benches for breakfast nooks and front door storage.
Supply list:
1 ea 1×2 furring strip
1 ea 2×4 lumber
2 ea 2×6 lumber
2 stock cabinets made for above the refrigerator
1 ea 3.5″, 12′ baseboard
1 ea .5″, 12′ shoe trim
1 ea .5″, 12′ quarter round trim
4 ea cabinet knobs
Hardwood for seat
construction adhesive
2.5″ wood screws
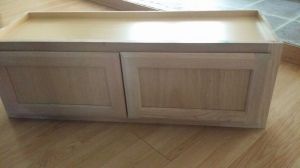
Pick out your unfinished cabinets at your local Lowes or Home Depot.
Turn it upside down and build a frame with your 2×6 boards to fit inside the base of the cabinet. Use 2.5″ wood screws to attach your frame. Cut 2 pieces of the 2×6 to fit and secure with the frame for more support. This will give it stability and raise it to bench height. You’re going to build a frame for each cabinet.
Set your cabinets in place about 4″-6″ from the wall. Decide how deep you would like your bench to be and that will determine how far from the wall you place your cabinets. Once you have it in place, you will need to mark and measure where your 2×4 board will go on the wall.This 2×4 is going to be the back support for your seat so it will need to be very strong and sturdy. It will need to be level with the top of your cabinets and attached to a stud in the wall. Once you’ve made your measurements, move your cabinet so you can attach your 2×4 into place.
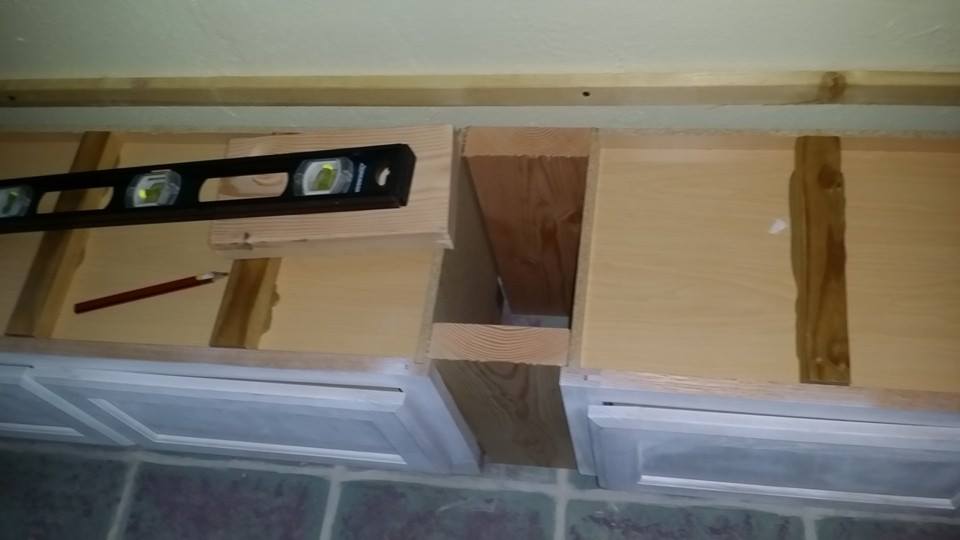
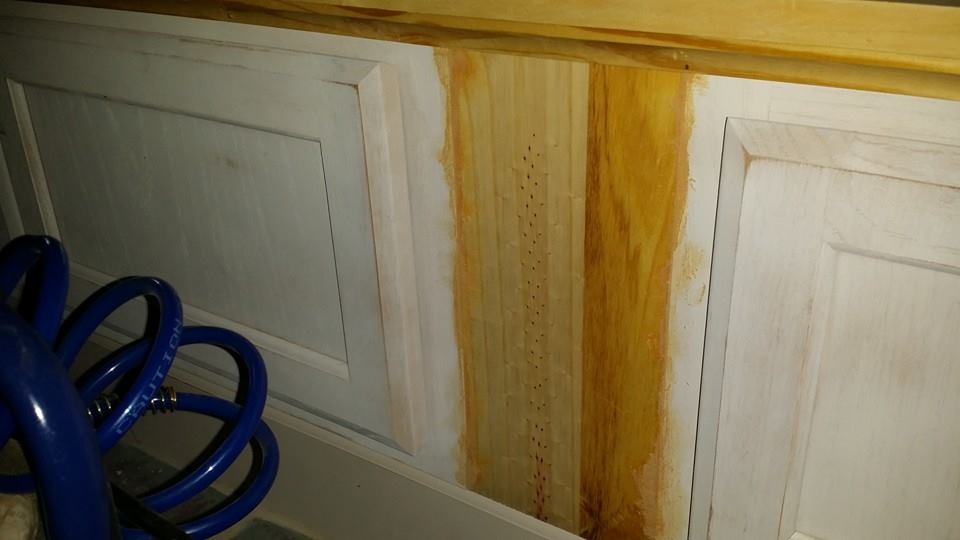
Next you will cut and fit a 2×6 to fit in between the back and front of the cabinets as filler. You want this to look like a built-in, not two cabinets stuck together. Glue the outside edges then set in place. Nail from the inside corners of your cabinets. You can also use screws, just make sure you pre-drill your holes so your wood does not crack. Use wood filler to fill the seams.

Now, it’s time to figure out the seat. The top of the cabinets have the same frame as the bottom. Cut your furring strip to fit width wise inside the cabinet frame. I cut three pieces for each cabinet top. Use construction adhesive to glue them in place and set your boards with weight on top until the glue dries about 24 hours.

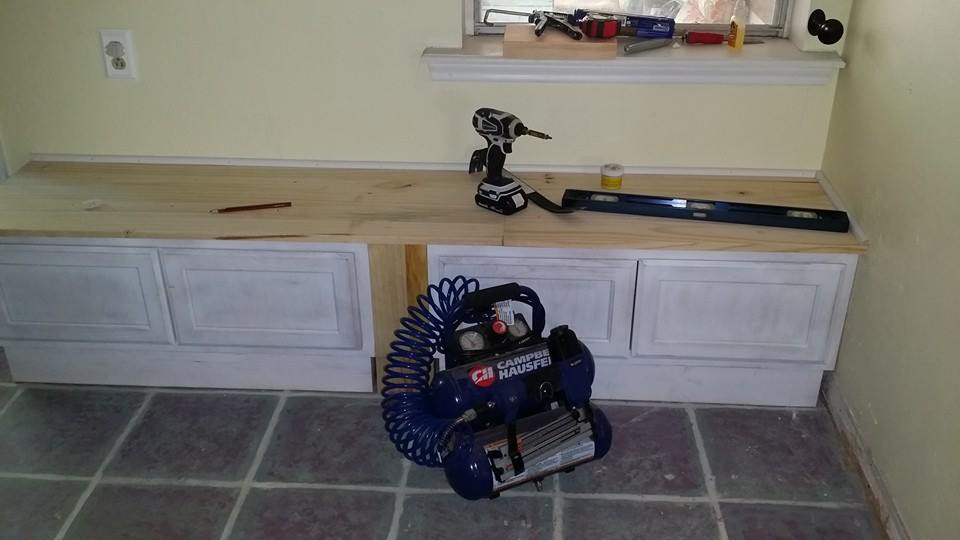
Once your glue has set cut your hardwood pieces to fit. My seat was 15″ deep so I used two 8″ wide pieces of hardwood for my top. Glue and nail your boards onto the 2×4 and furring strips. Lots and Lots of glue!
The hard work is done, now it’s time to make your bench pretty and look more like a built-in. Cut your baseboard to fit the front and side(s) of your bench. The baseboard will cover the space between the two cabinets. I use a miter saw for all my trim work, but you can use a cheap miter box for your projects. You can get a saw and miter box for as low at $10 at Lowes. Glue and nail your trim in place.
Your shoe trim will go at the bottom of the baseboard and your quarter round will go on the top of your seat where it meats the wall. These steps are optional, but they will give you a more finished look. Cut and glue your shoe trim just as you did your baseboard. The only difference for the quarter round is you will cut inside corners rather than outside corner.
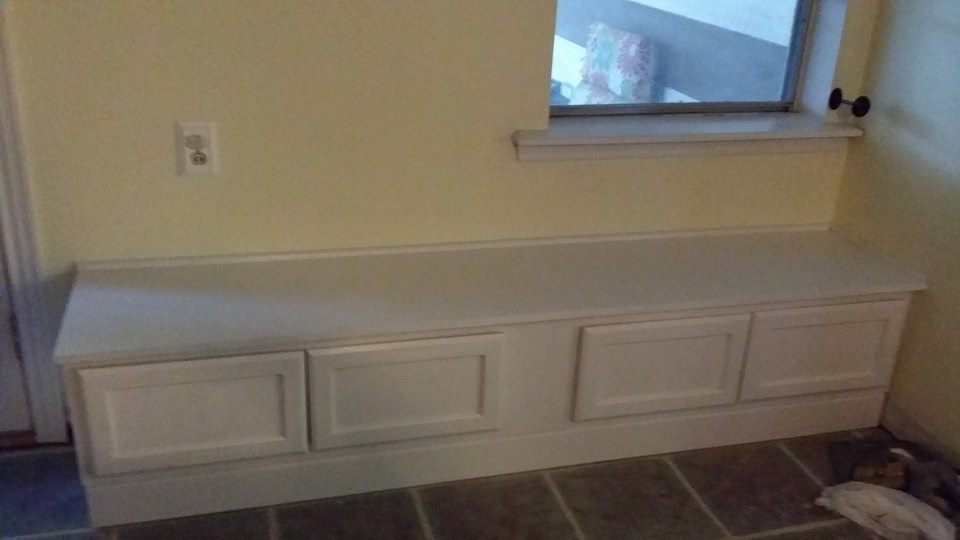
Once you have all your pieces cut, glued and nailed into place, sand all the raw wood and the excess wood filler. Give your entire bench a good coat of primer, then paint. Lightly sand between coats of primer and paint to give a smooth, even finish. Mark and drill holes for your cabinet knobs. I chose to put them at the top inside corners. Once you’ve got your knobs on, add a couple pillows and admire your hard work. Then get onto your kids and husband when they don’t put their shoes in your bench!


