This project was literally 3 years in the making. We started right after we moved in, buying appliances, quartz counters, and tiling the backsplash. *Disclaimer- my early pictures of our renovations are horrible. They were taken long before I had visions of a blog*
The appliances were the first step. They were not purchased at the same time. Anyone who has replaced an appliance knows they are not cheap. The first one we had to buy was a refrigerator. The previous owners took the one in the kitchen so that was a no brainer. That is when we decided to go with stainless steel appliances. We also decided not to get a huge refrigerator after seeing how much space the other one took. This kitchen was built in the 60s. They didn’t live supersize like we do now. This is the one we chose and I’ve loved it.
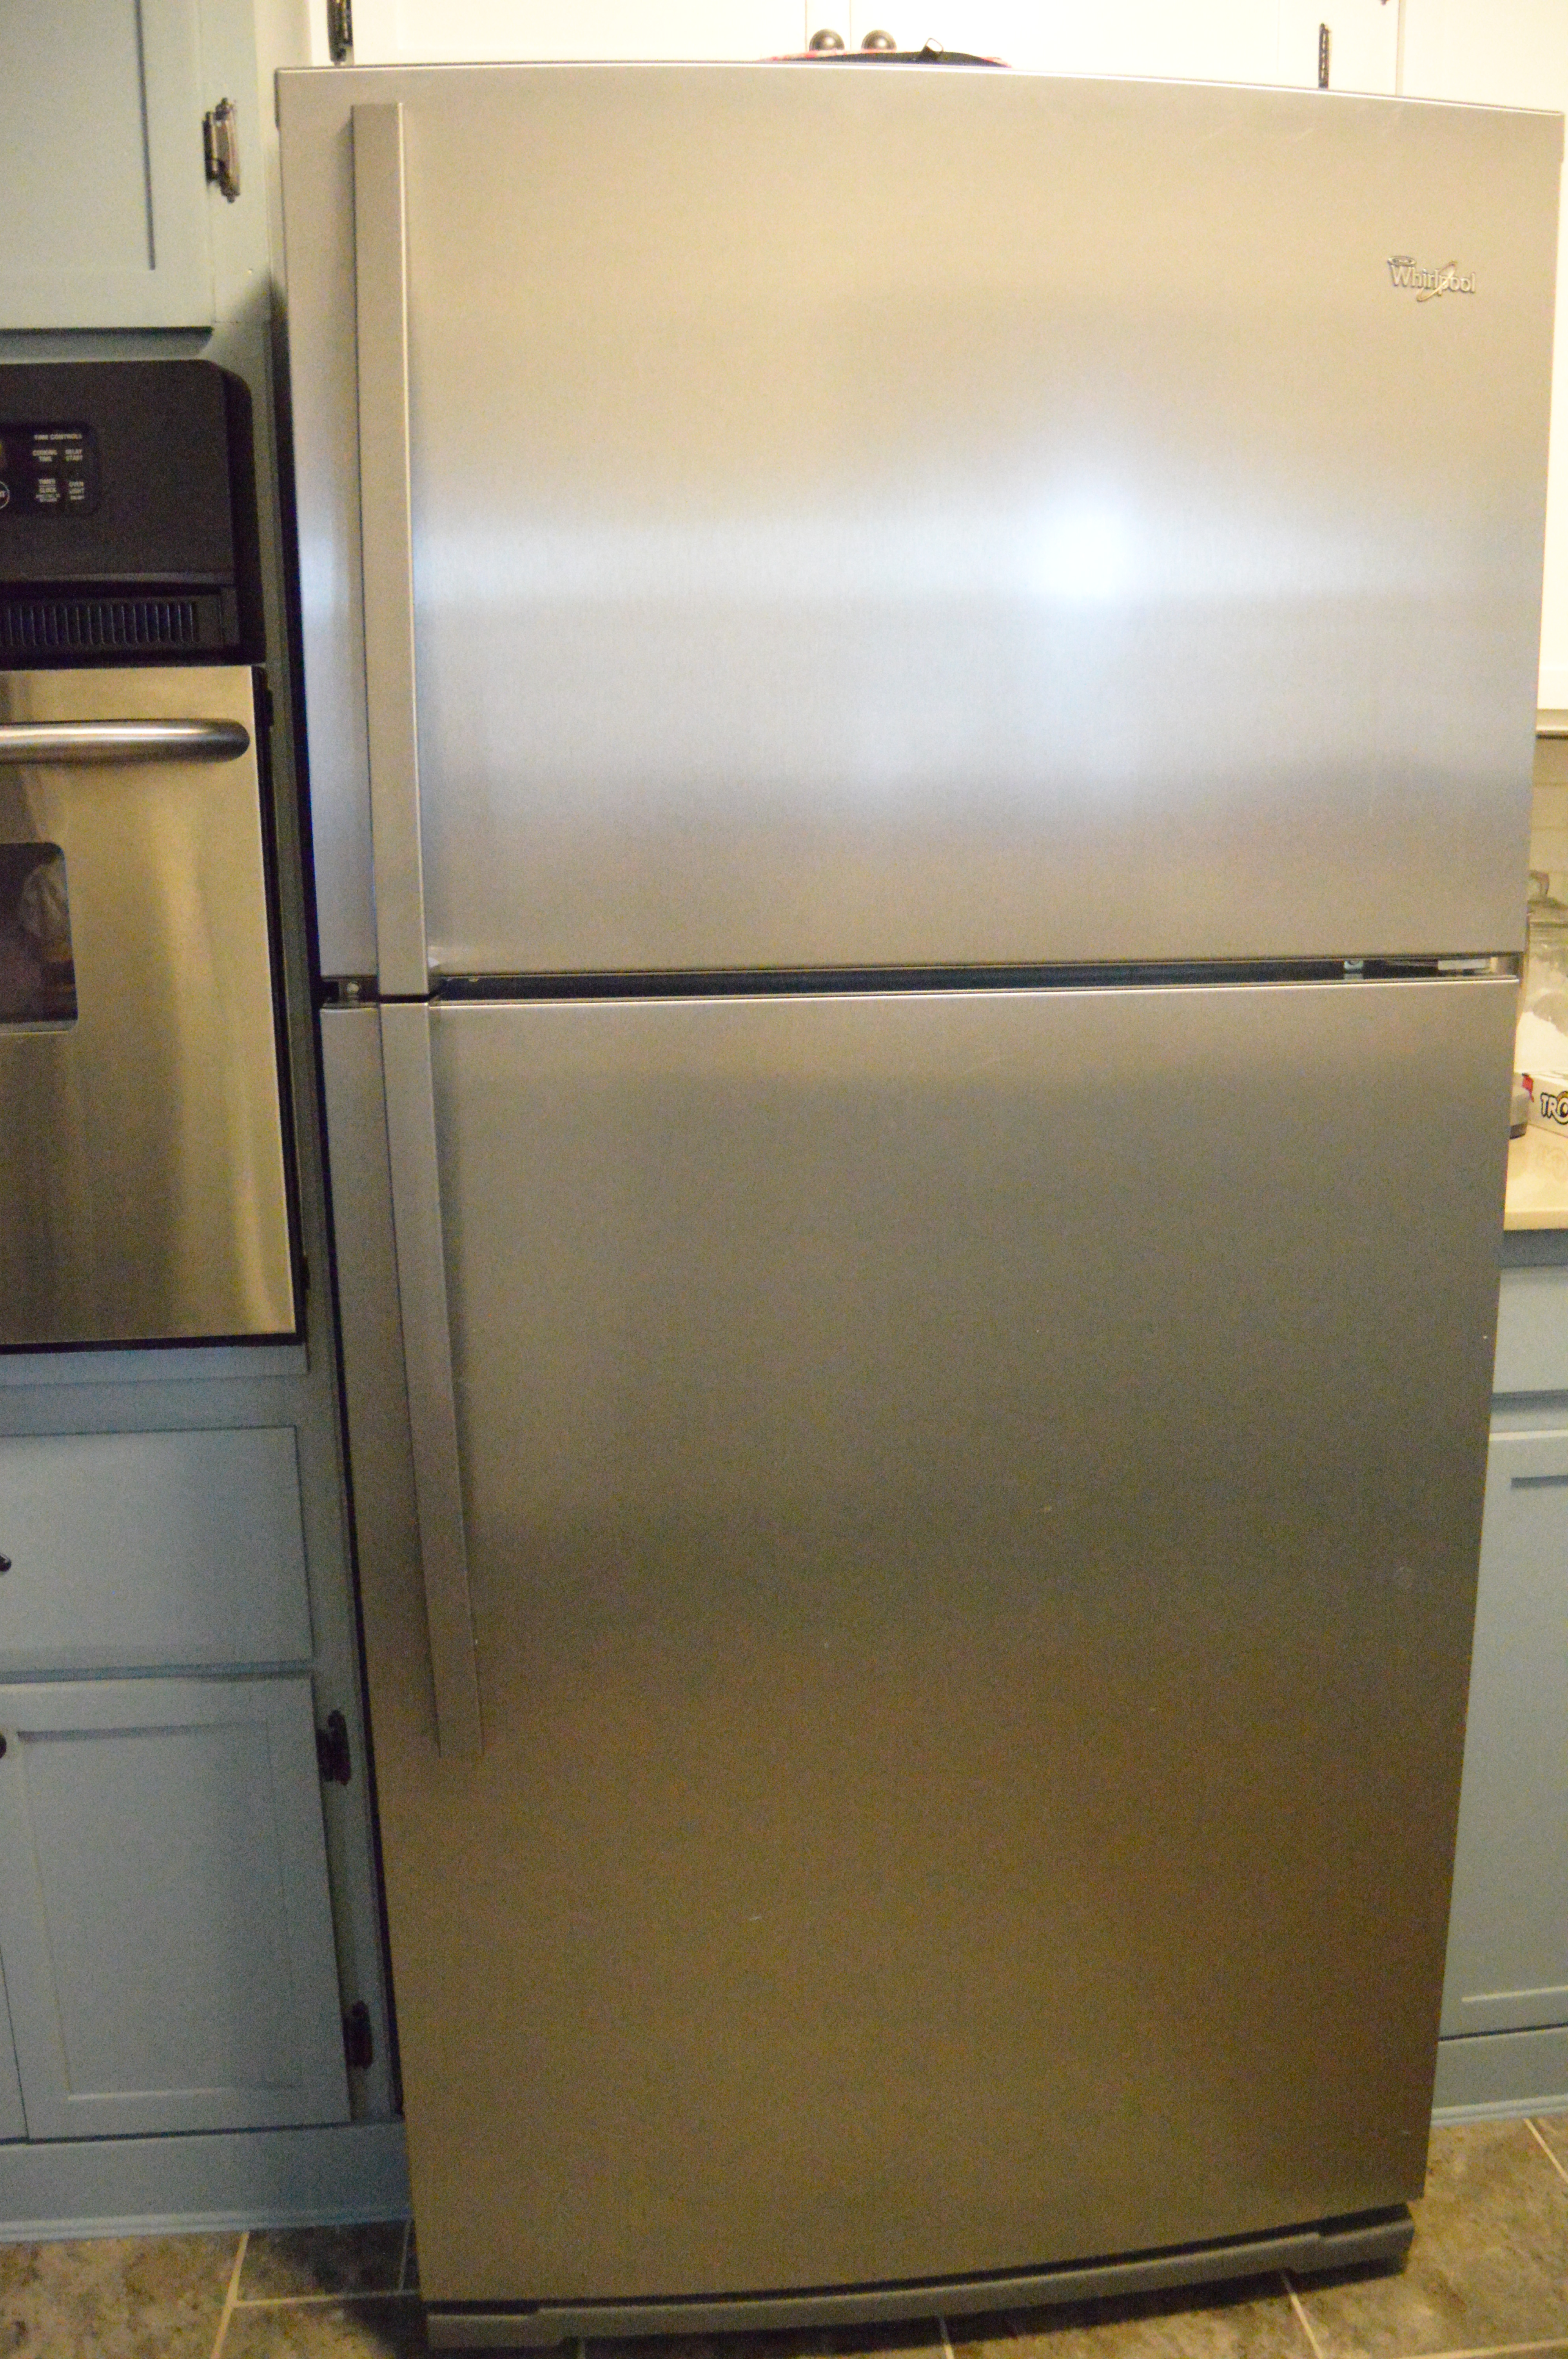
The shelves are adjustable and it has plenty of room for our family of 5, even during the holidays.
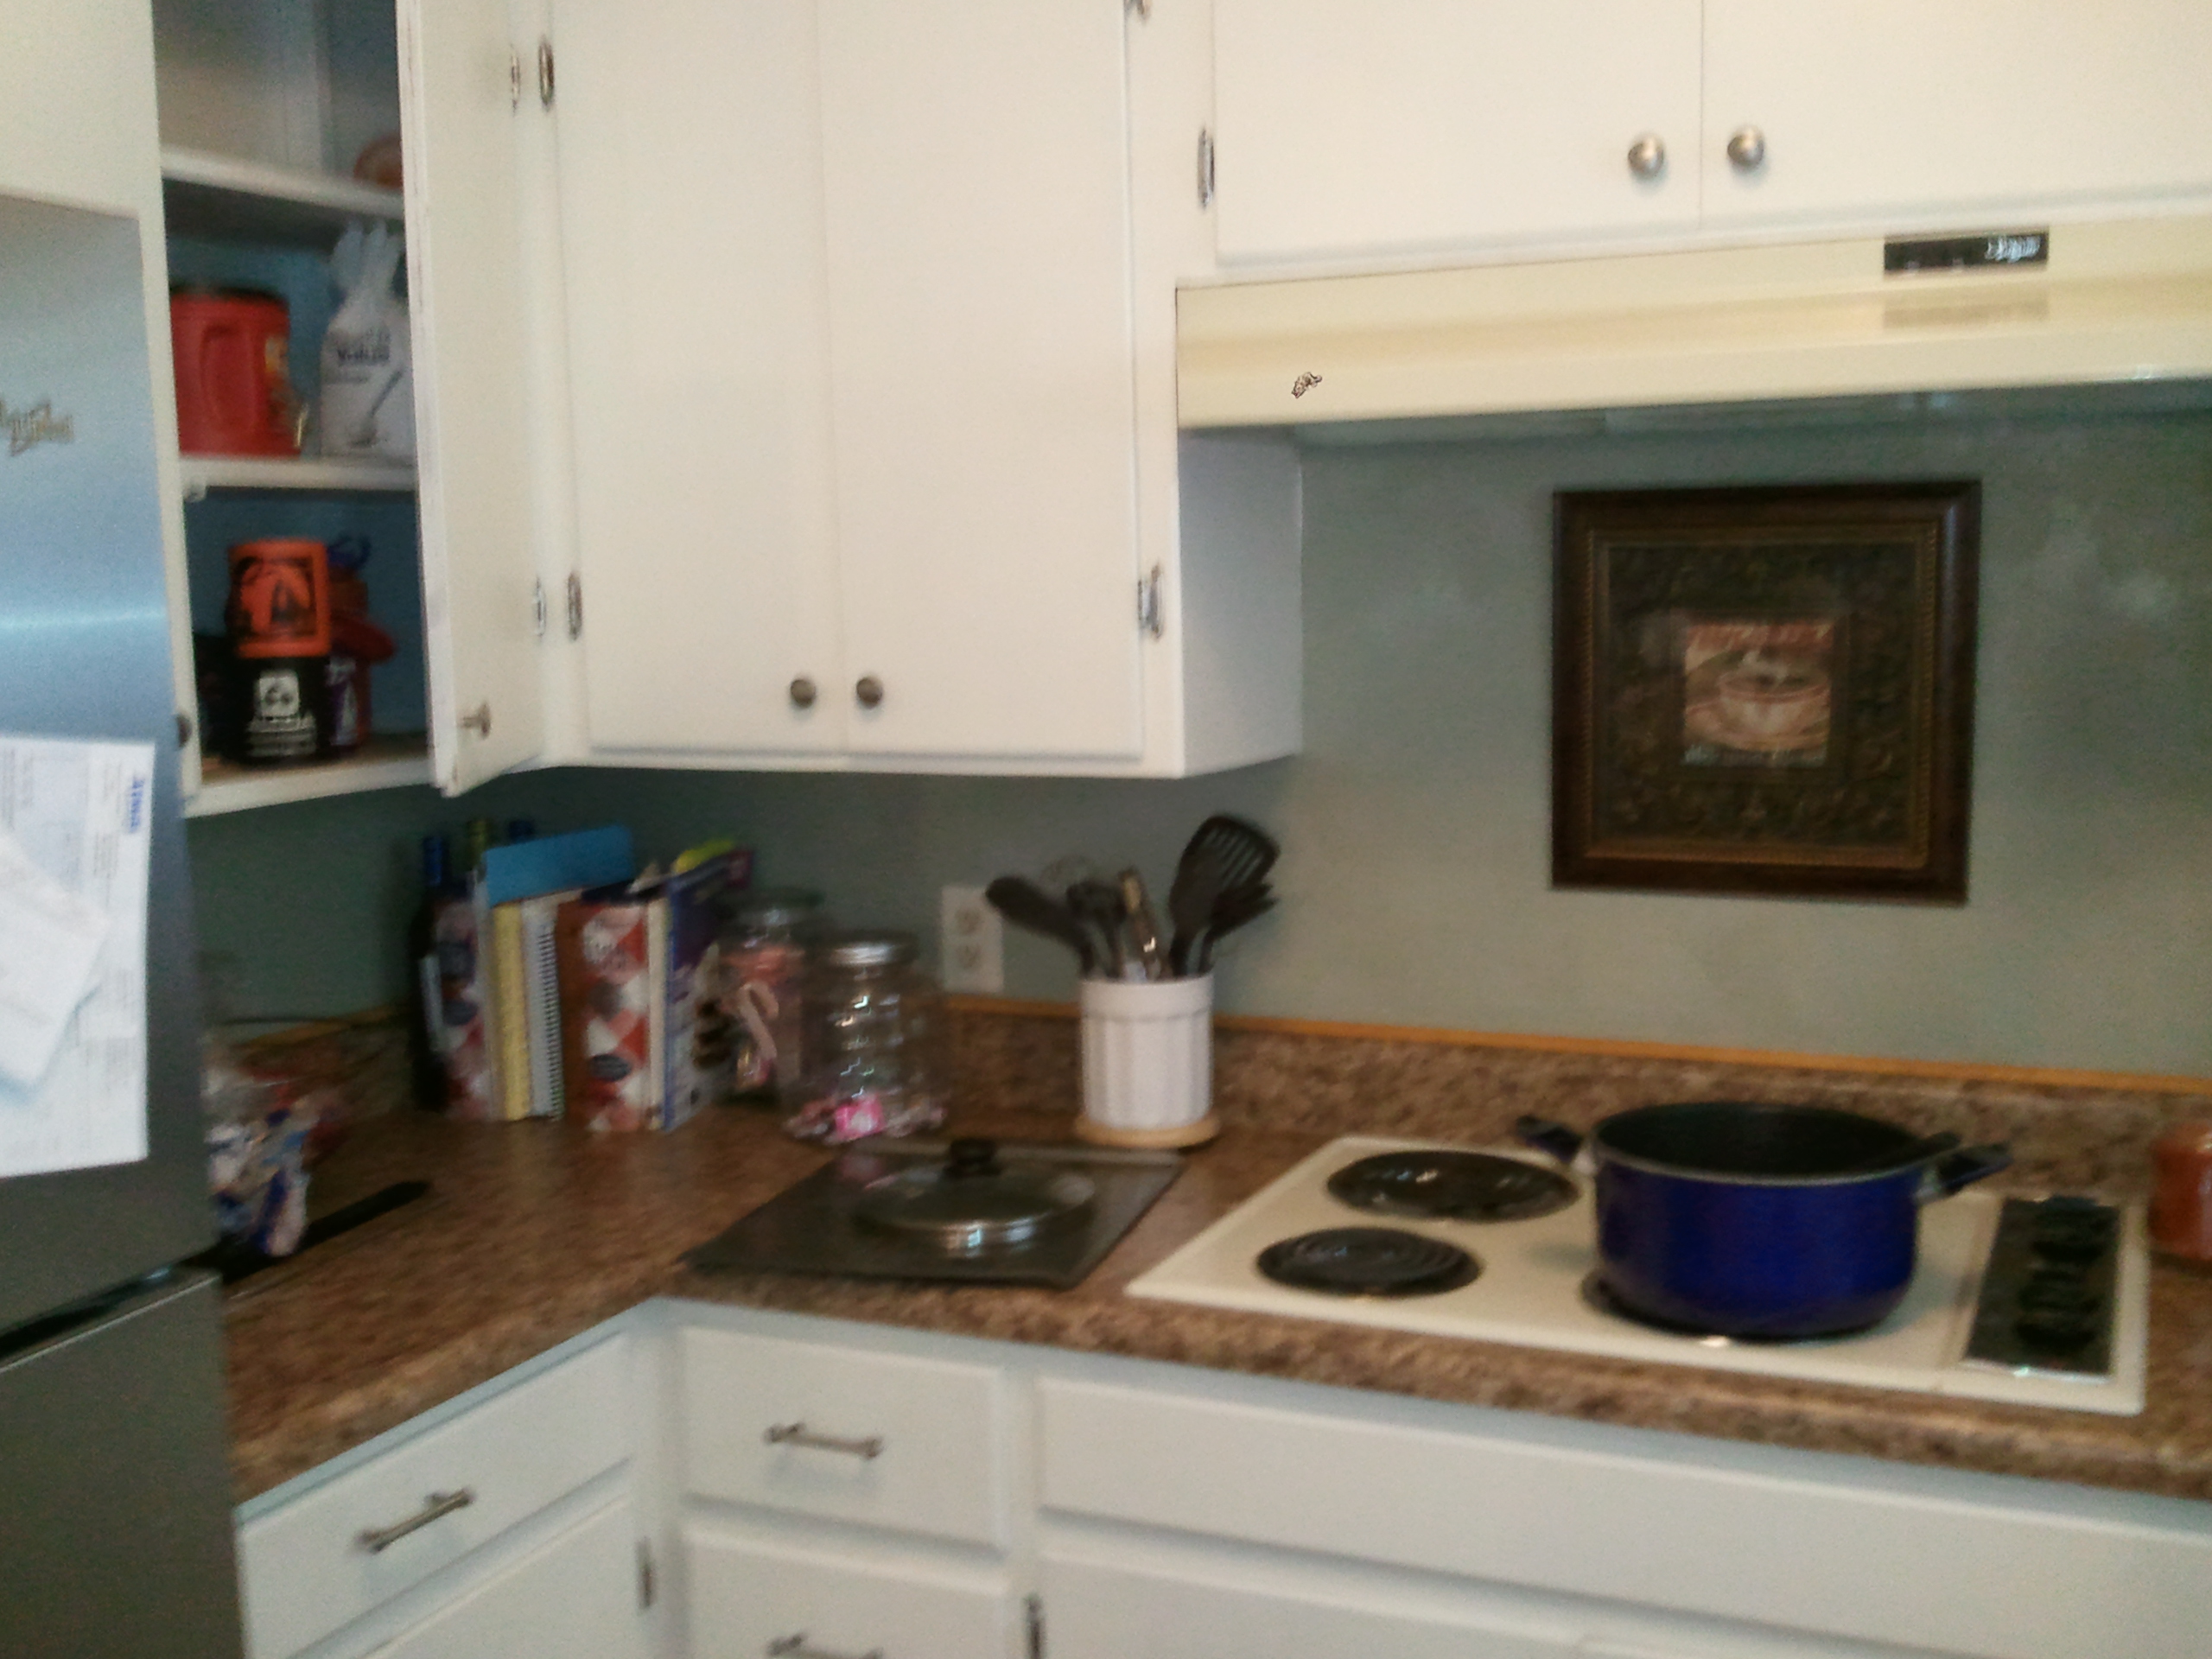
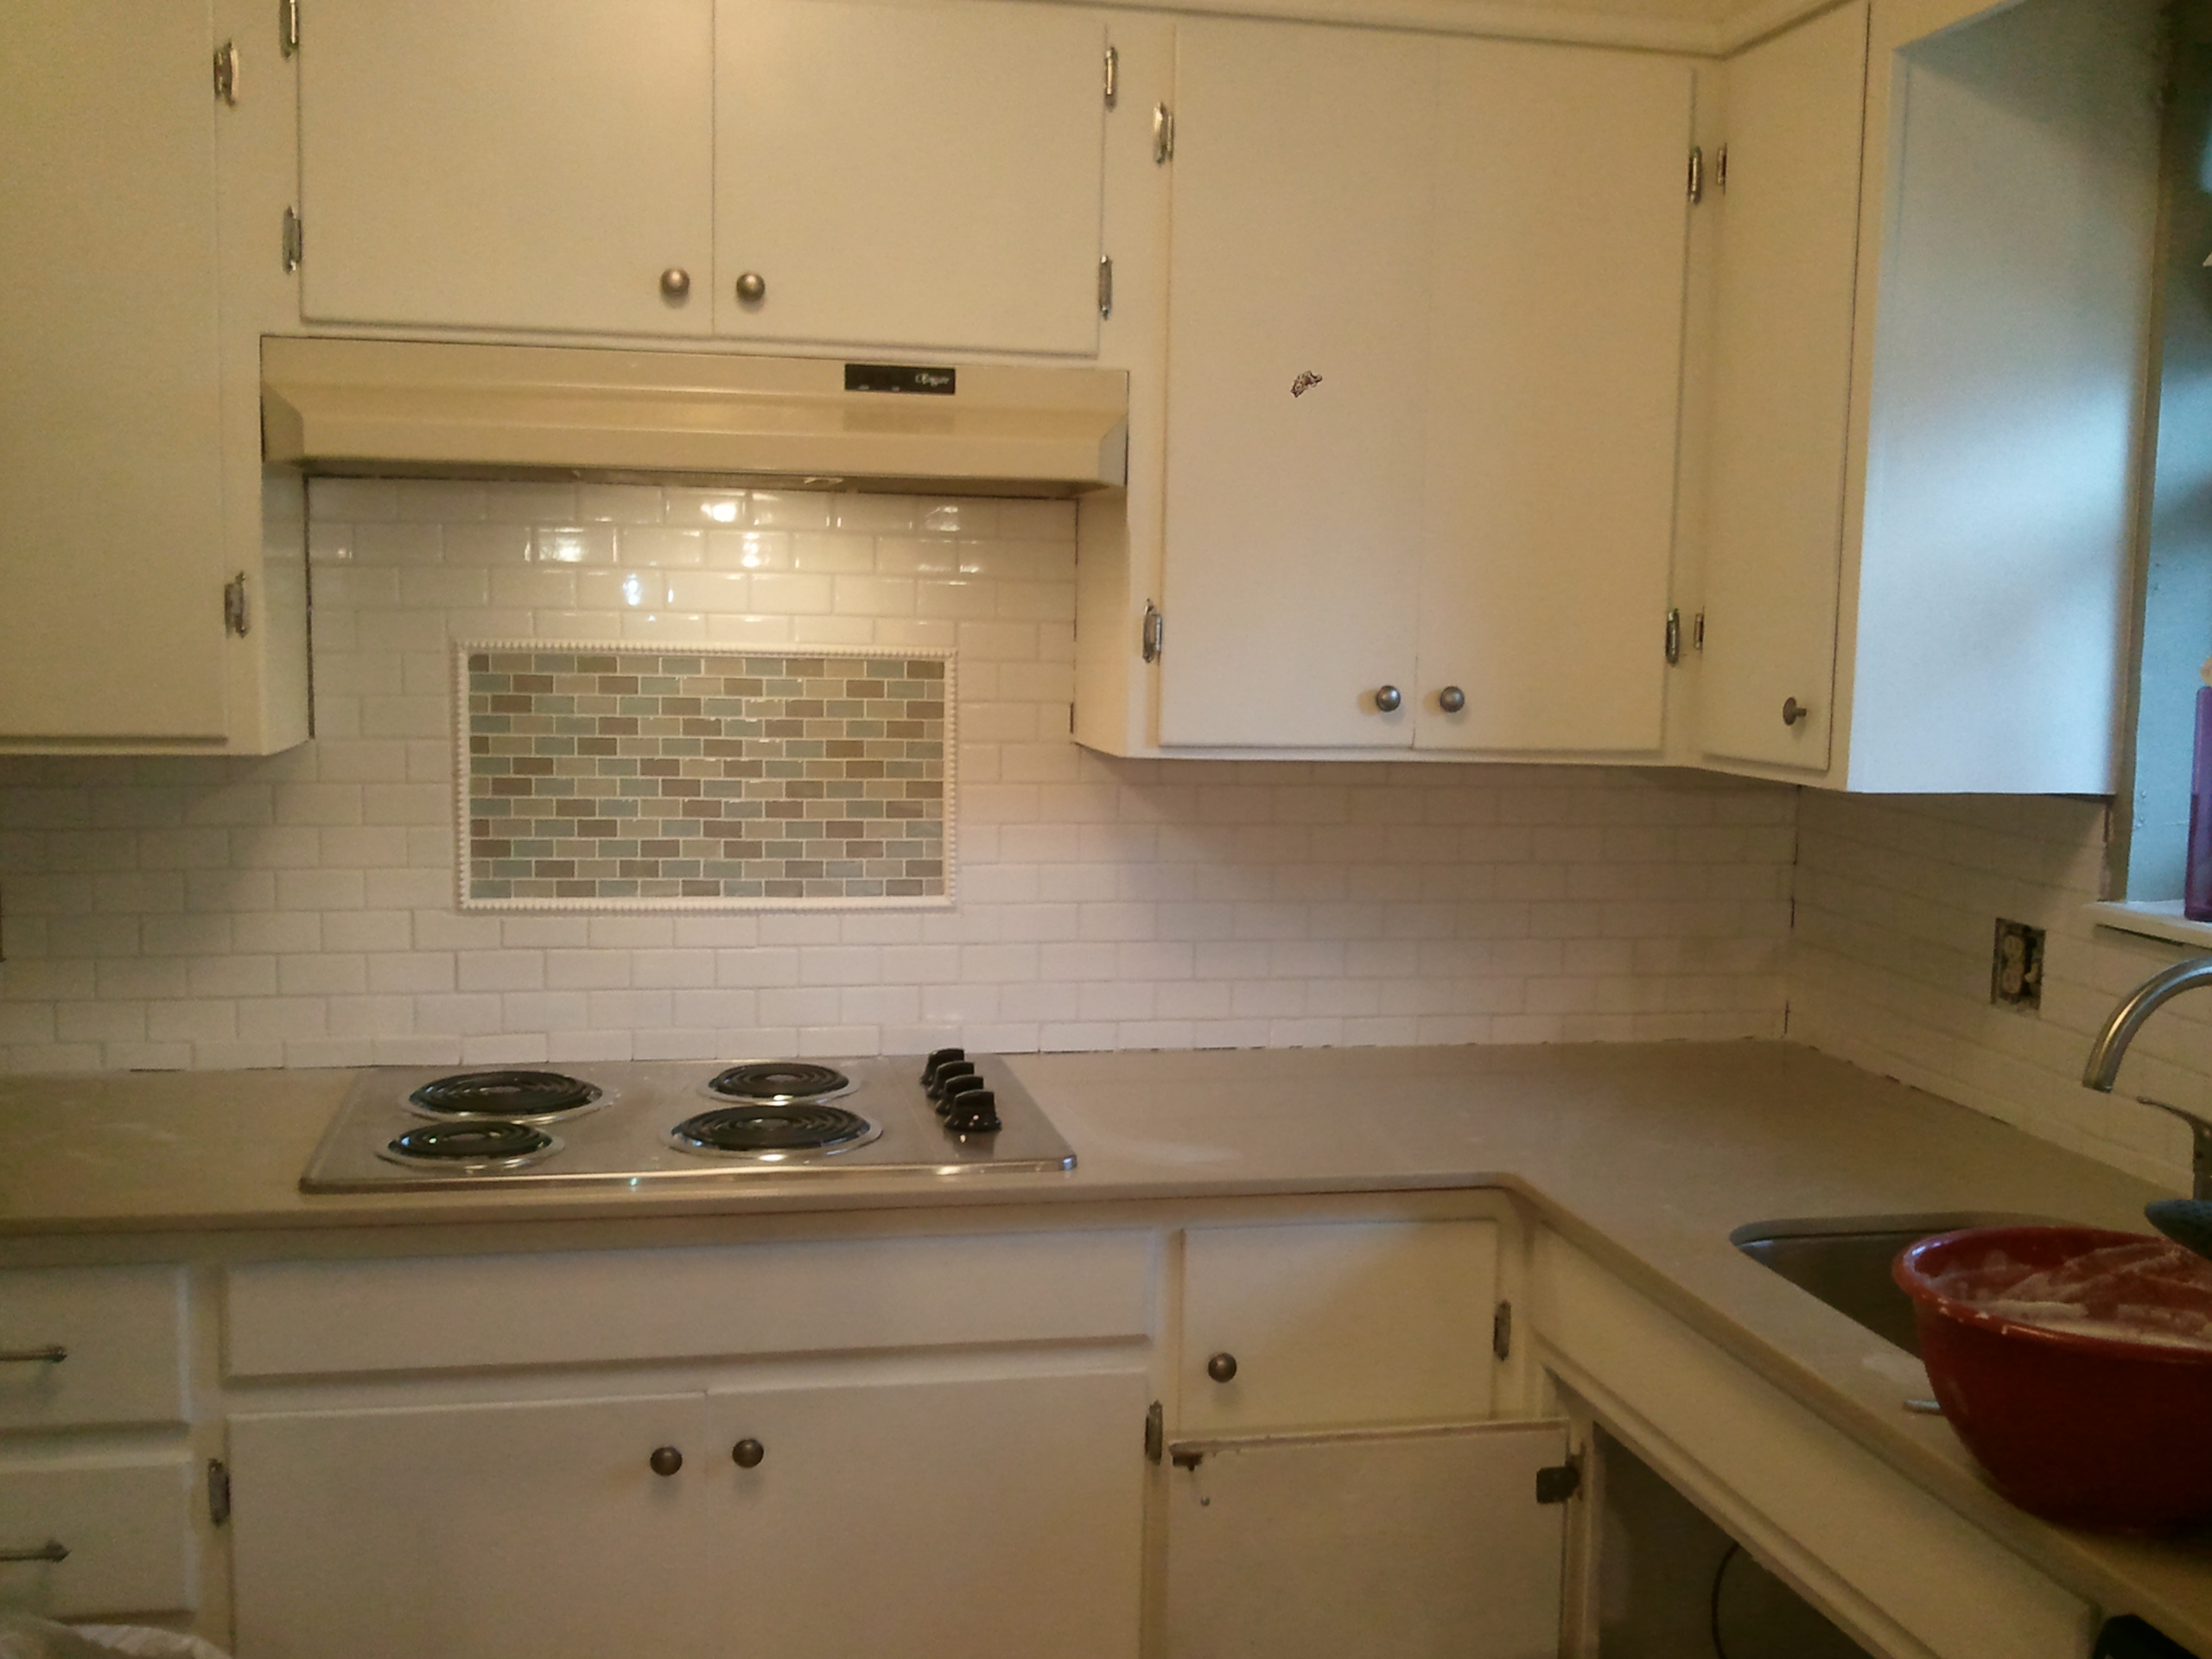
The next appliance purchased was the stove top. We received money to purchase one from the sellers since only 2 out of 4 burners worked on the original. We did not receive an extravagant amount of money so we did not purchase an extravagant stove top. But it does the job and I haven’t had any issues with it.
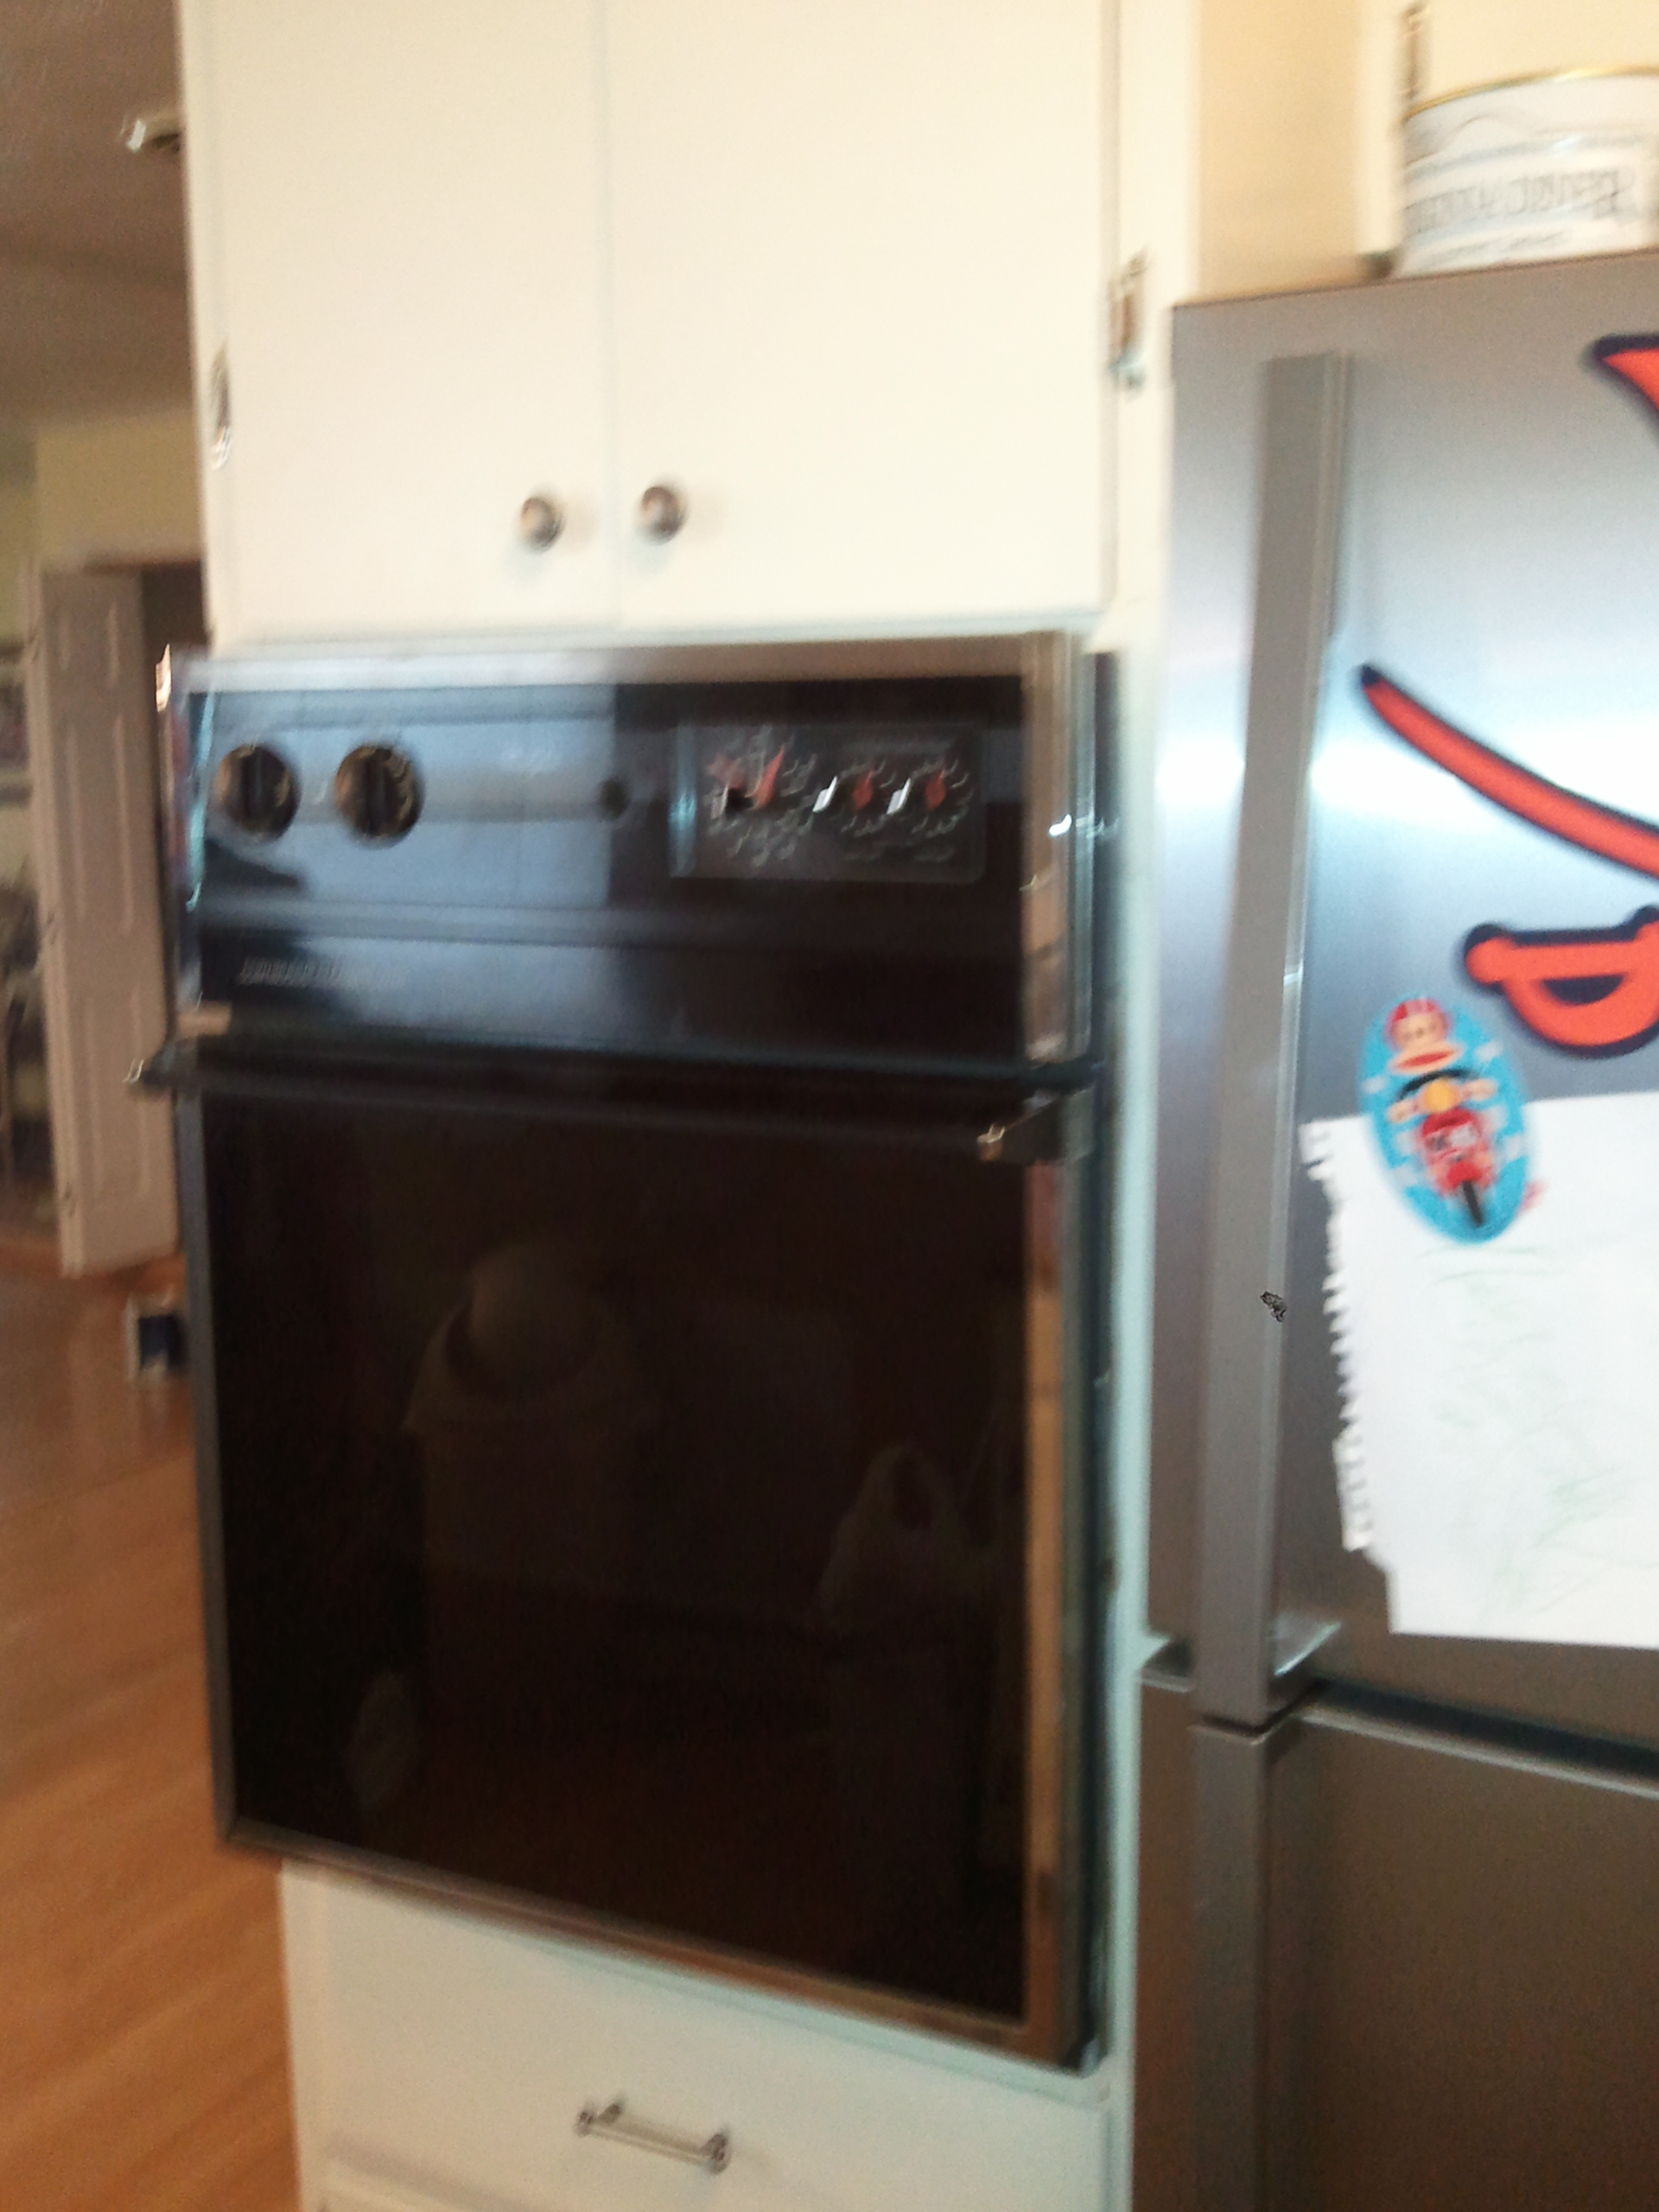
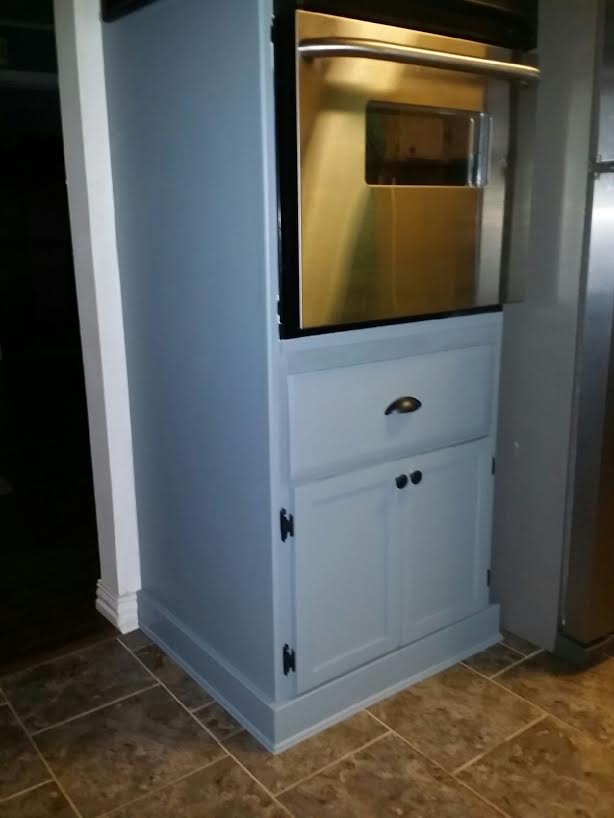
The oven had to be special ordered from Lowes because that small of an oven is not carried in stock anywhere. Again, 60s sized kitchen.
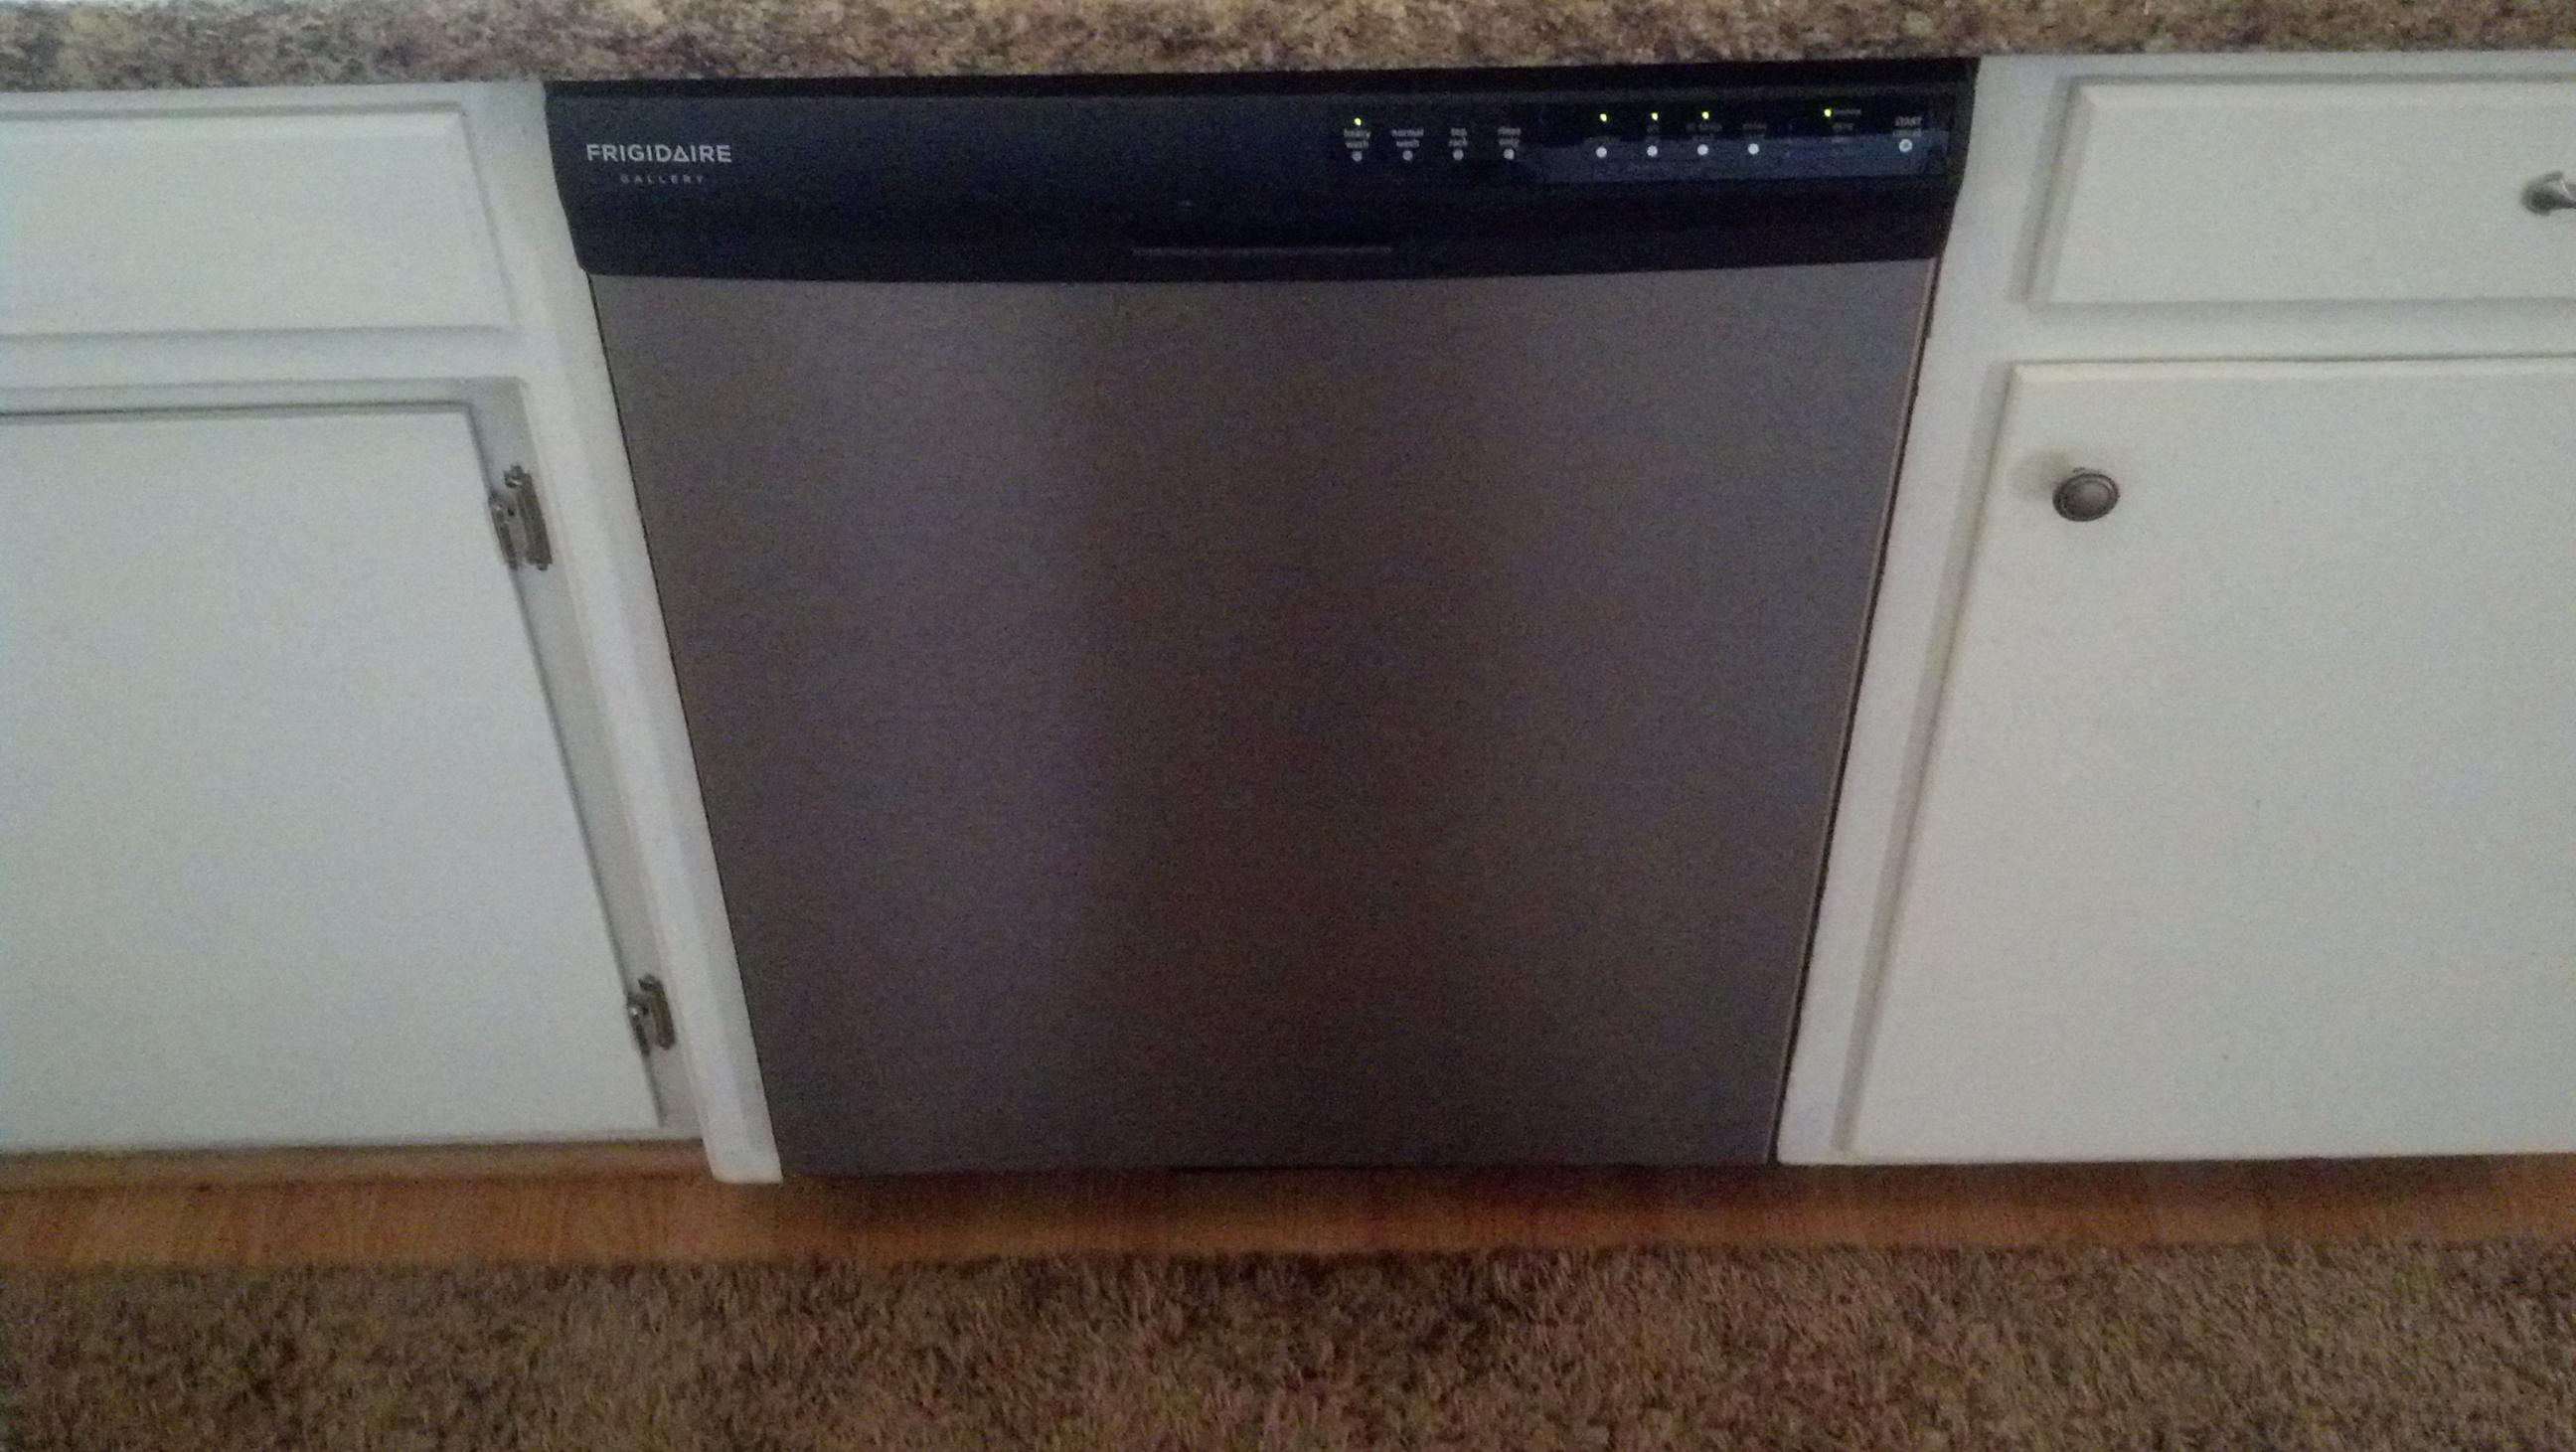
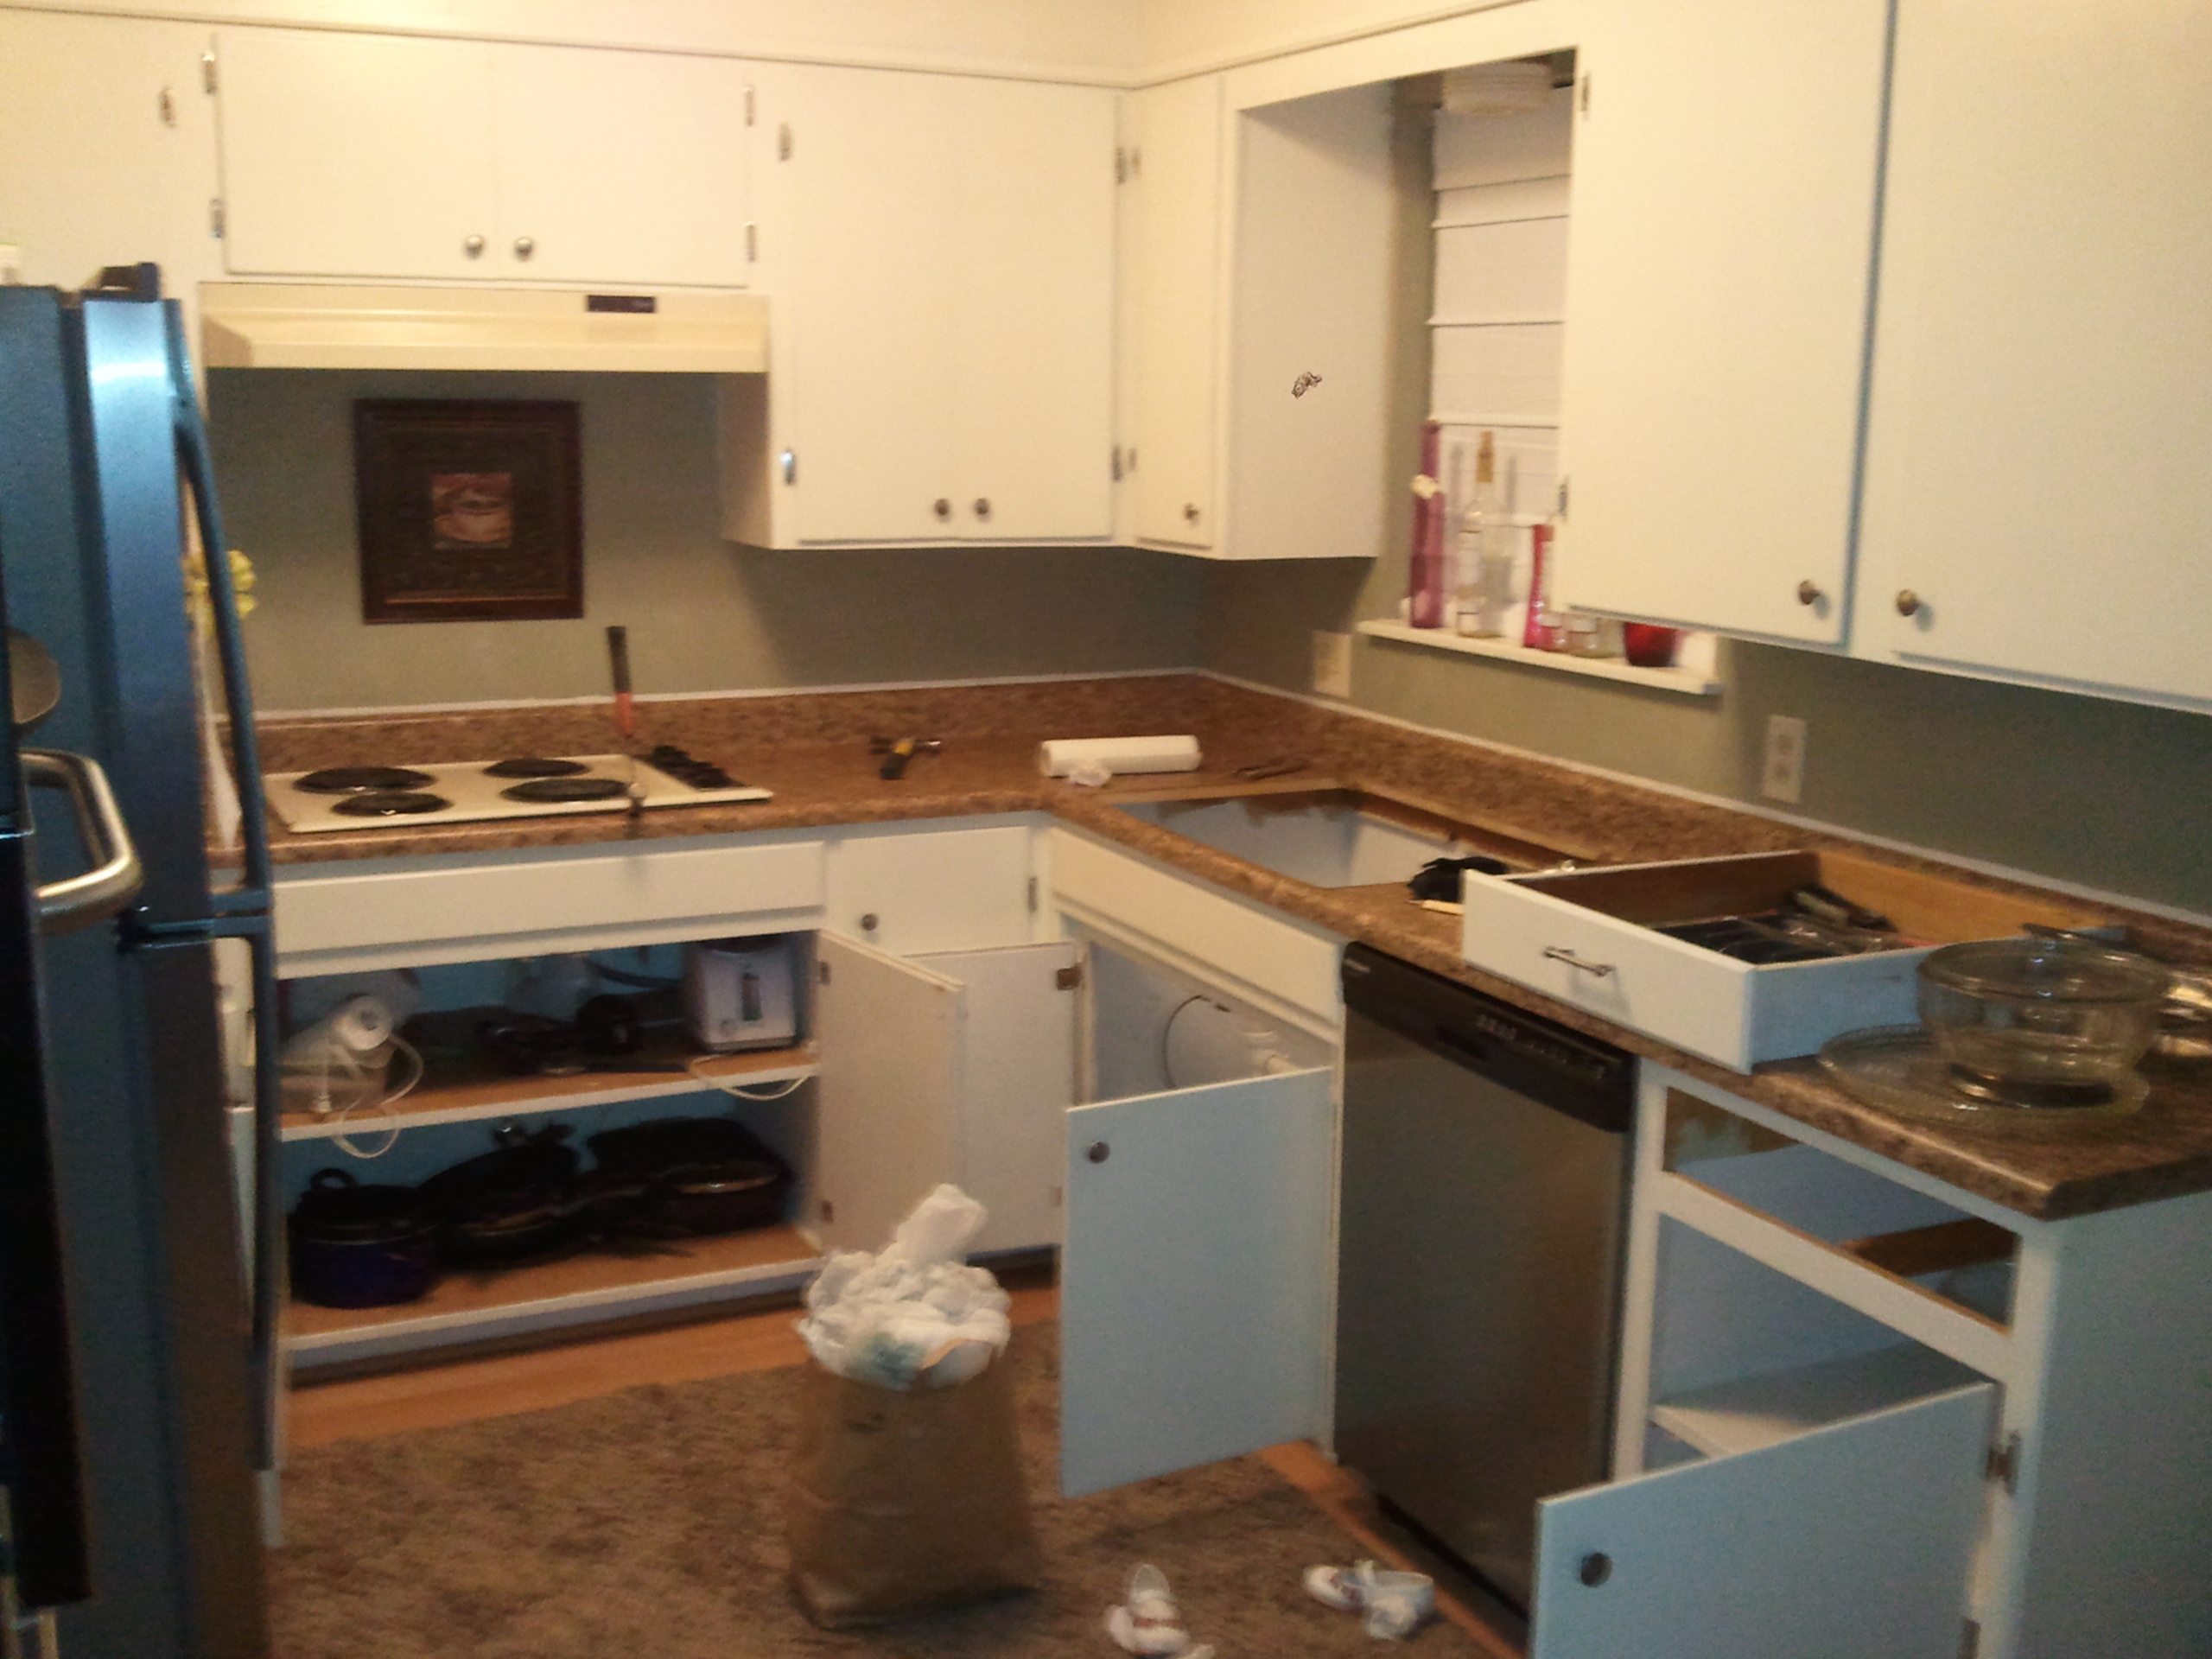
The dishwasher was so sad. The rust was really bad. There were so many pieces missing or on the verge of falling off. I don’t have any pictures of it, but trust me it was so so sad. Our new one is so much nicer!
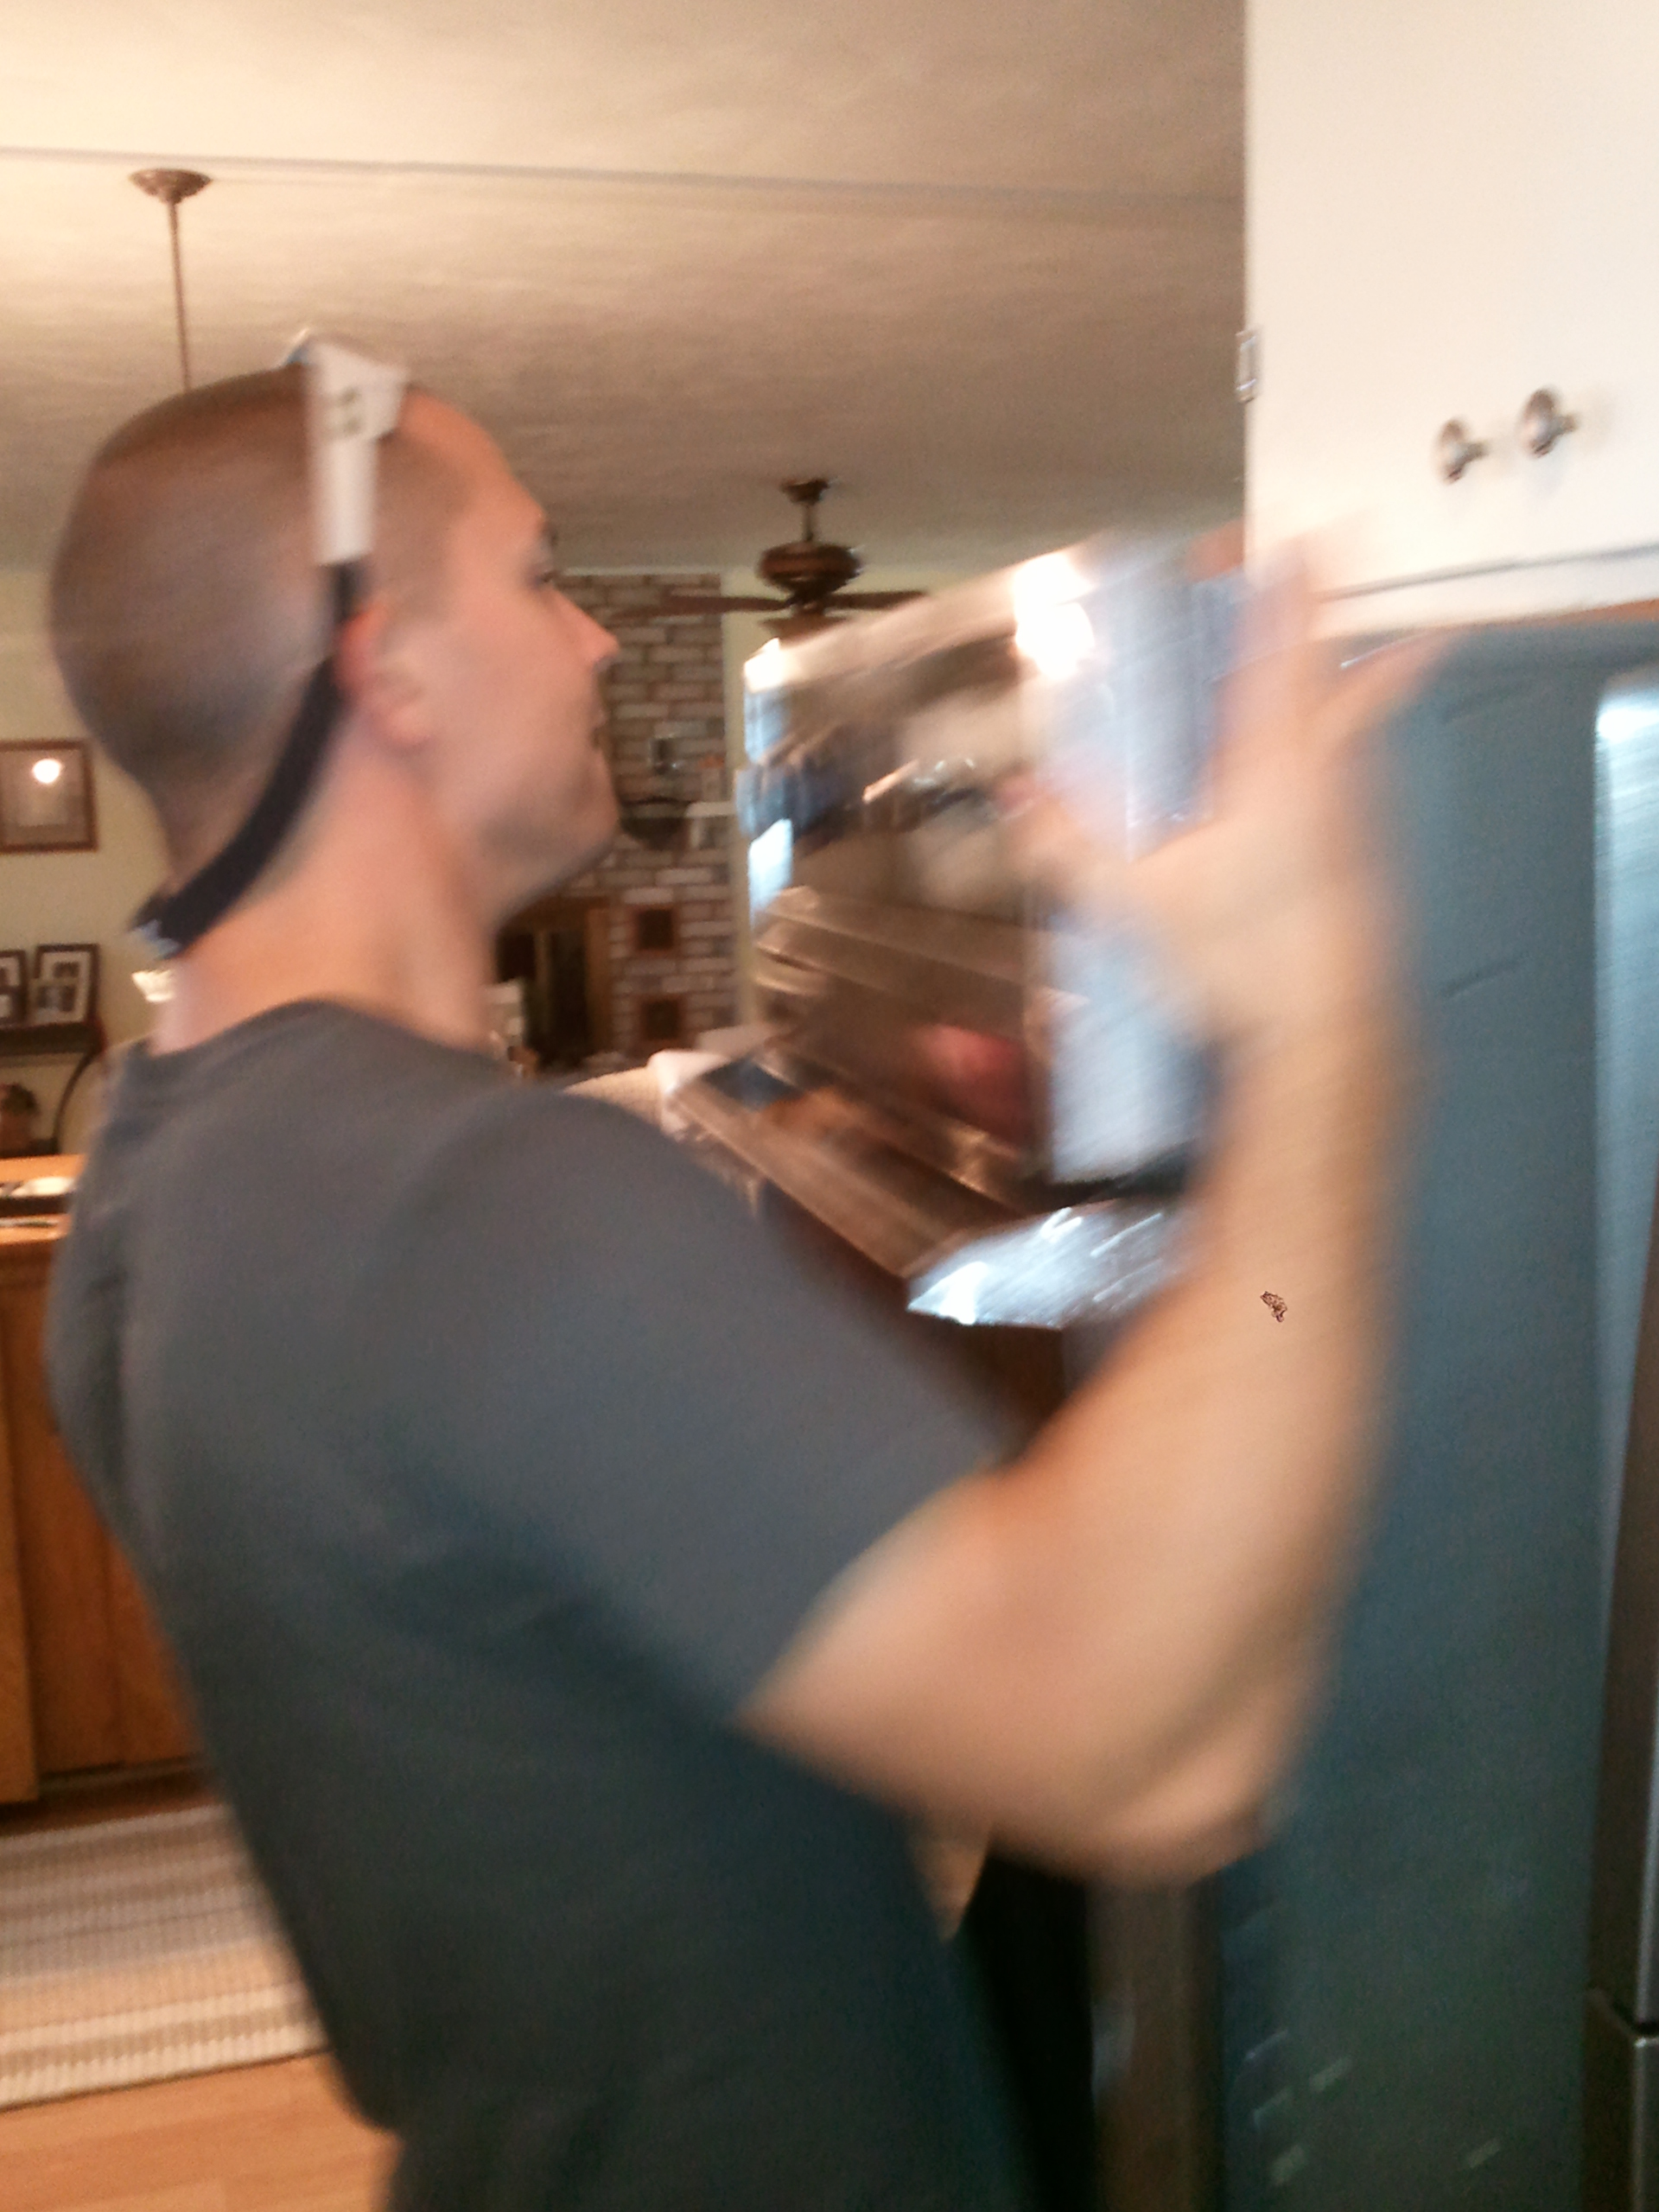
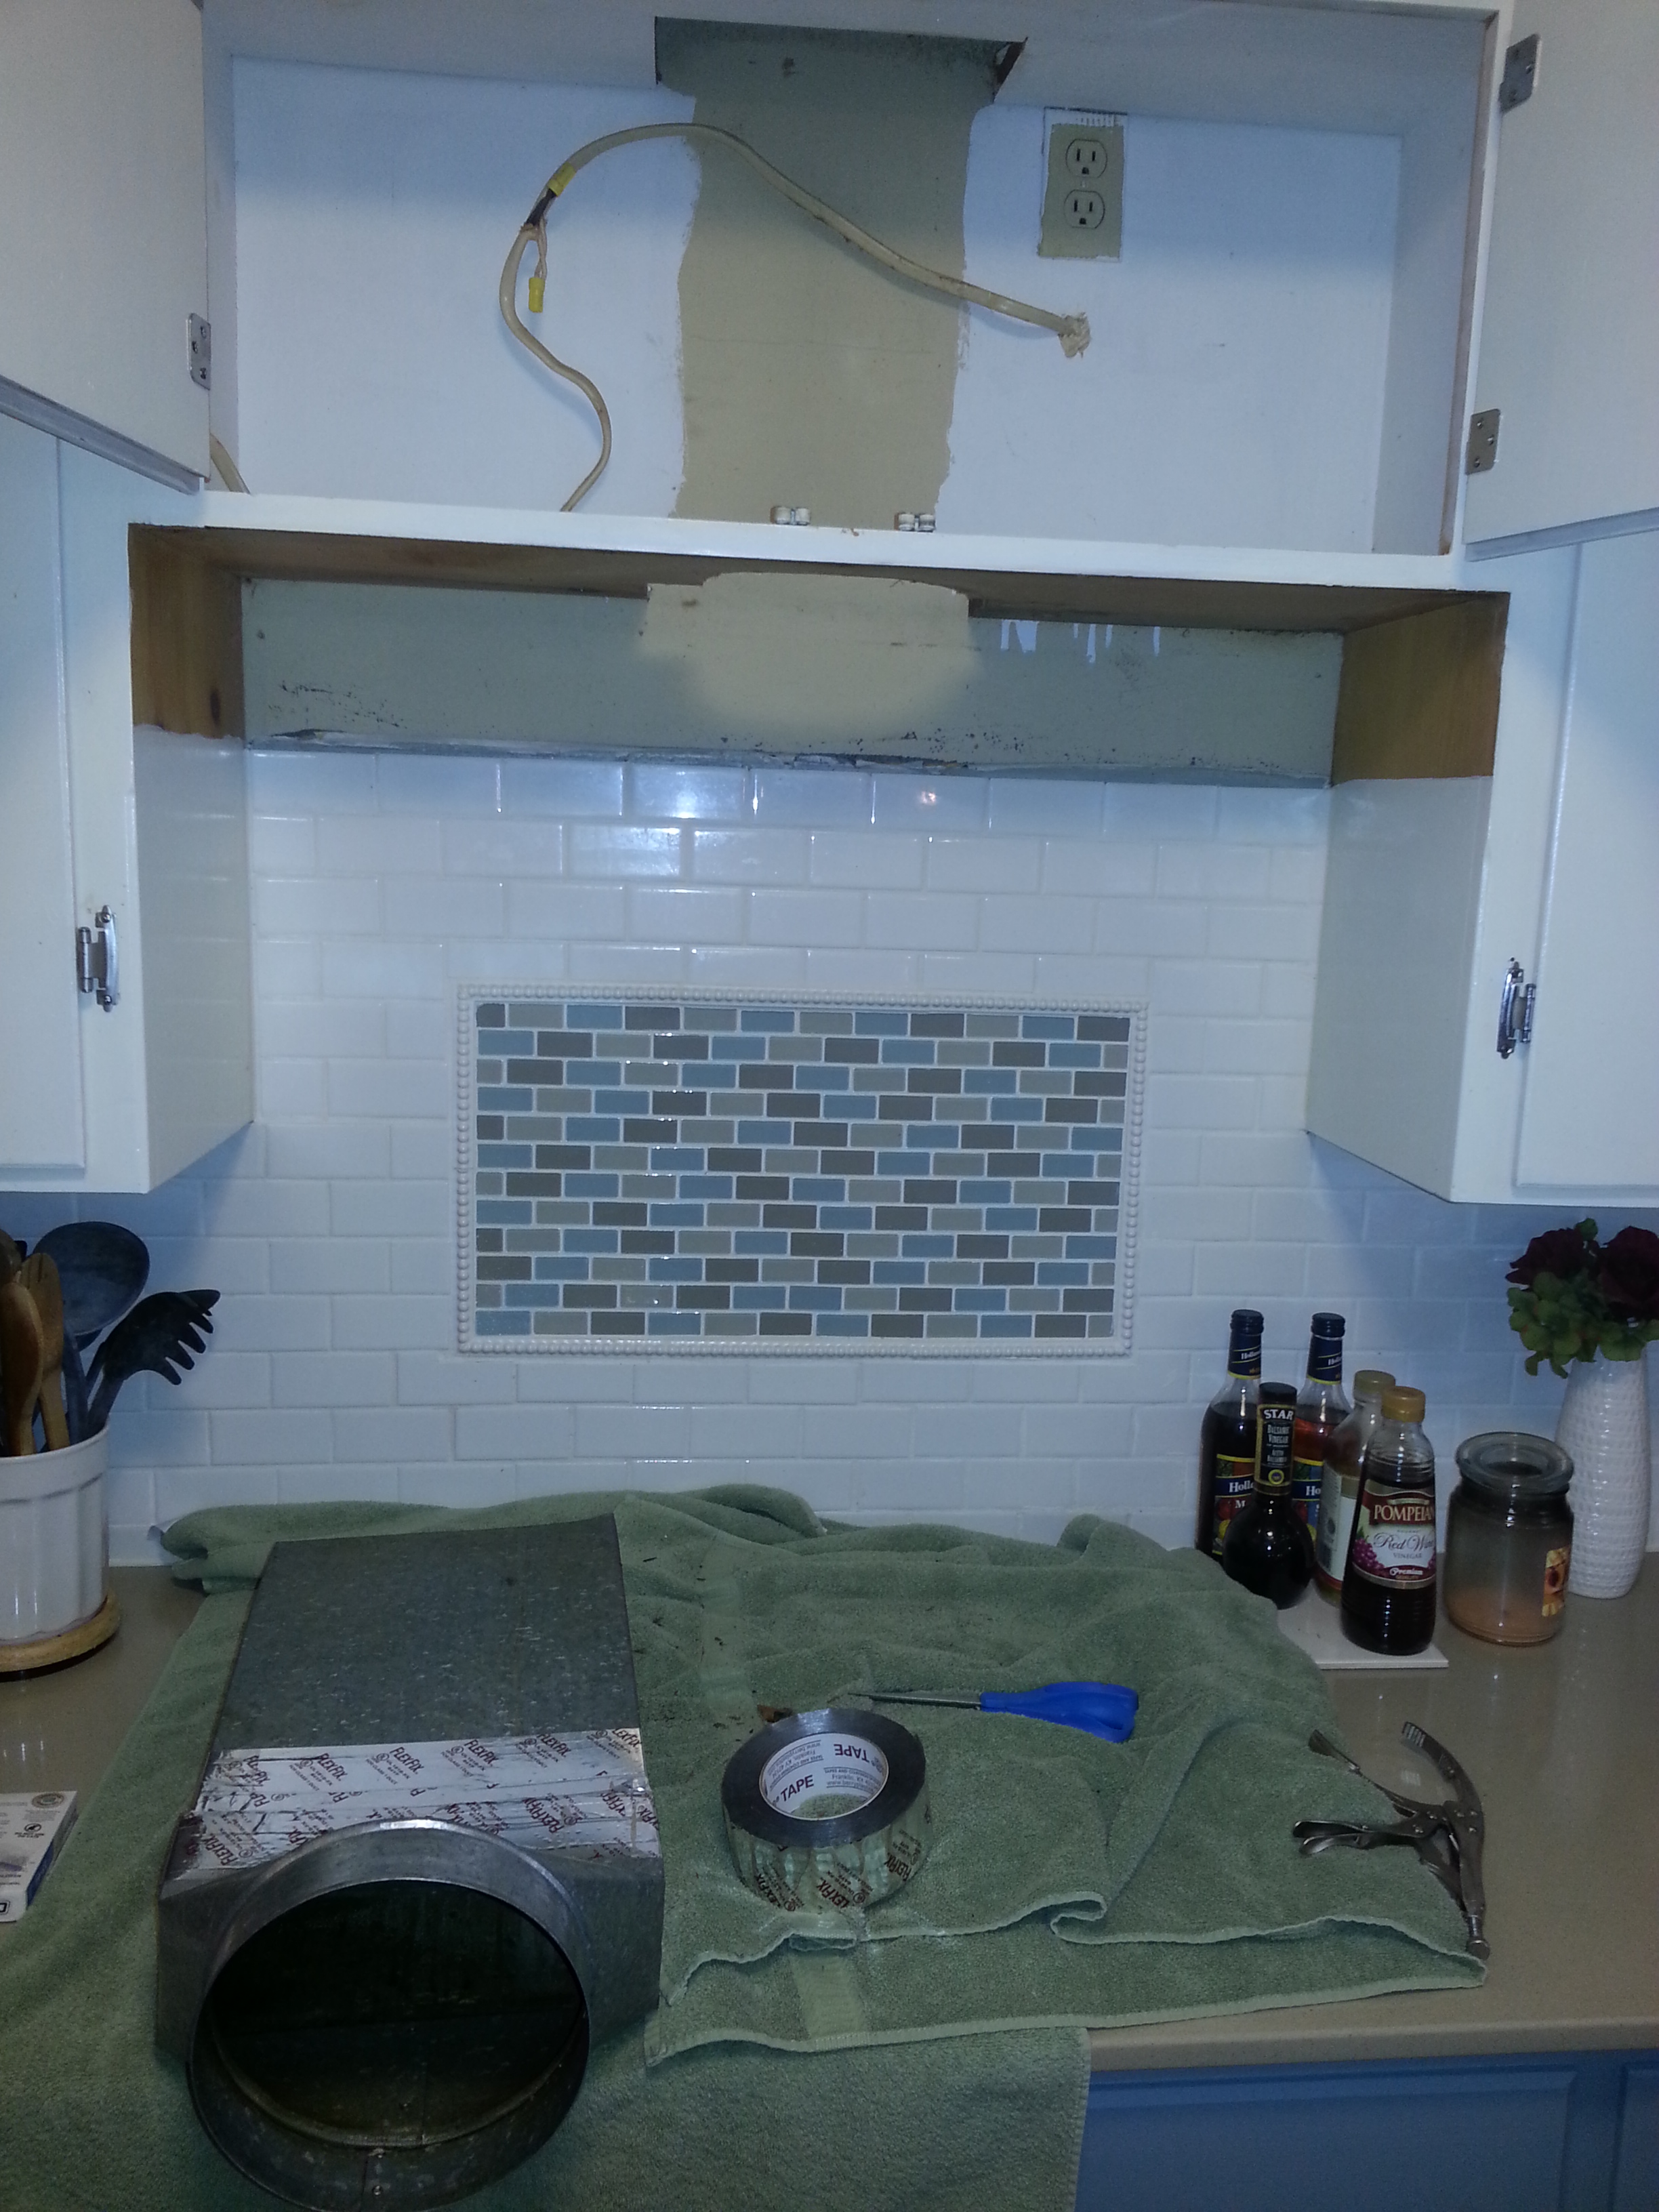
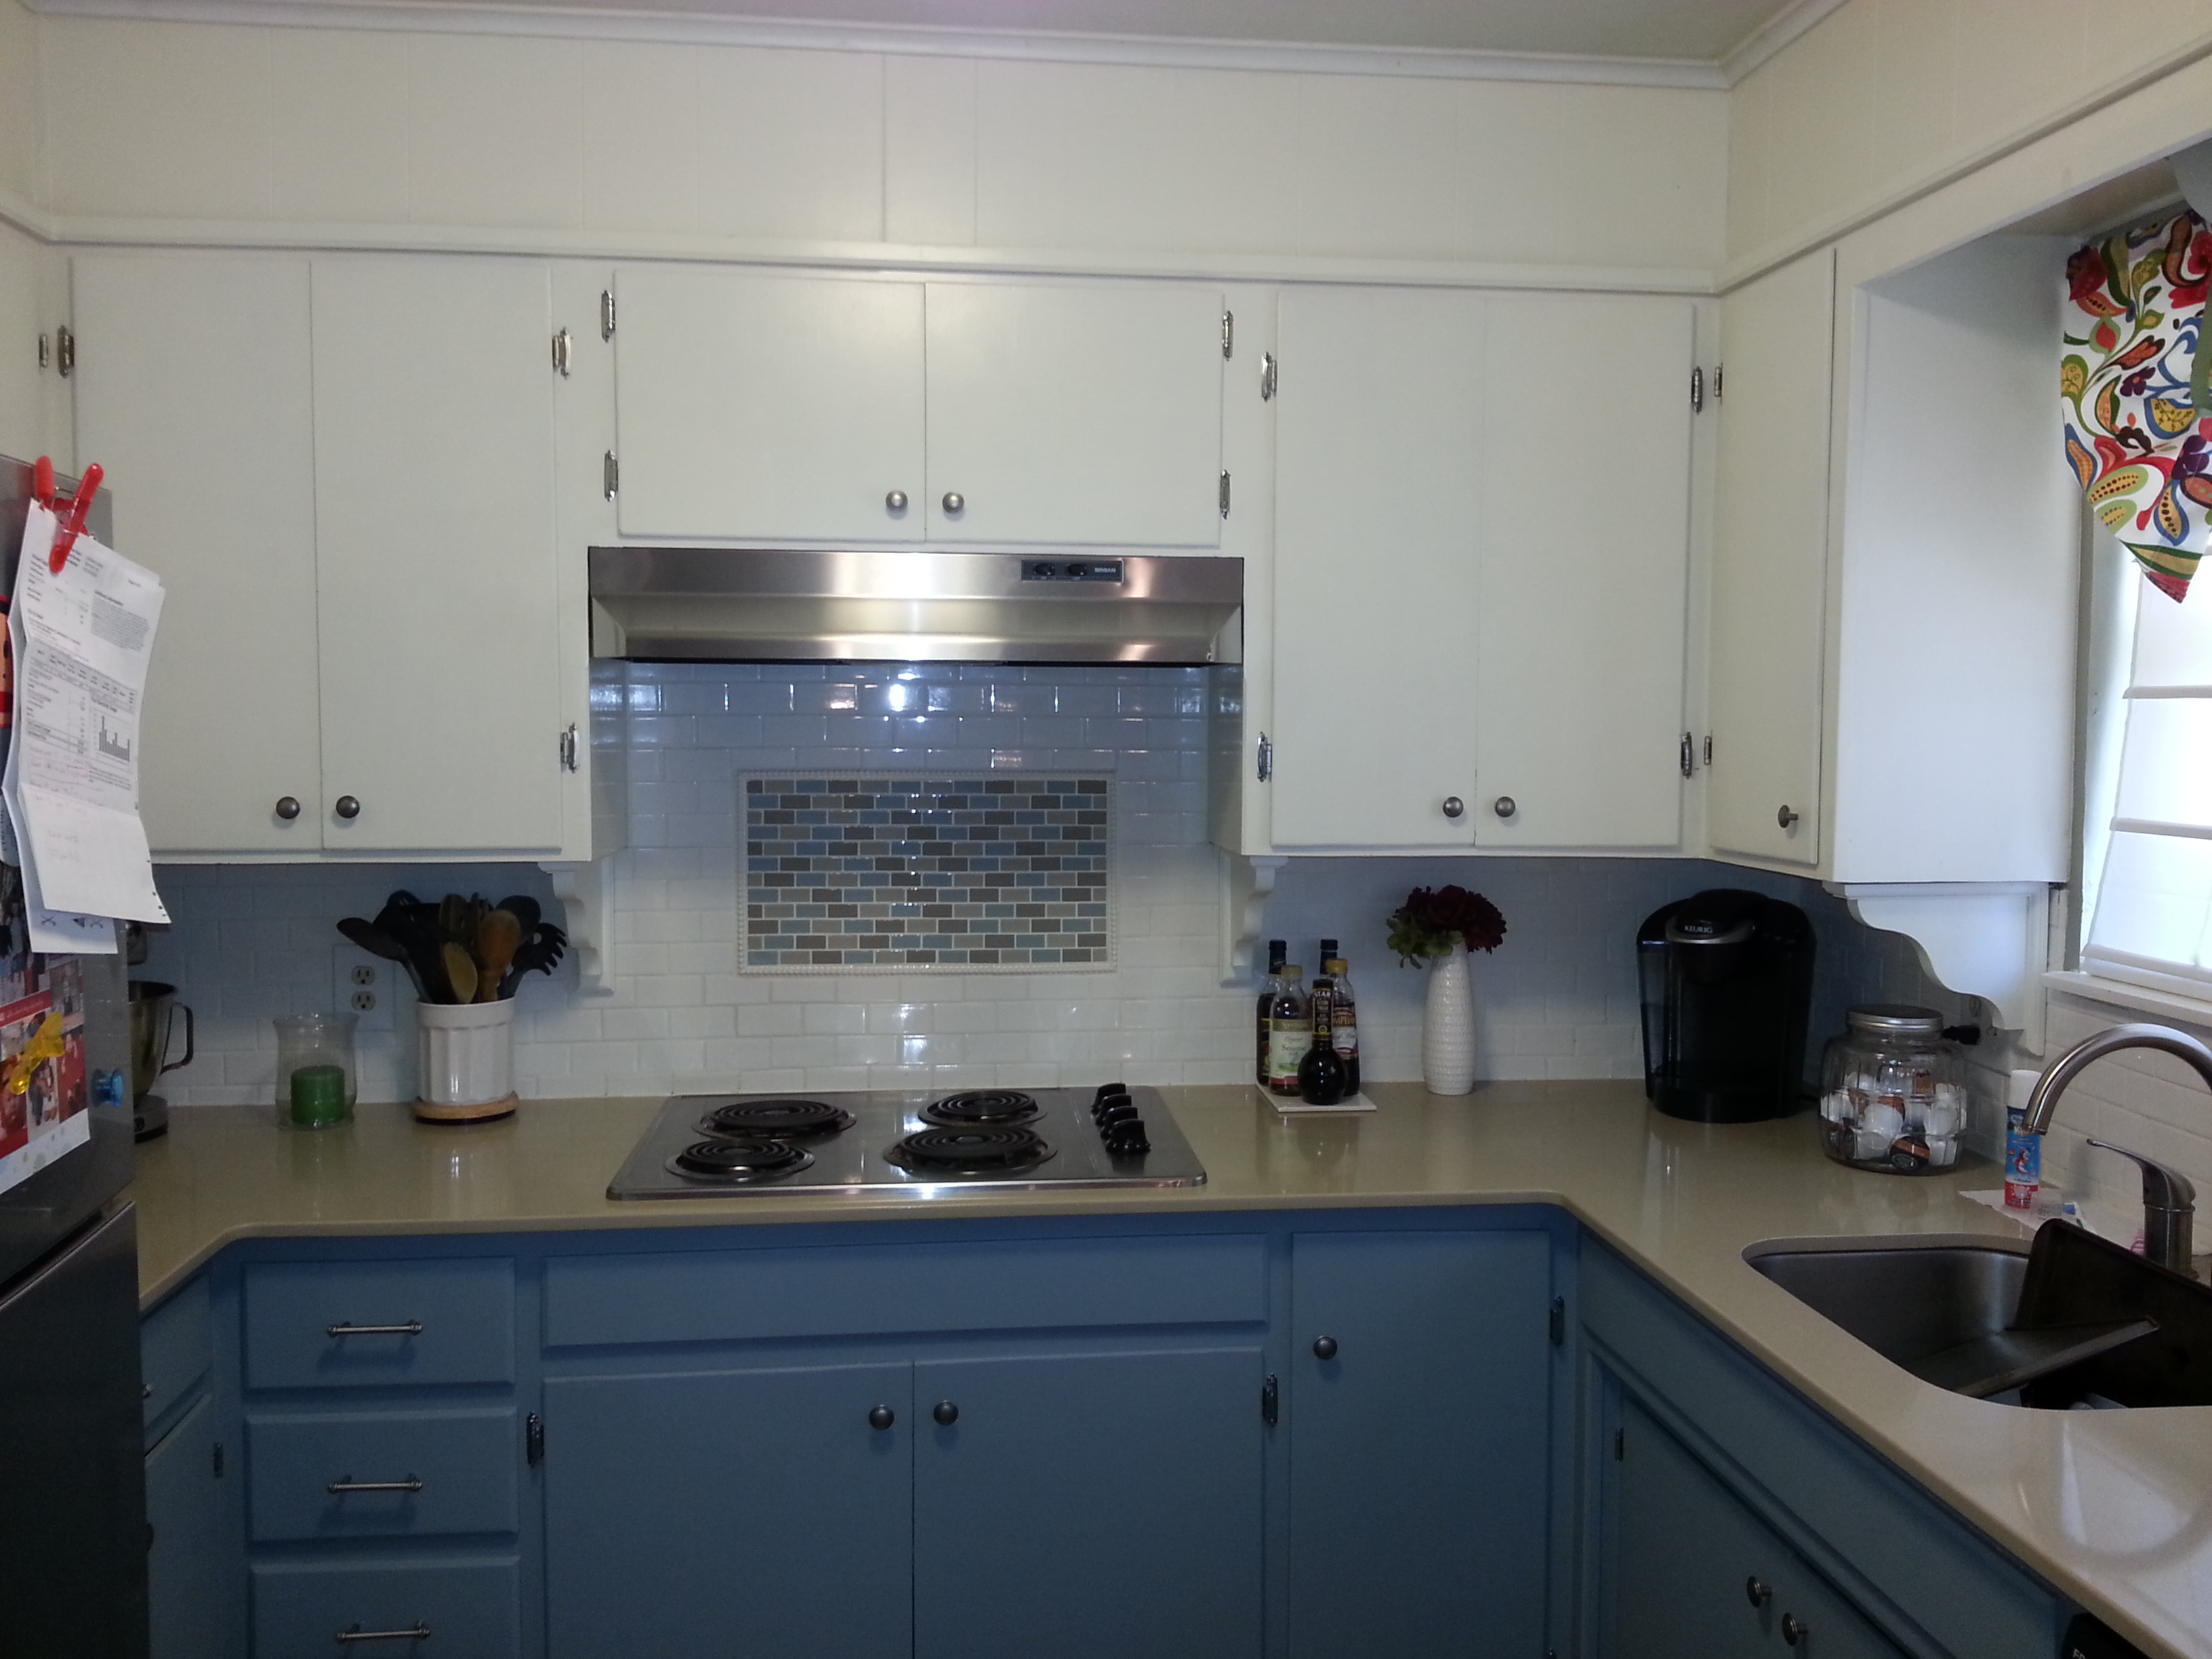
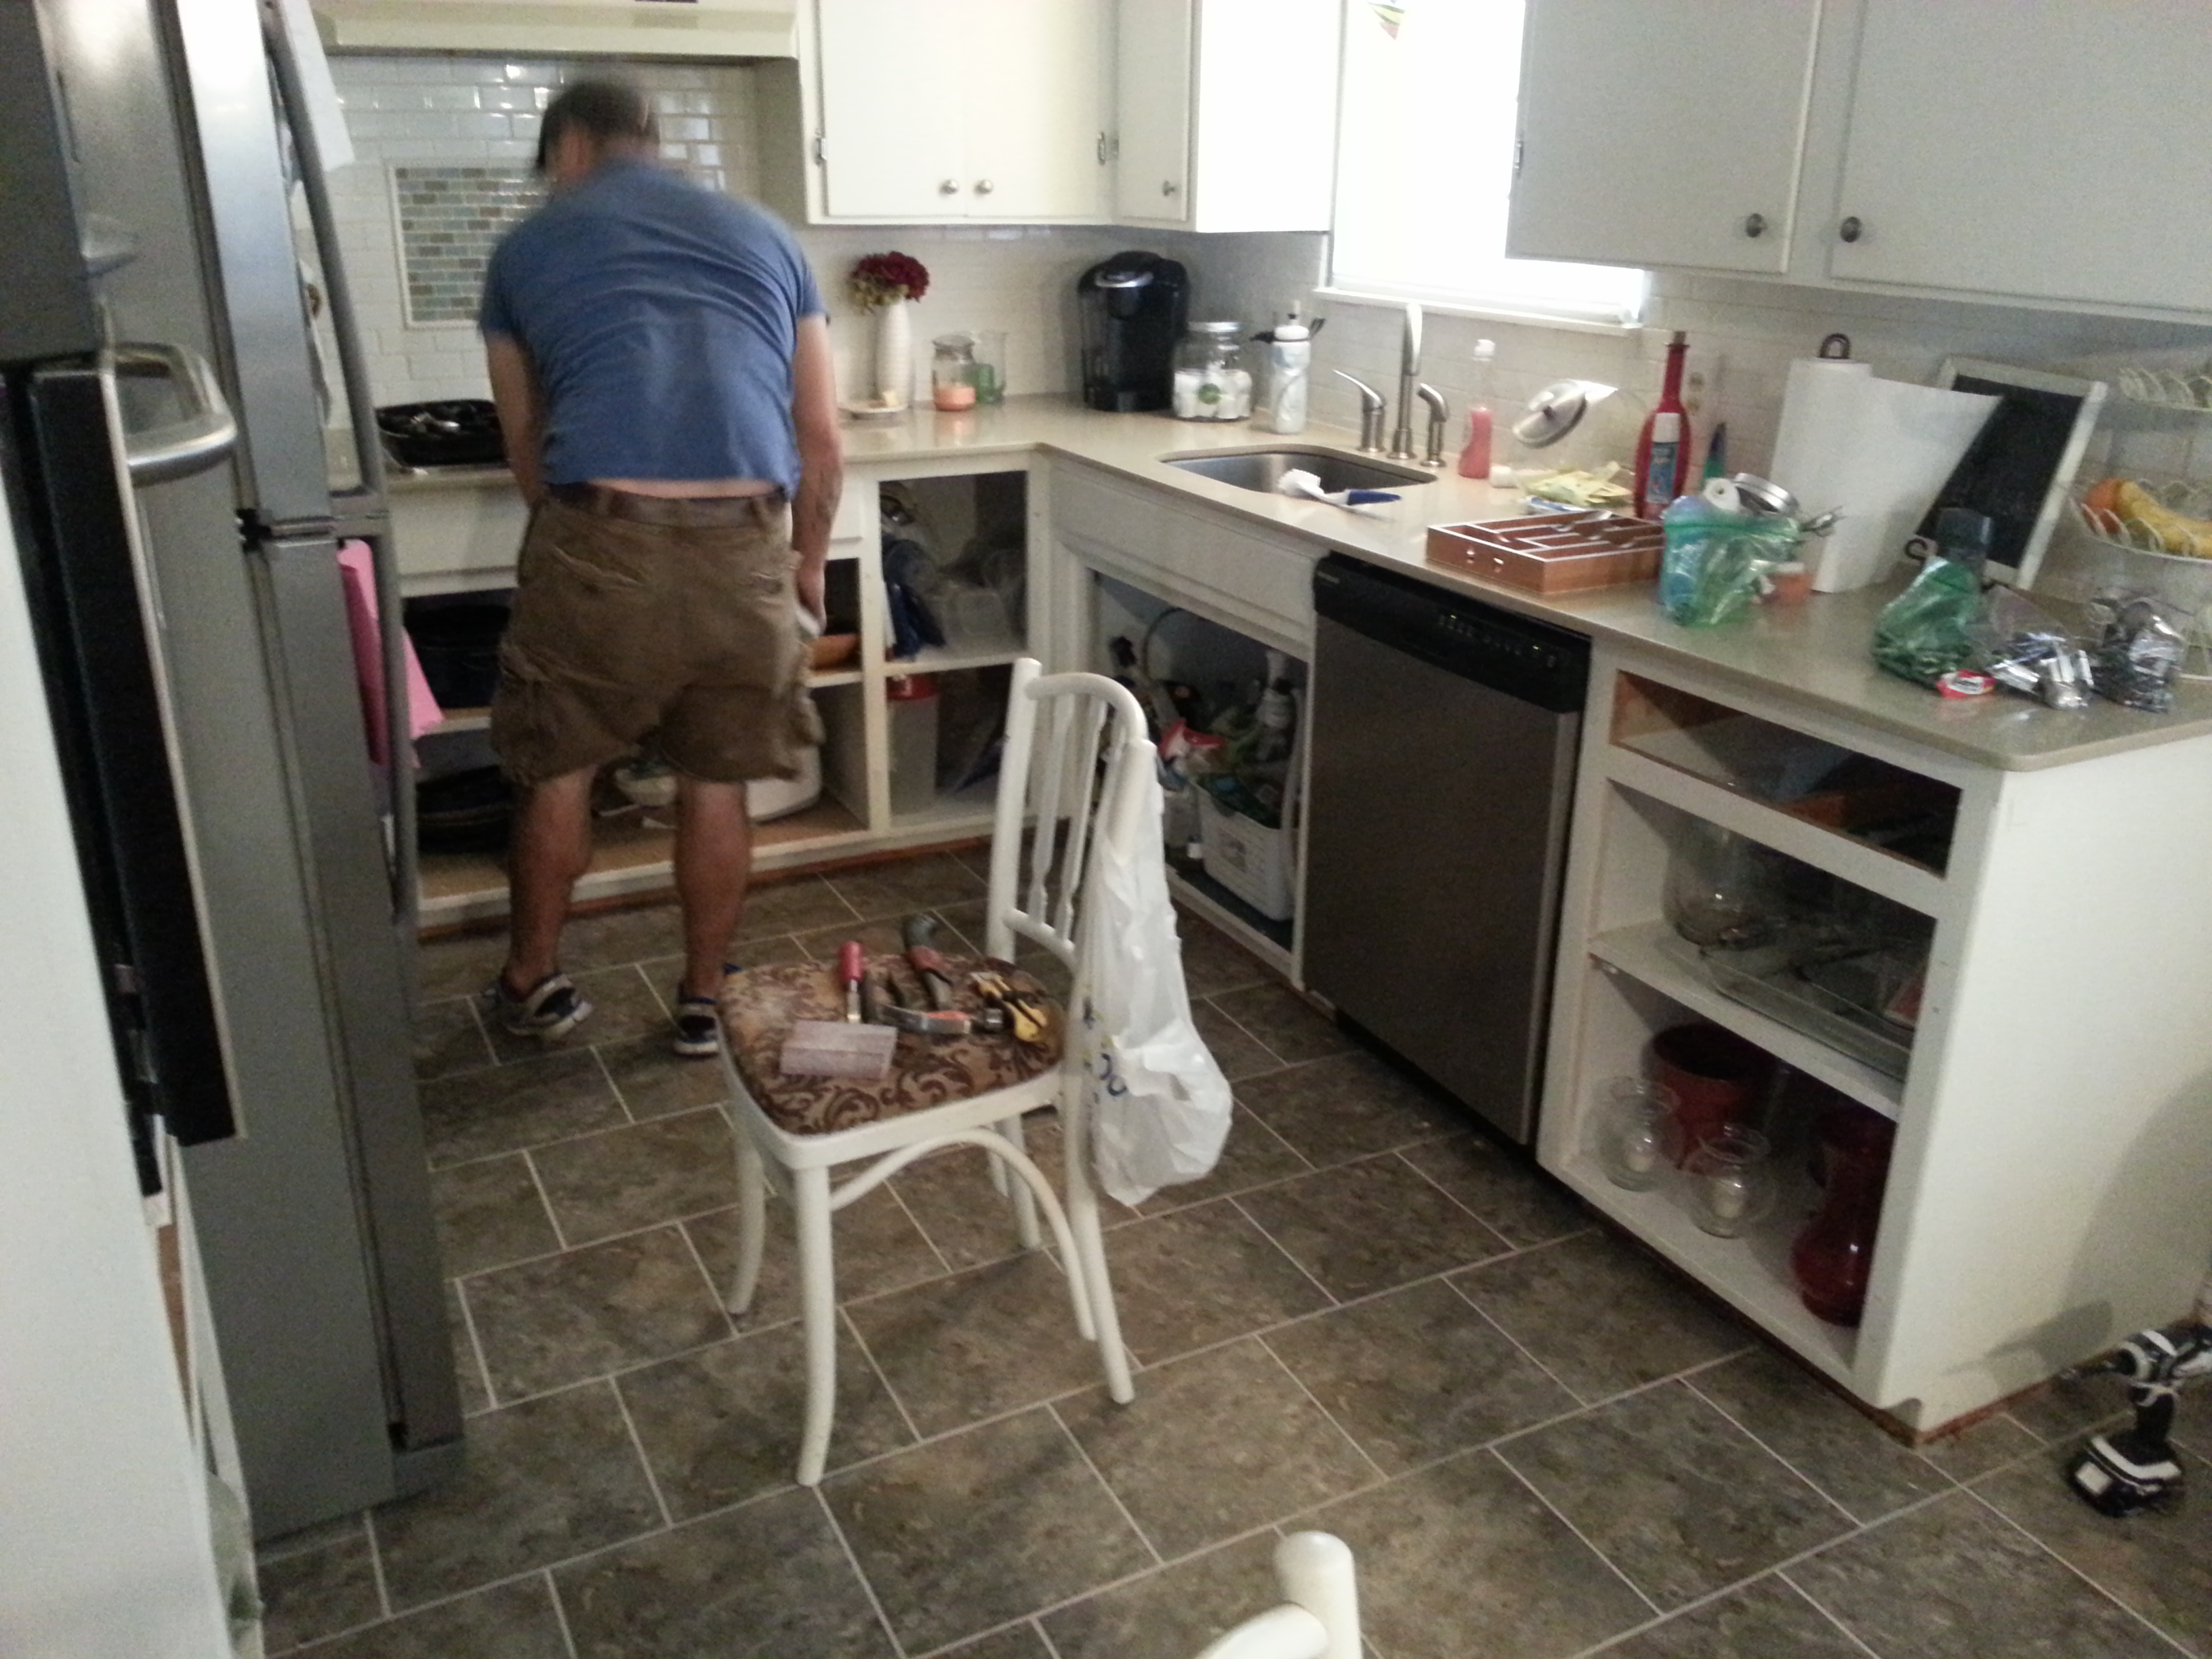
The last appliance we bought was the range. Every other appliance was installed by Lowes, but this I ordered and had delivered directly to our house so my hubby had to do the installation. He did a great job as usual and even updated the vent in the cabinets above the range.
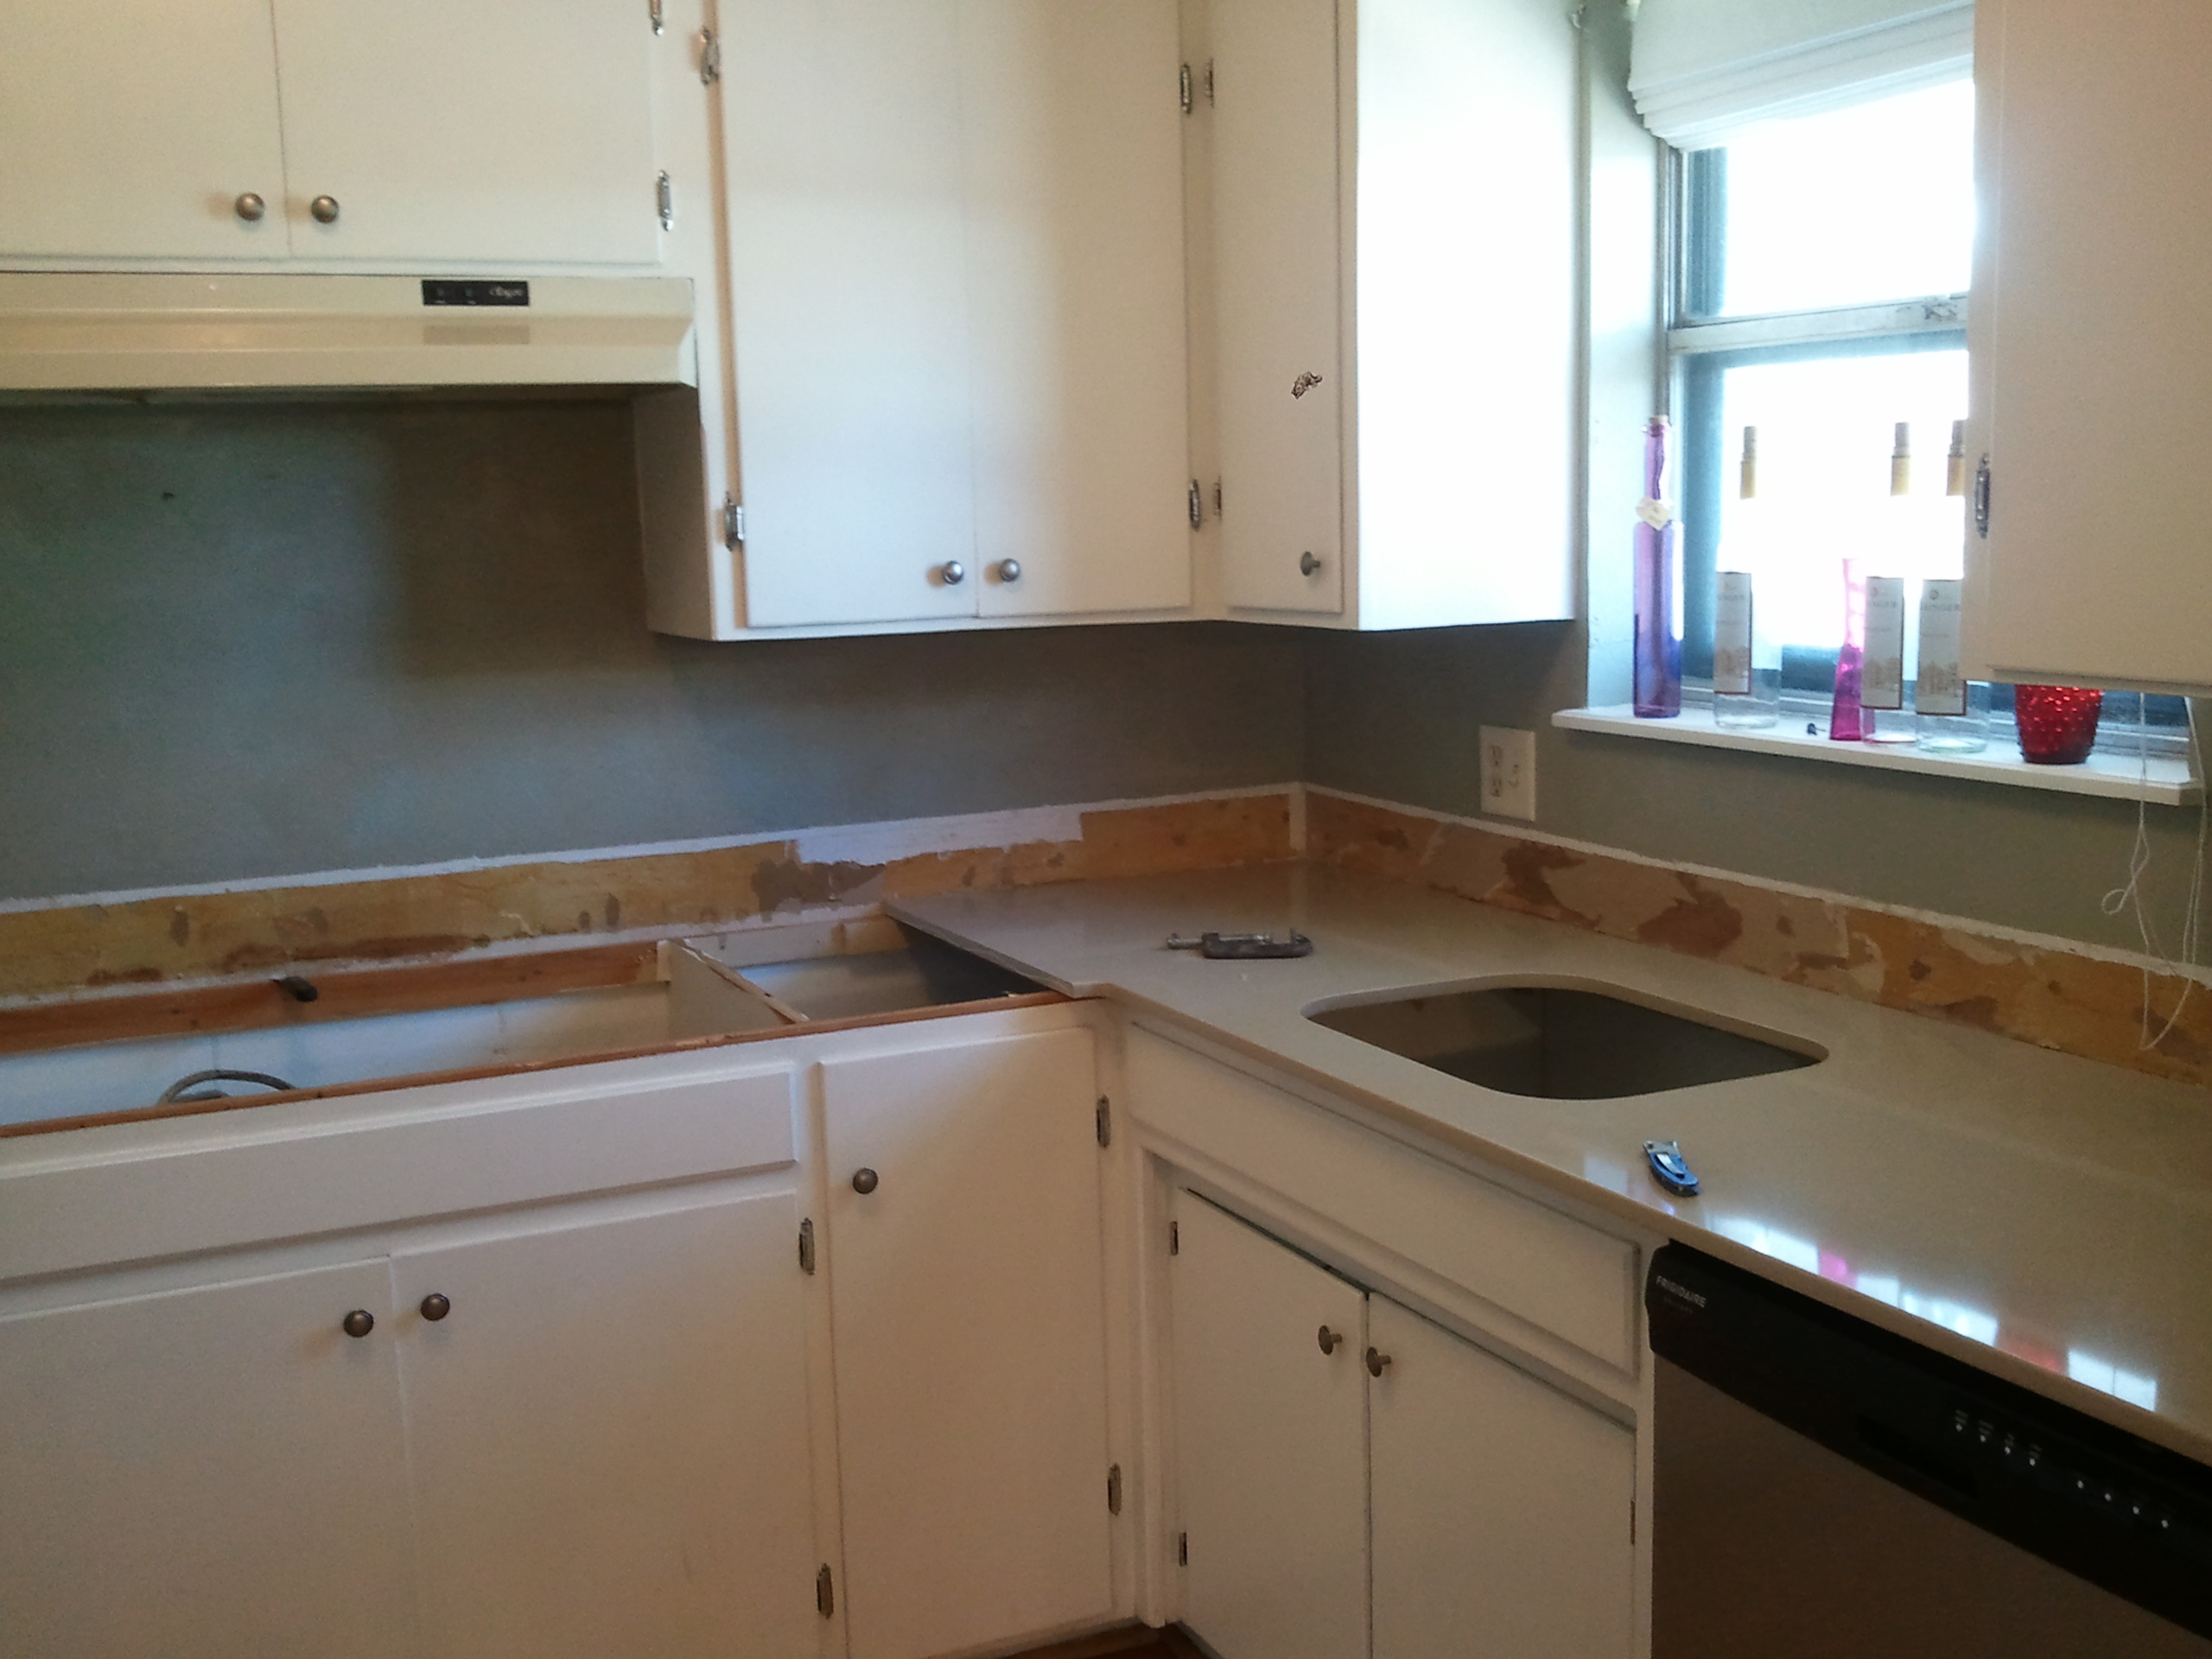
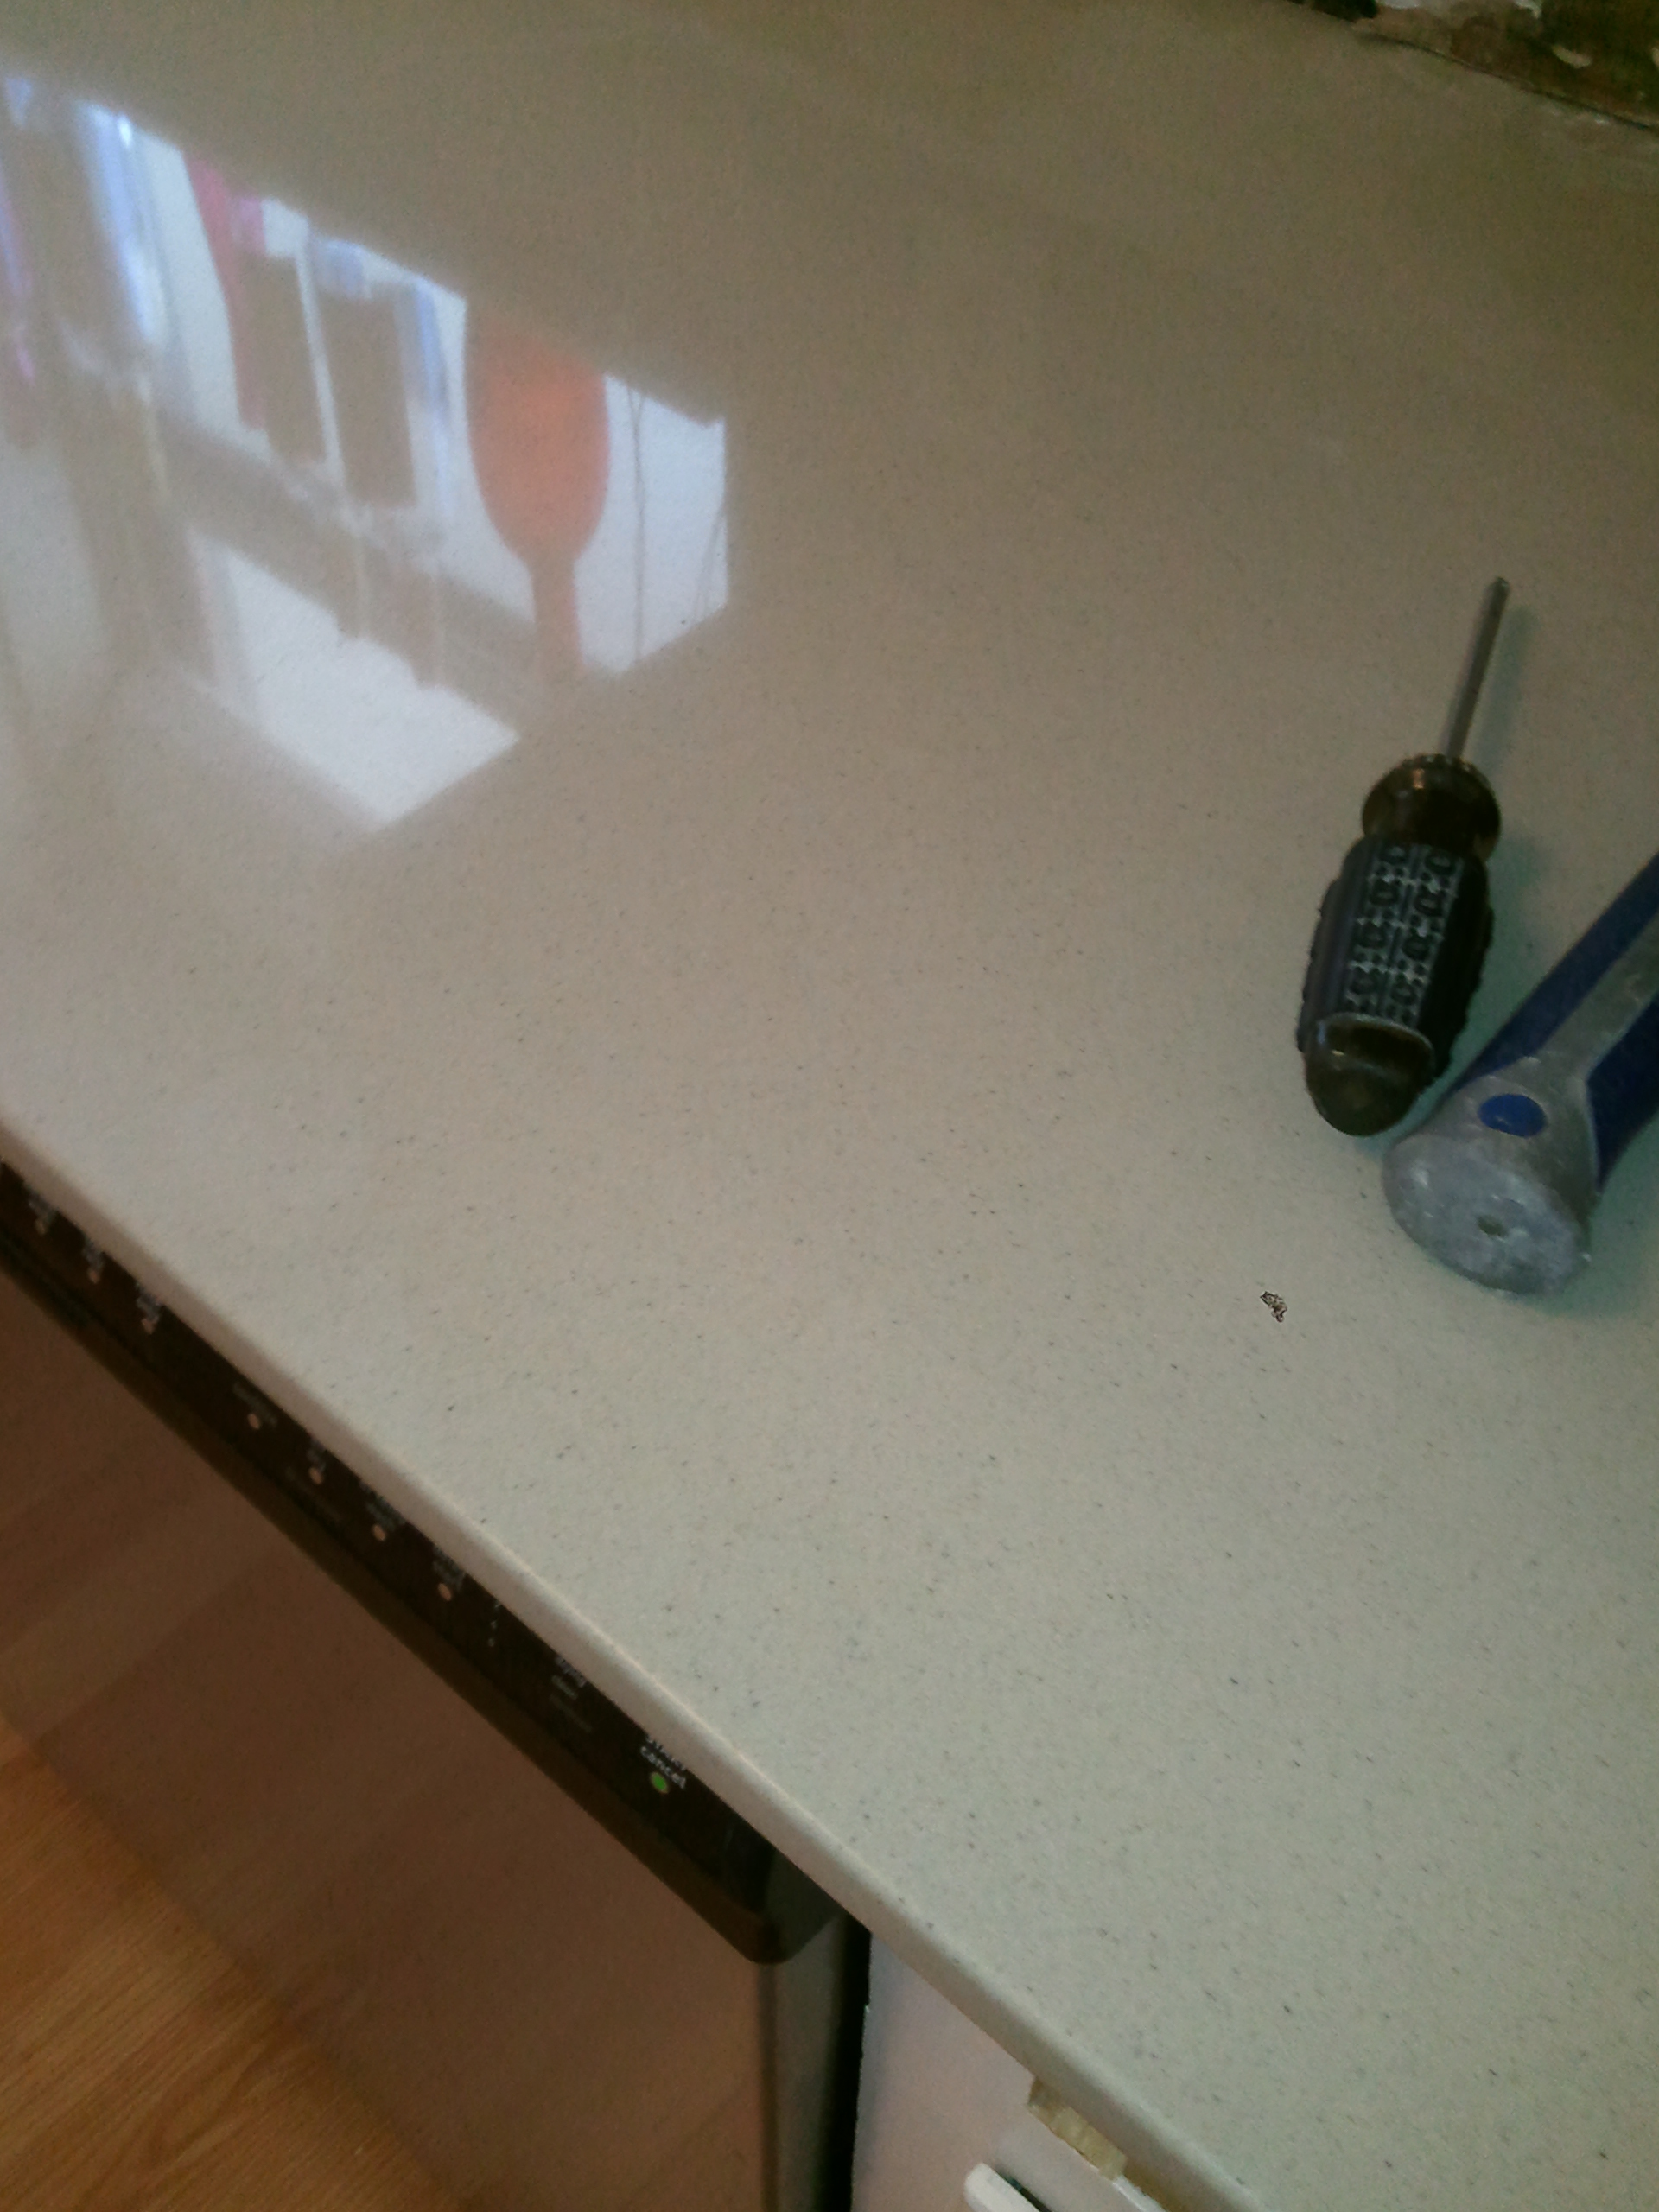
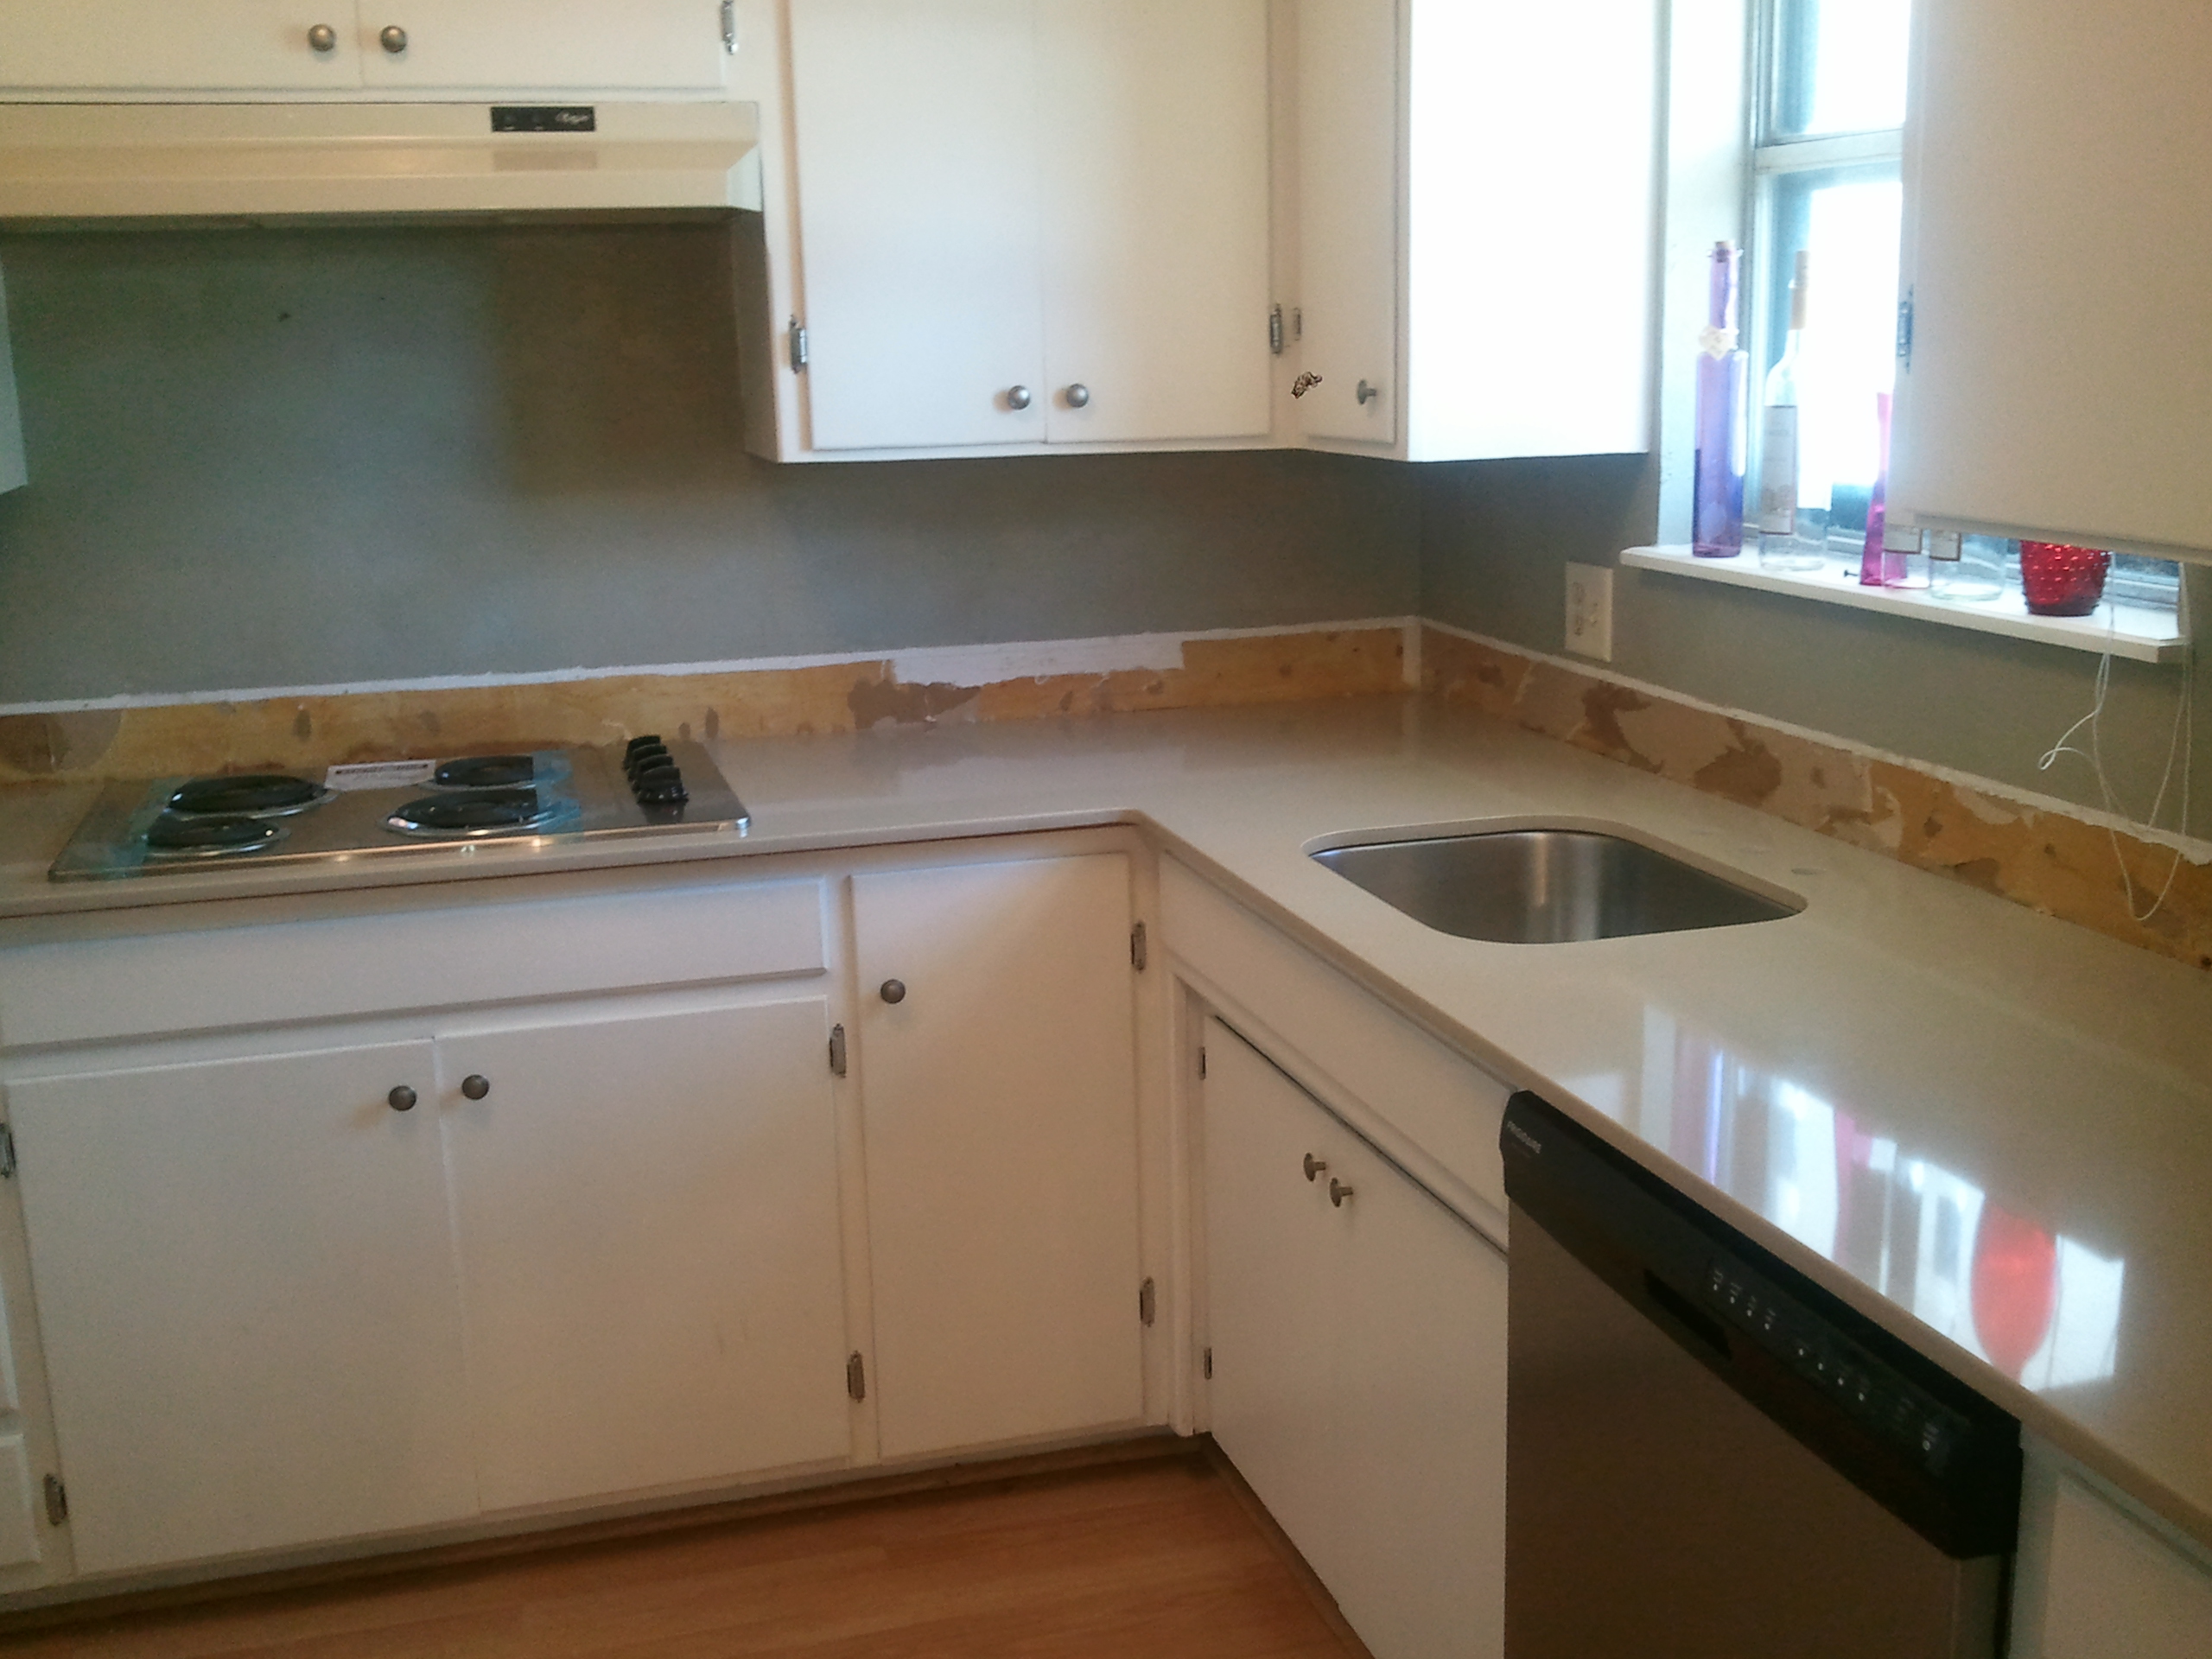
We purchased the counter from Lowes. They have a consultant in-store that will go over different options and set up a time to take measurements. They make it pretty painless. We chose a thin slab since it was cheaper and it really didn’t make a difference to me. Now I love it. I have not seen it anywhere and I love that it’s different. Lowes also offered a choice of sink with purchase of counters. We decided to go with a deep single sink.
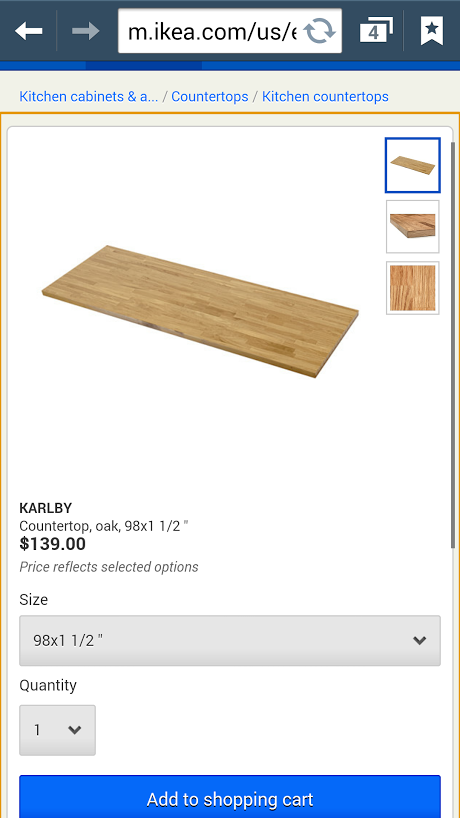
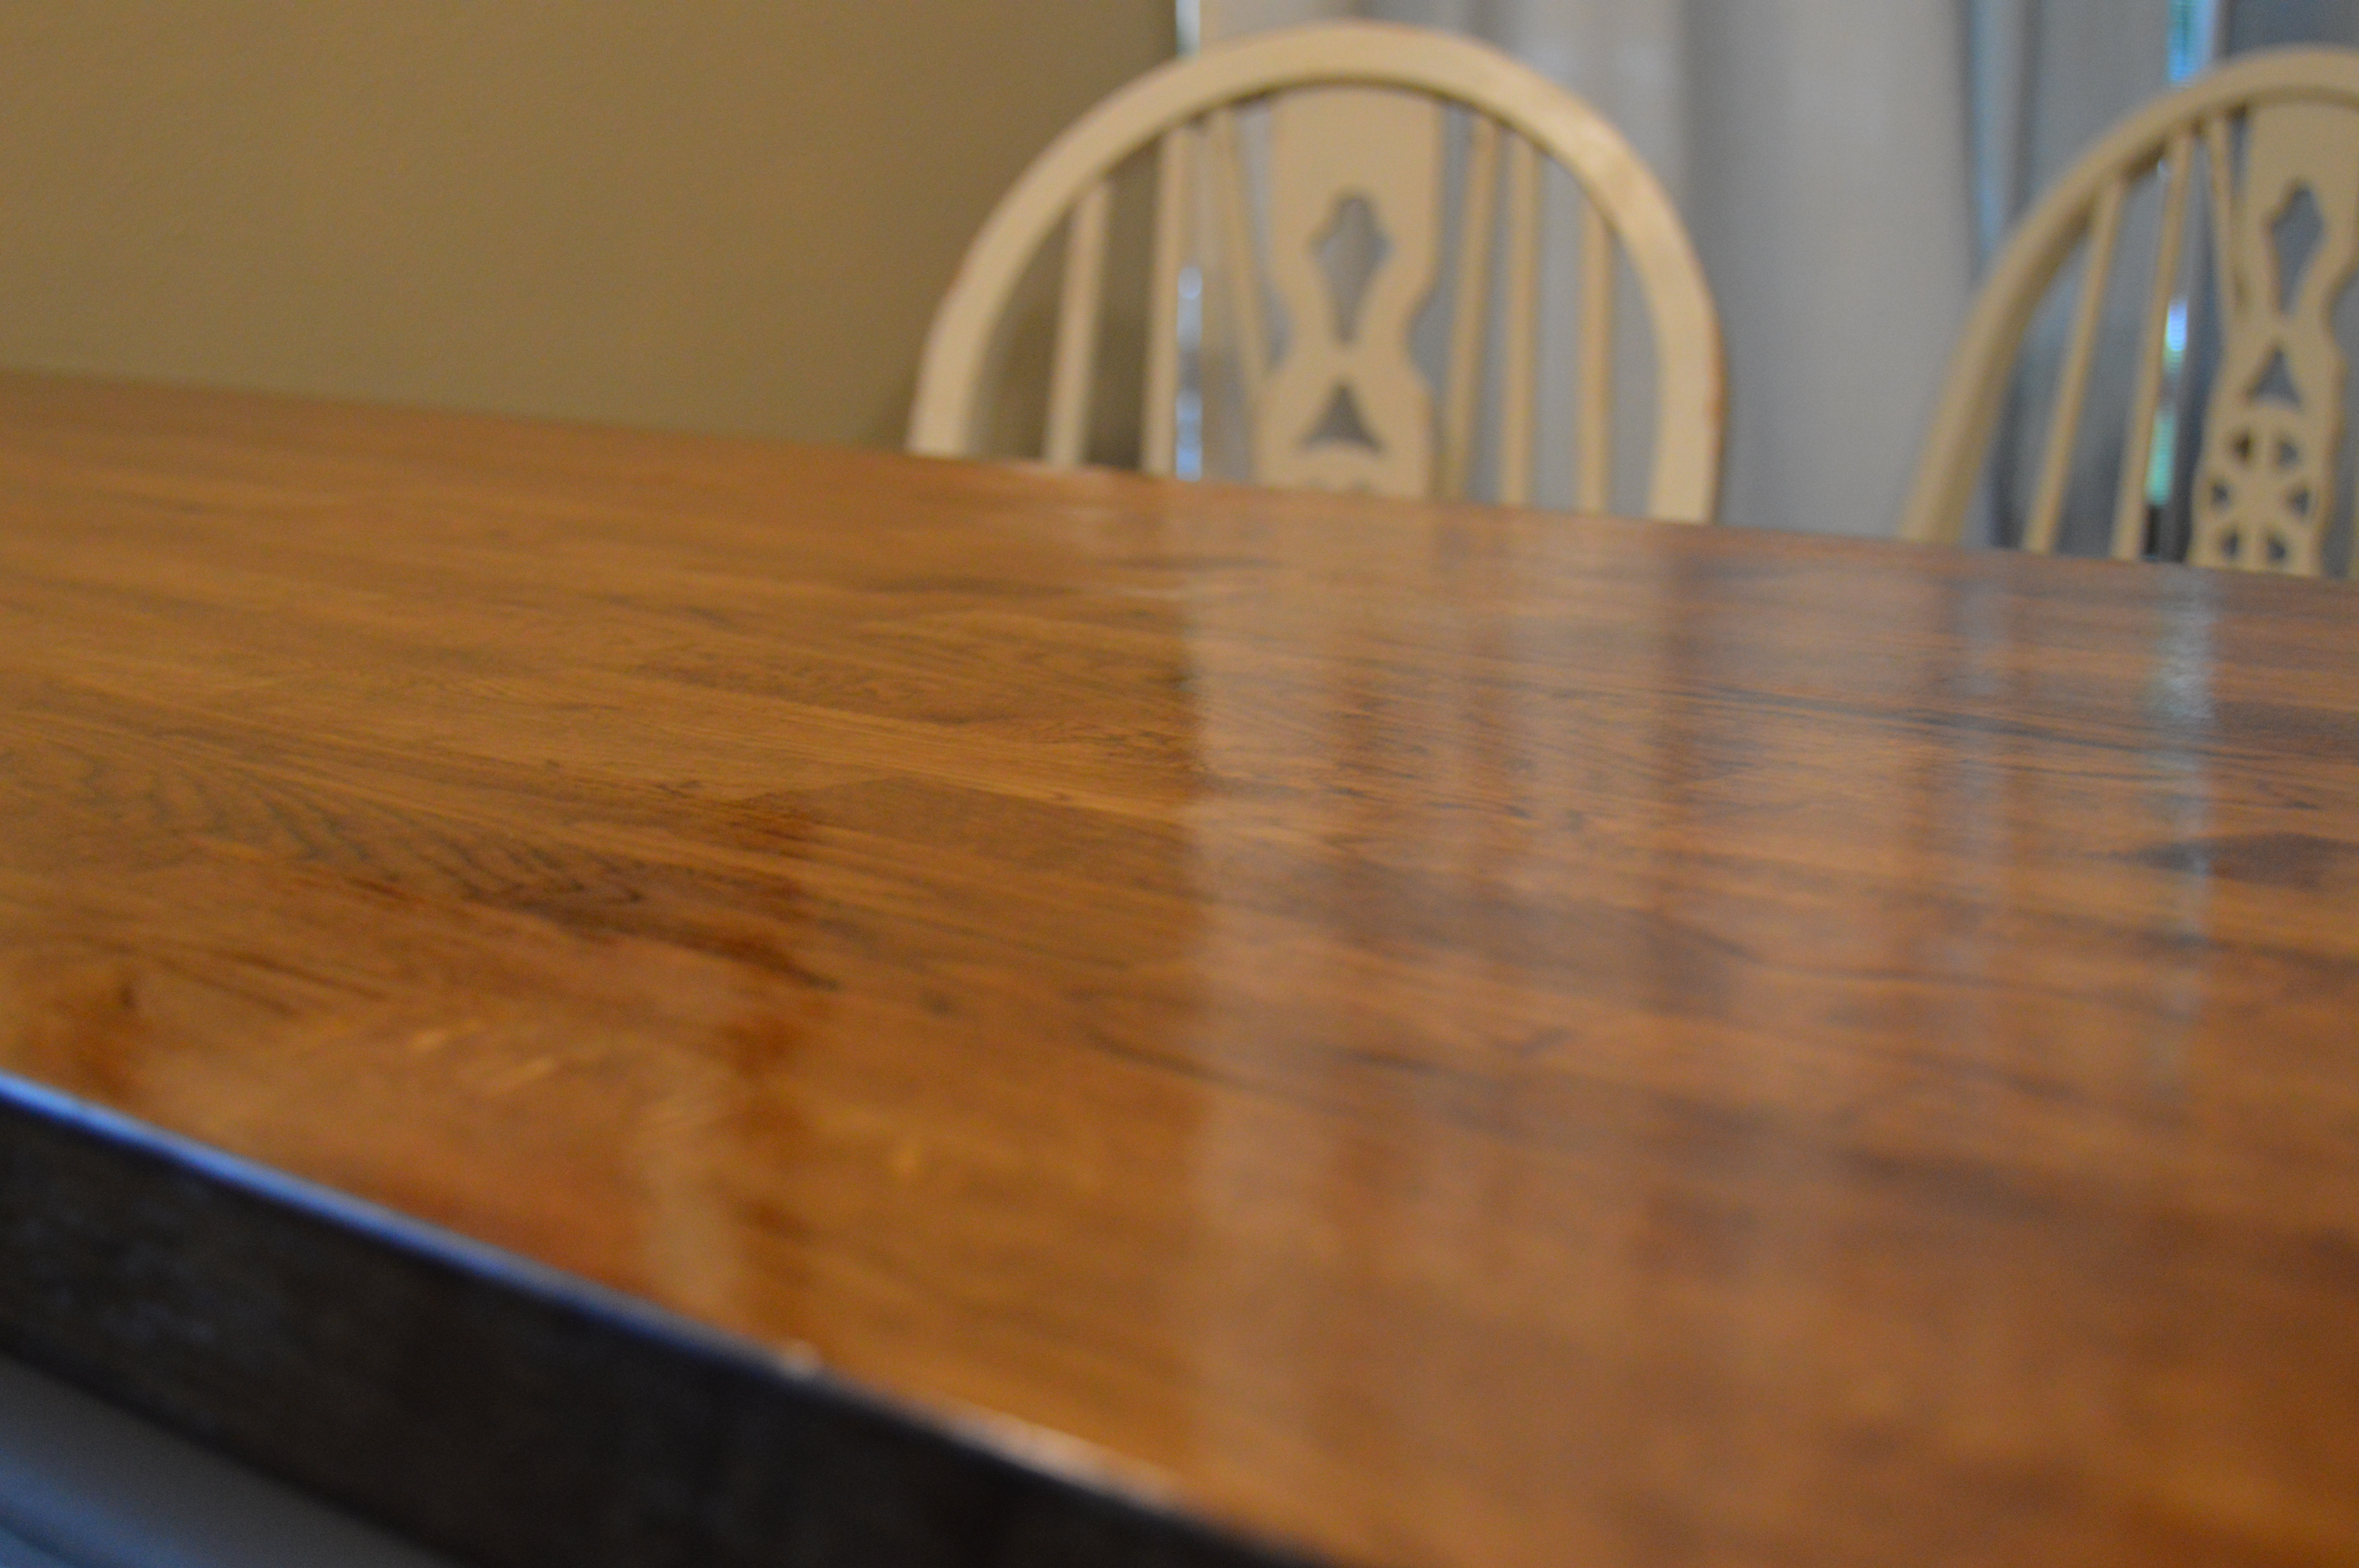
We did not purchase quartz for the bar top. Instead I chose a butcher block counter from IKEA. I found it online so we took a trip to Dallas to check it out in person. We chose this one and hauled it home.
It fit perfect and looked great. I ended up staining it Dark Walnut and sealed with Polyurethane to match the other wood in our house.
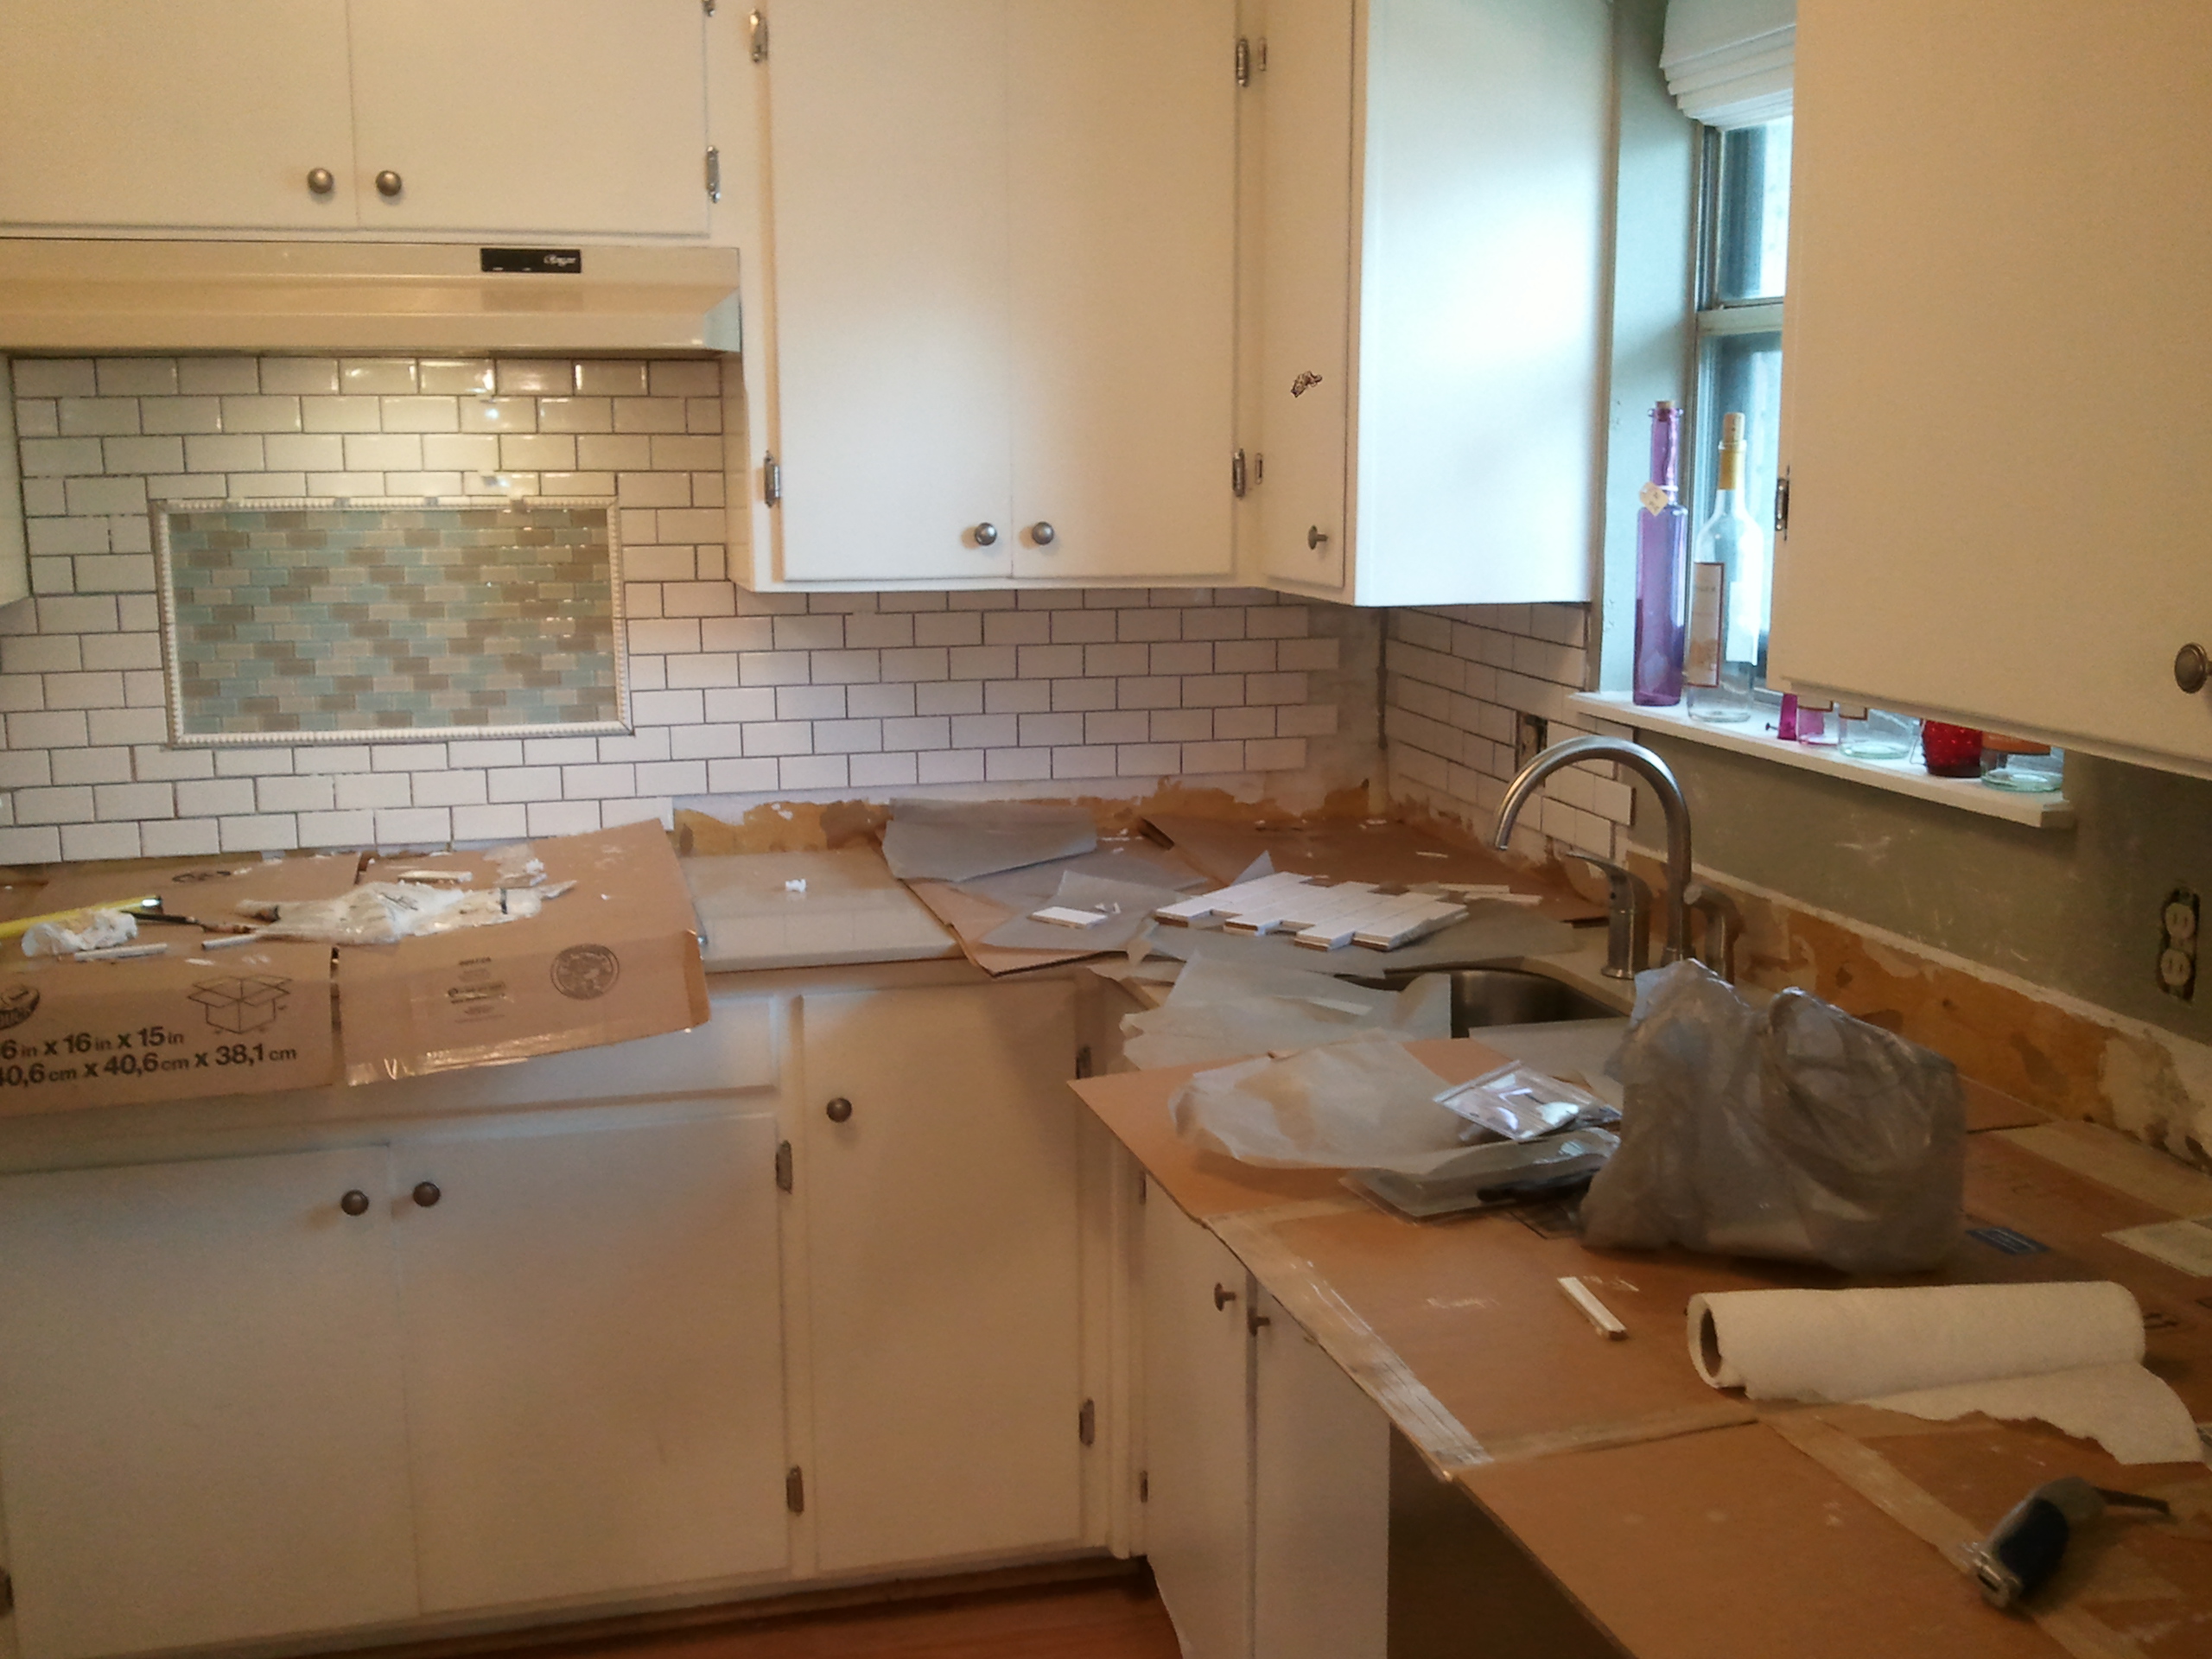
The backsplash in this kitchen was my very first tile job. I found both the small white subway tile mosaic and the colorful accent mosaic above the stove at Lowes. I went to Home Depot and rented a tile saw and purchased the mastic and mortar and got ready to take the plunge. Everything went pretty well until it was time to grout…. DO NOT MIX ALL YOUR GROUT AT ONCE. I REPEAT, DO NOT MIX ALL YOUR GROUT AT ONCE. I was literally in tears at the end of this tile job. Lesson learned and my future tile projects went a lot smoother when it came to grout. I learned a lot from this first tiling project. Most of my lessons learned seem like common sense now, but you gotta start somewhere right?! For instance, if you are using a wet tile saw, set up outdoors. They are MESSY! And once I was done, so was my kitchen. I also learned that your quartz countertops are pretty impervious to damage but stone is their kryptonite. Cover them well before you tile your backsplash. Thankfully I didn’t have to learn that the hard way. The installers gave me a heads up! Thank you Lowes countertop installer guys!
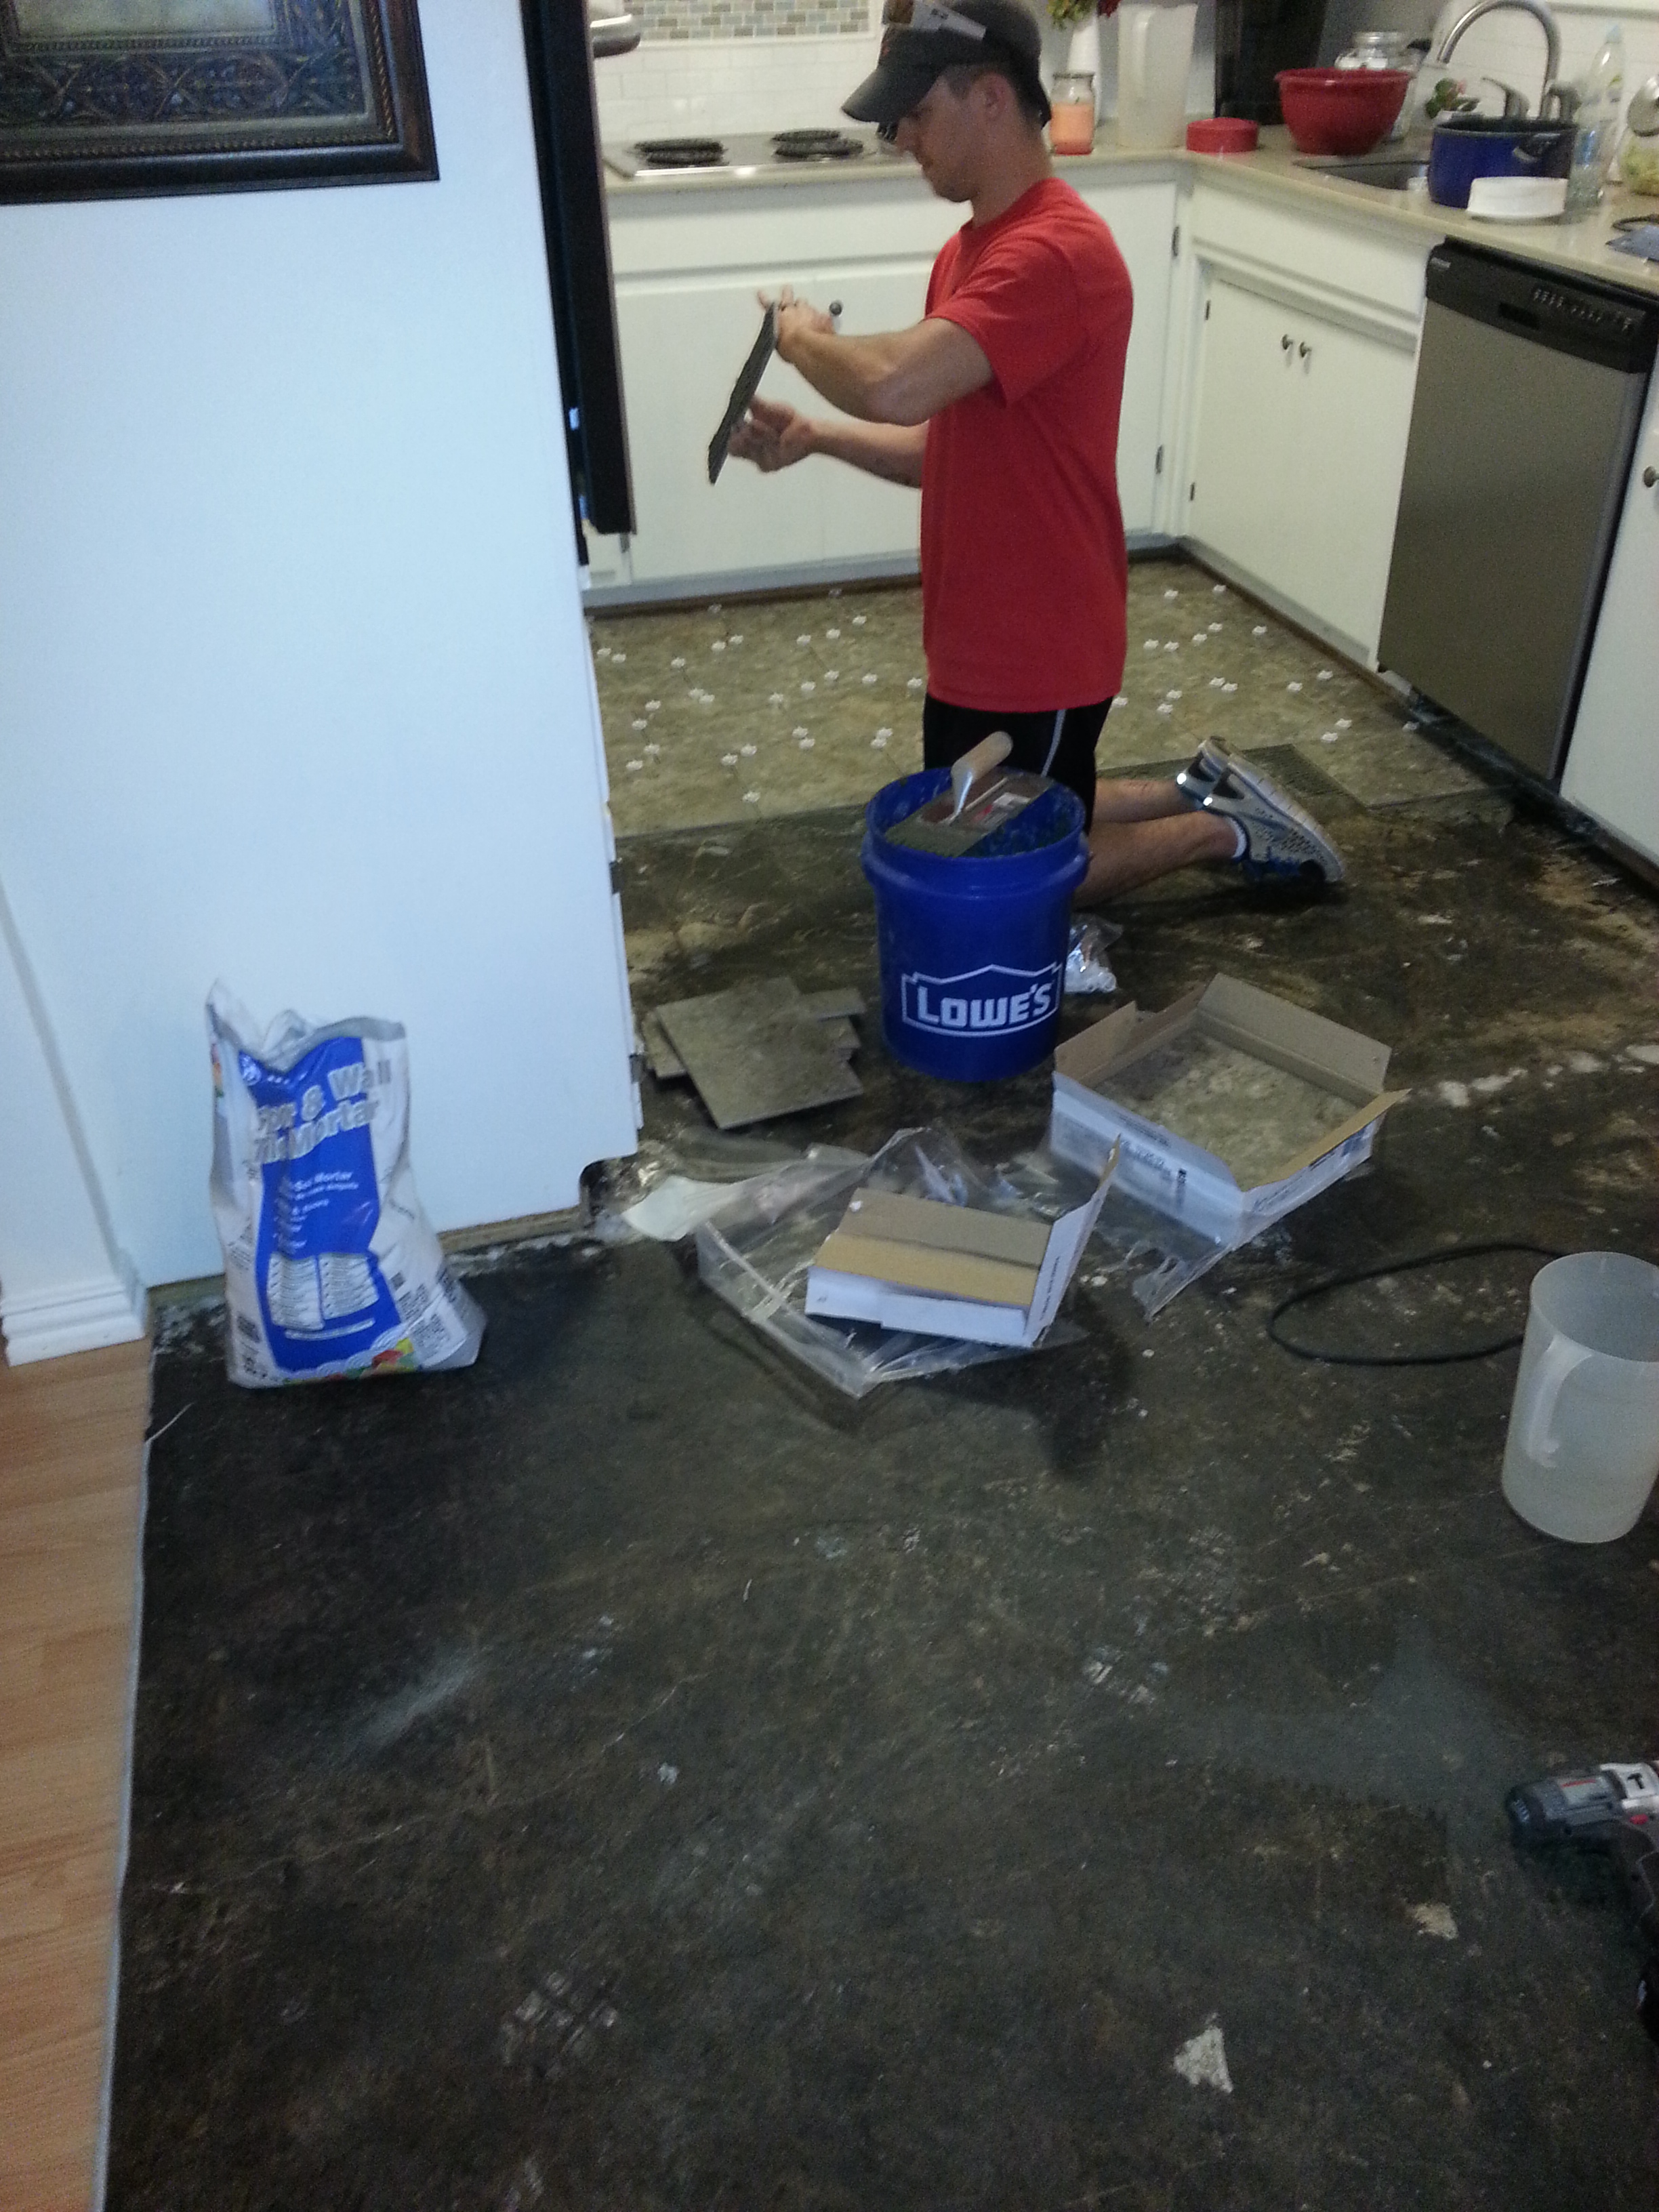
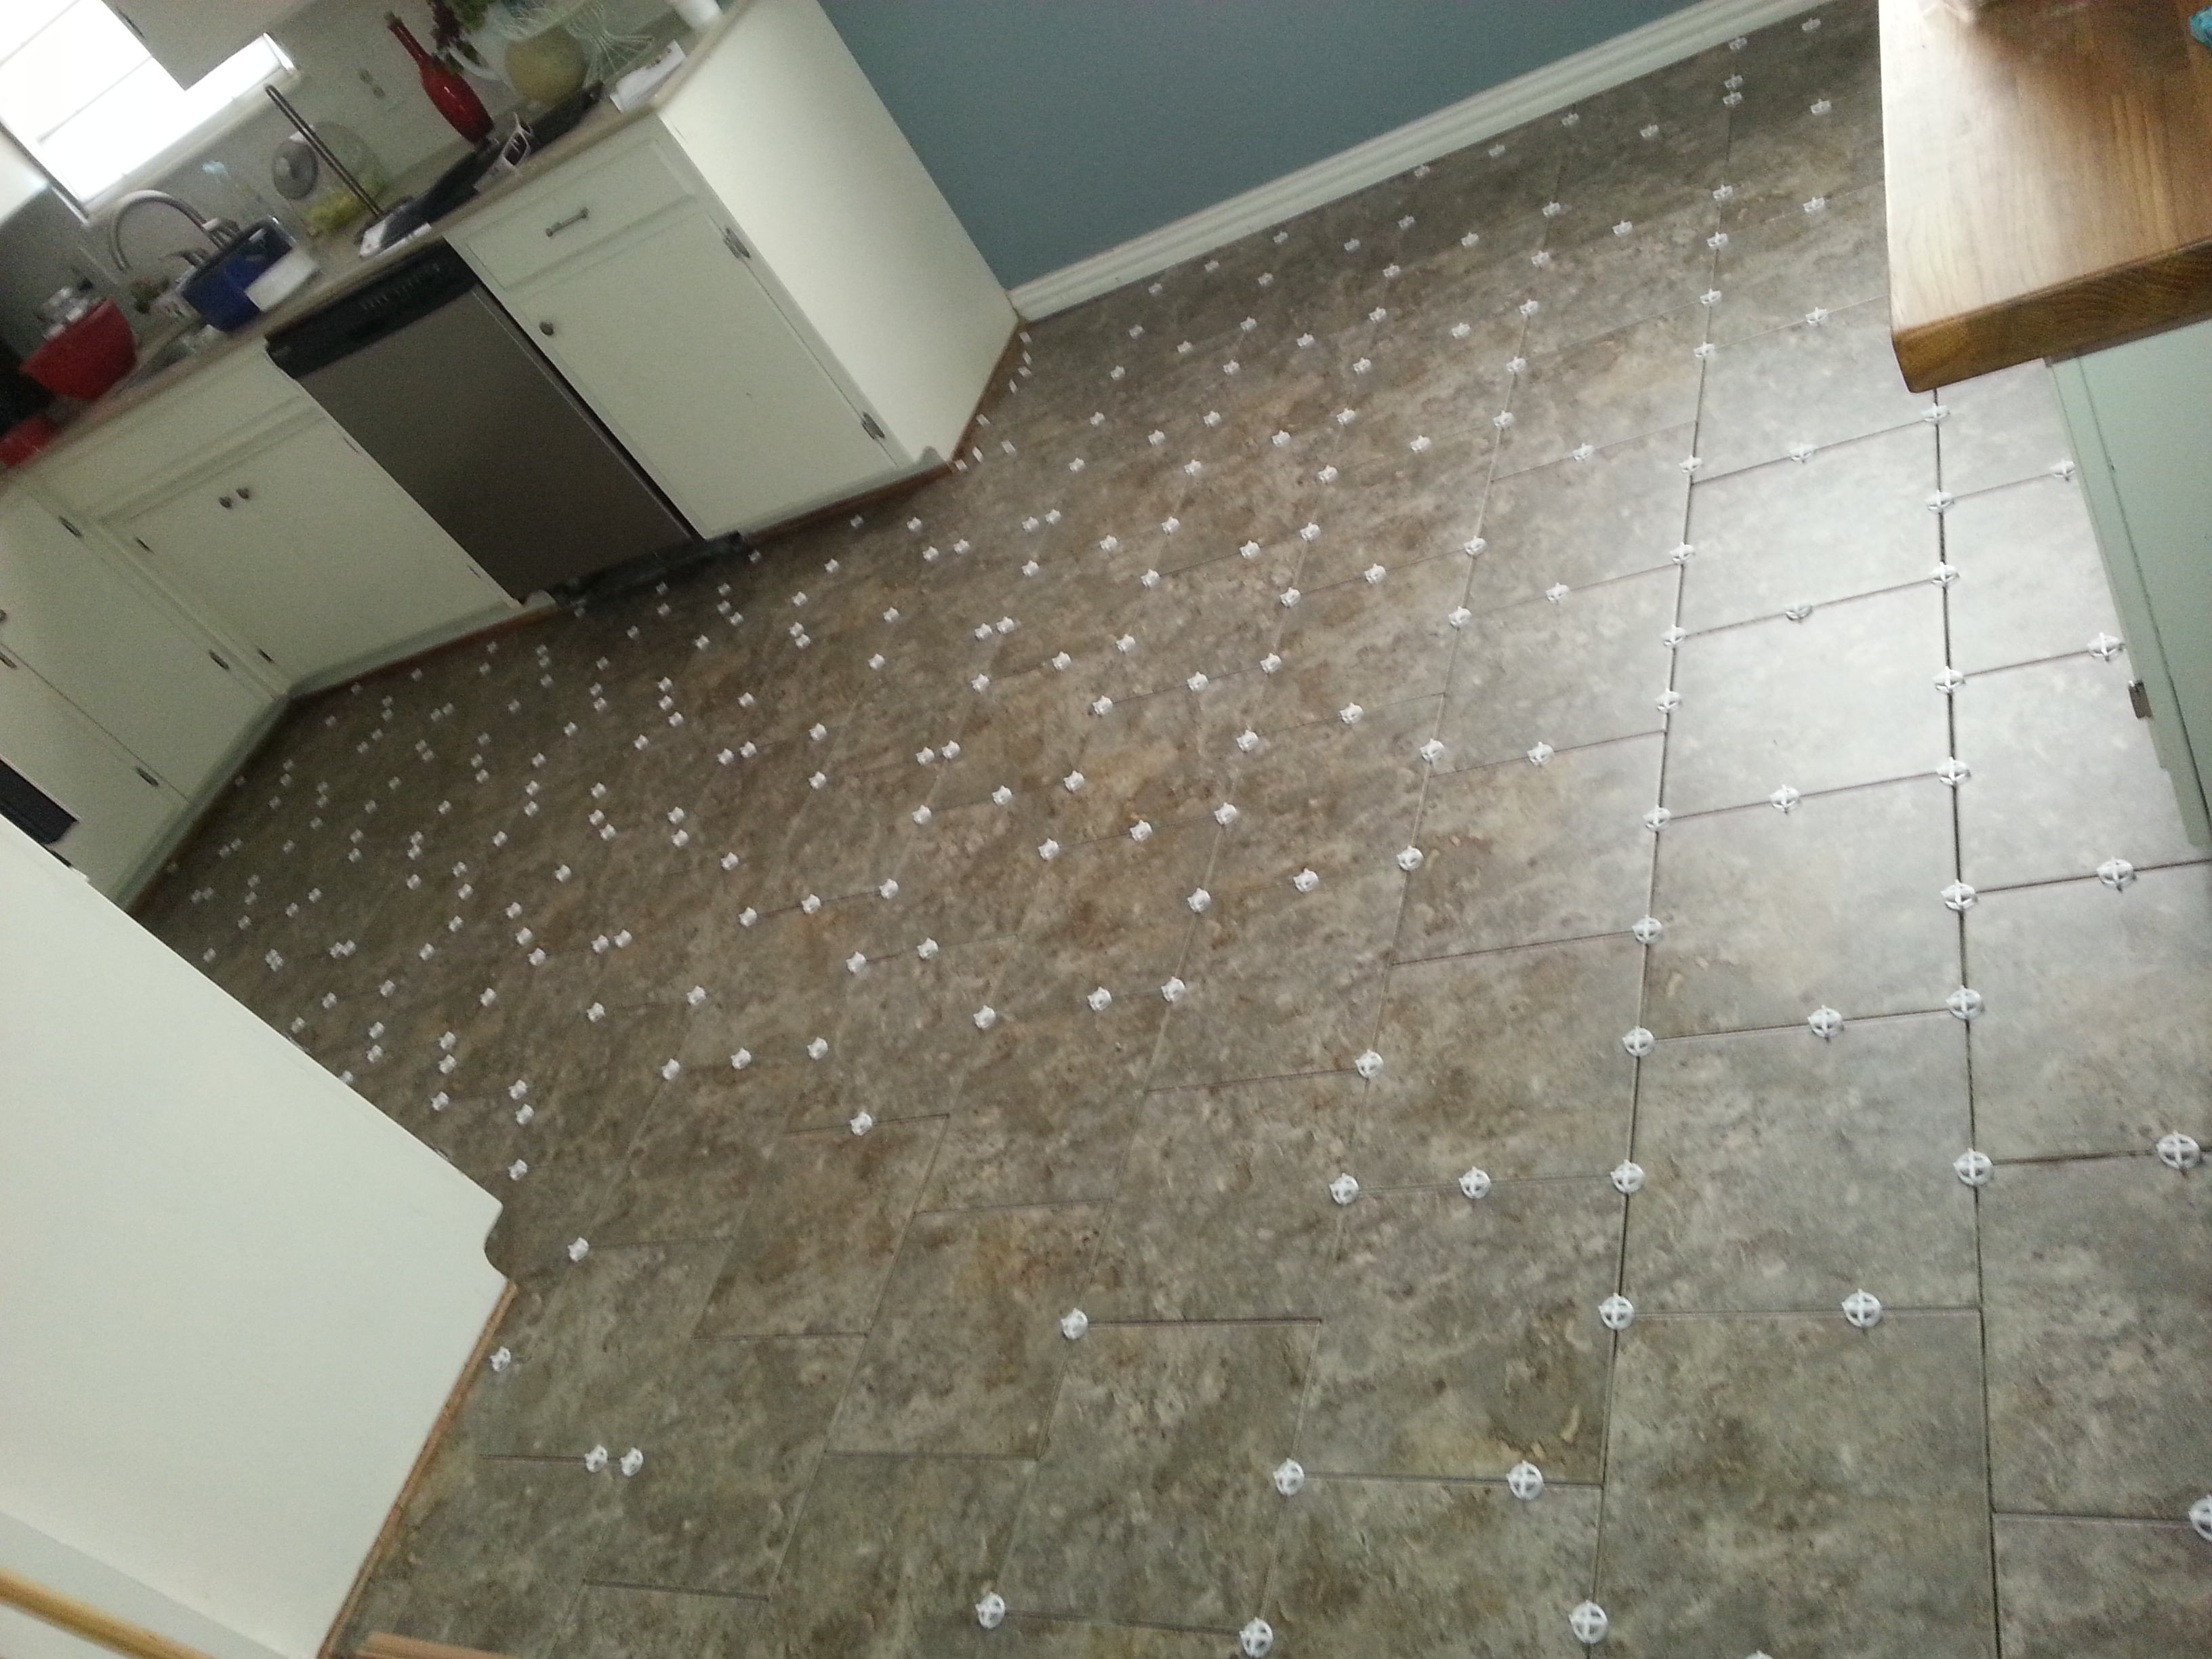
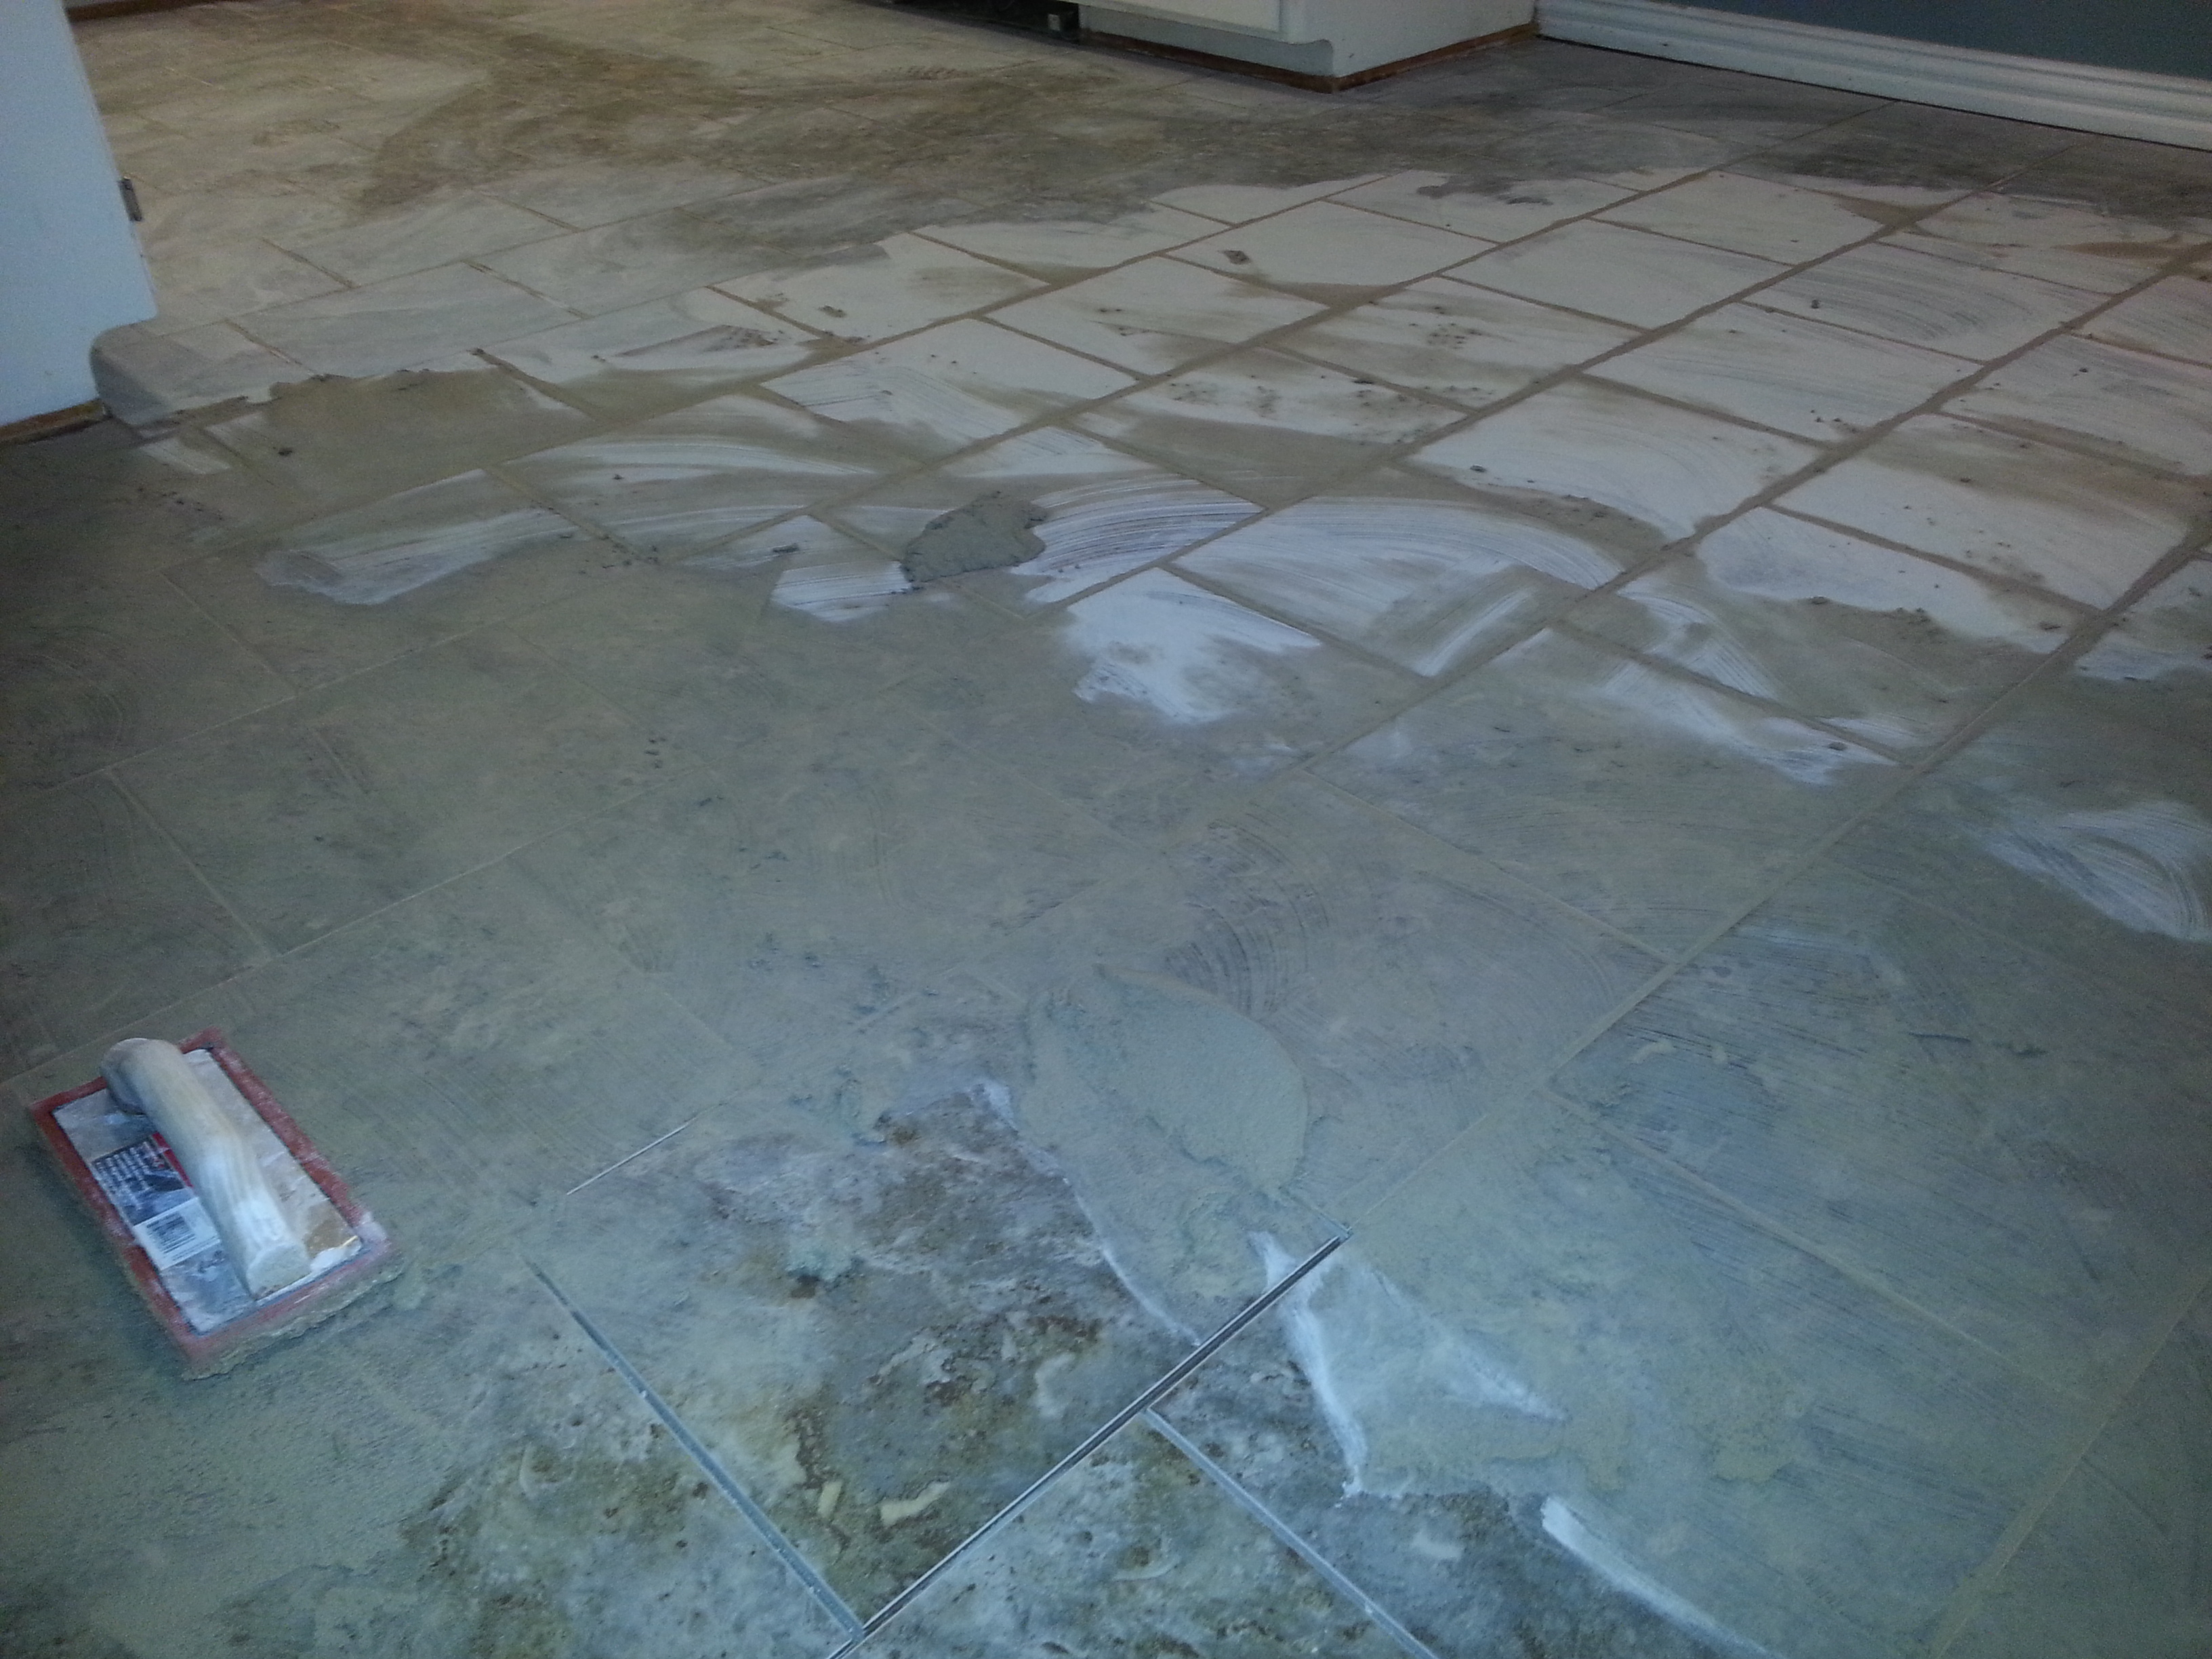
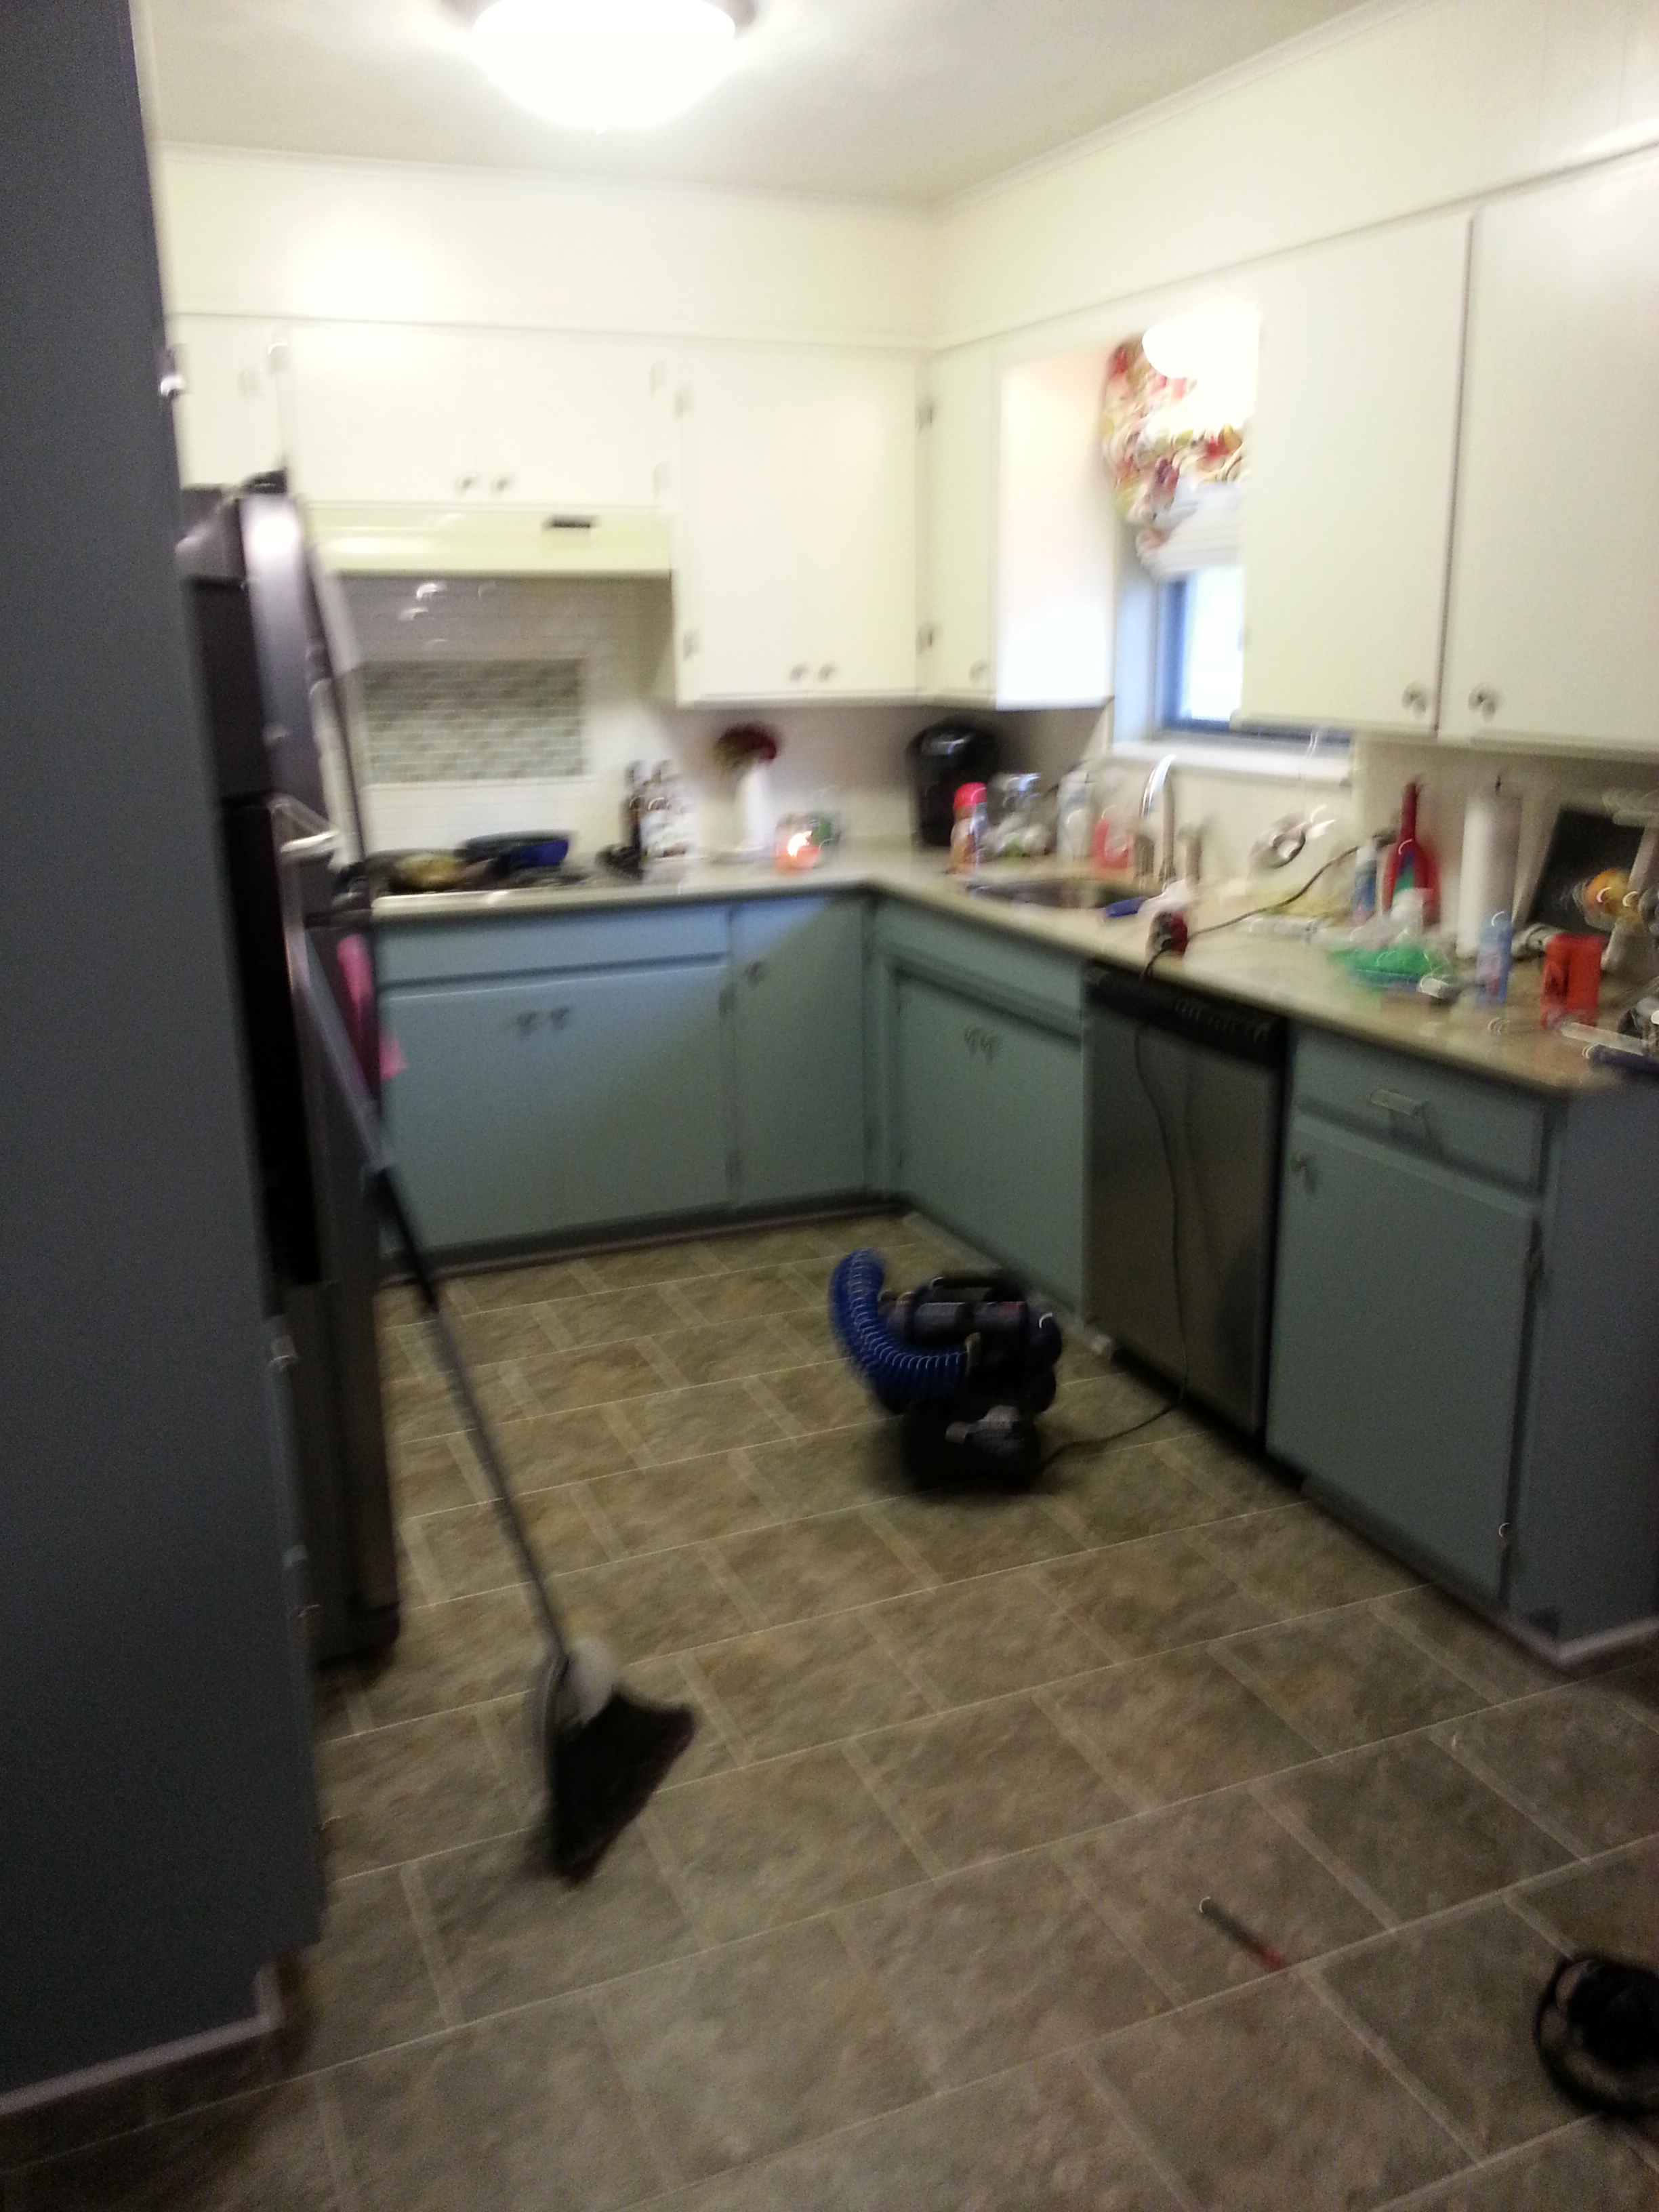
The floor was something we contemplated for a while. We knew the laminate that was there had to go, but weren’t sure if we wanted the new floor to go throughout the entire home or not. We decided to go with tile for the kitchen and lay it all the way to the bar since it seemed so disconnected from the rest of the kitchen. I thought this would make the kitchen feel larger and boy was I right! Not to toot my own horn haha, but it did exactly that. We chose a low cost ceramic tile with a mixture of browns, blues and greys. My husband helped me with this project. Thank God for handy husbands who are willing to help their crazy, pregnant, DIY obsessed wives. Yes, I was pregnant at this time and helping my husband tile. Don’t worry, he did all the heavy lifting. I mostly added spacers and helped cut the occasional tile.

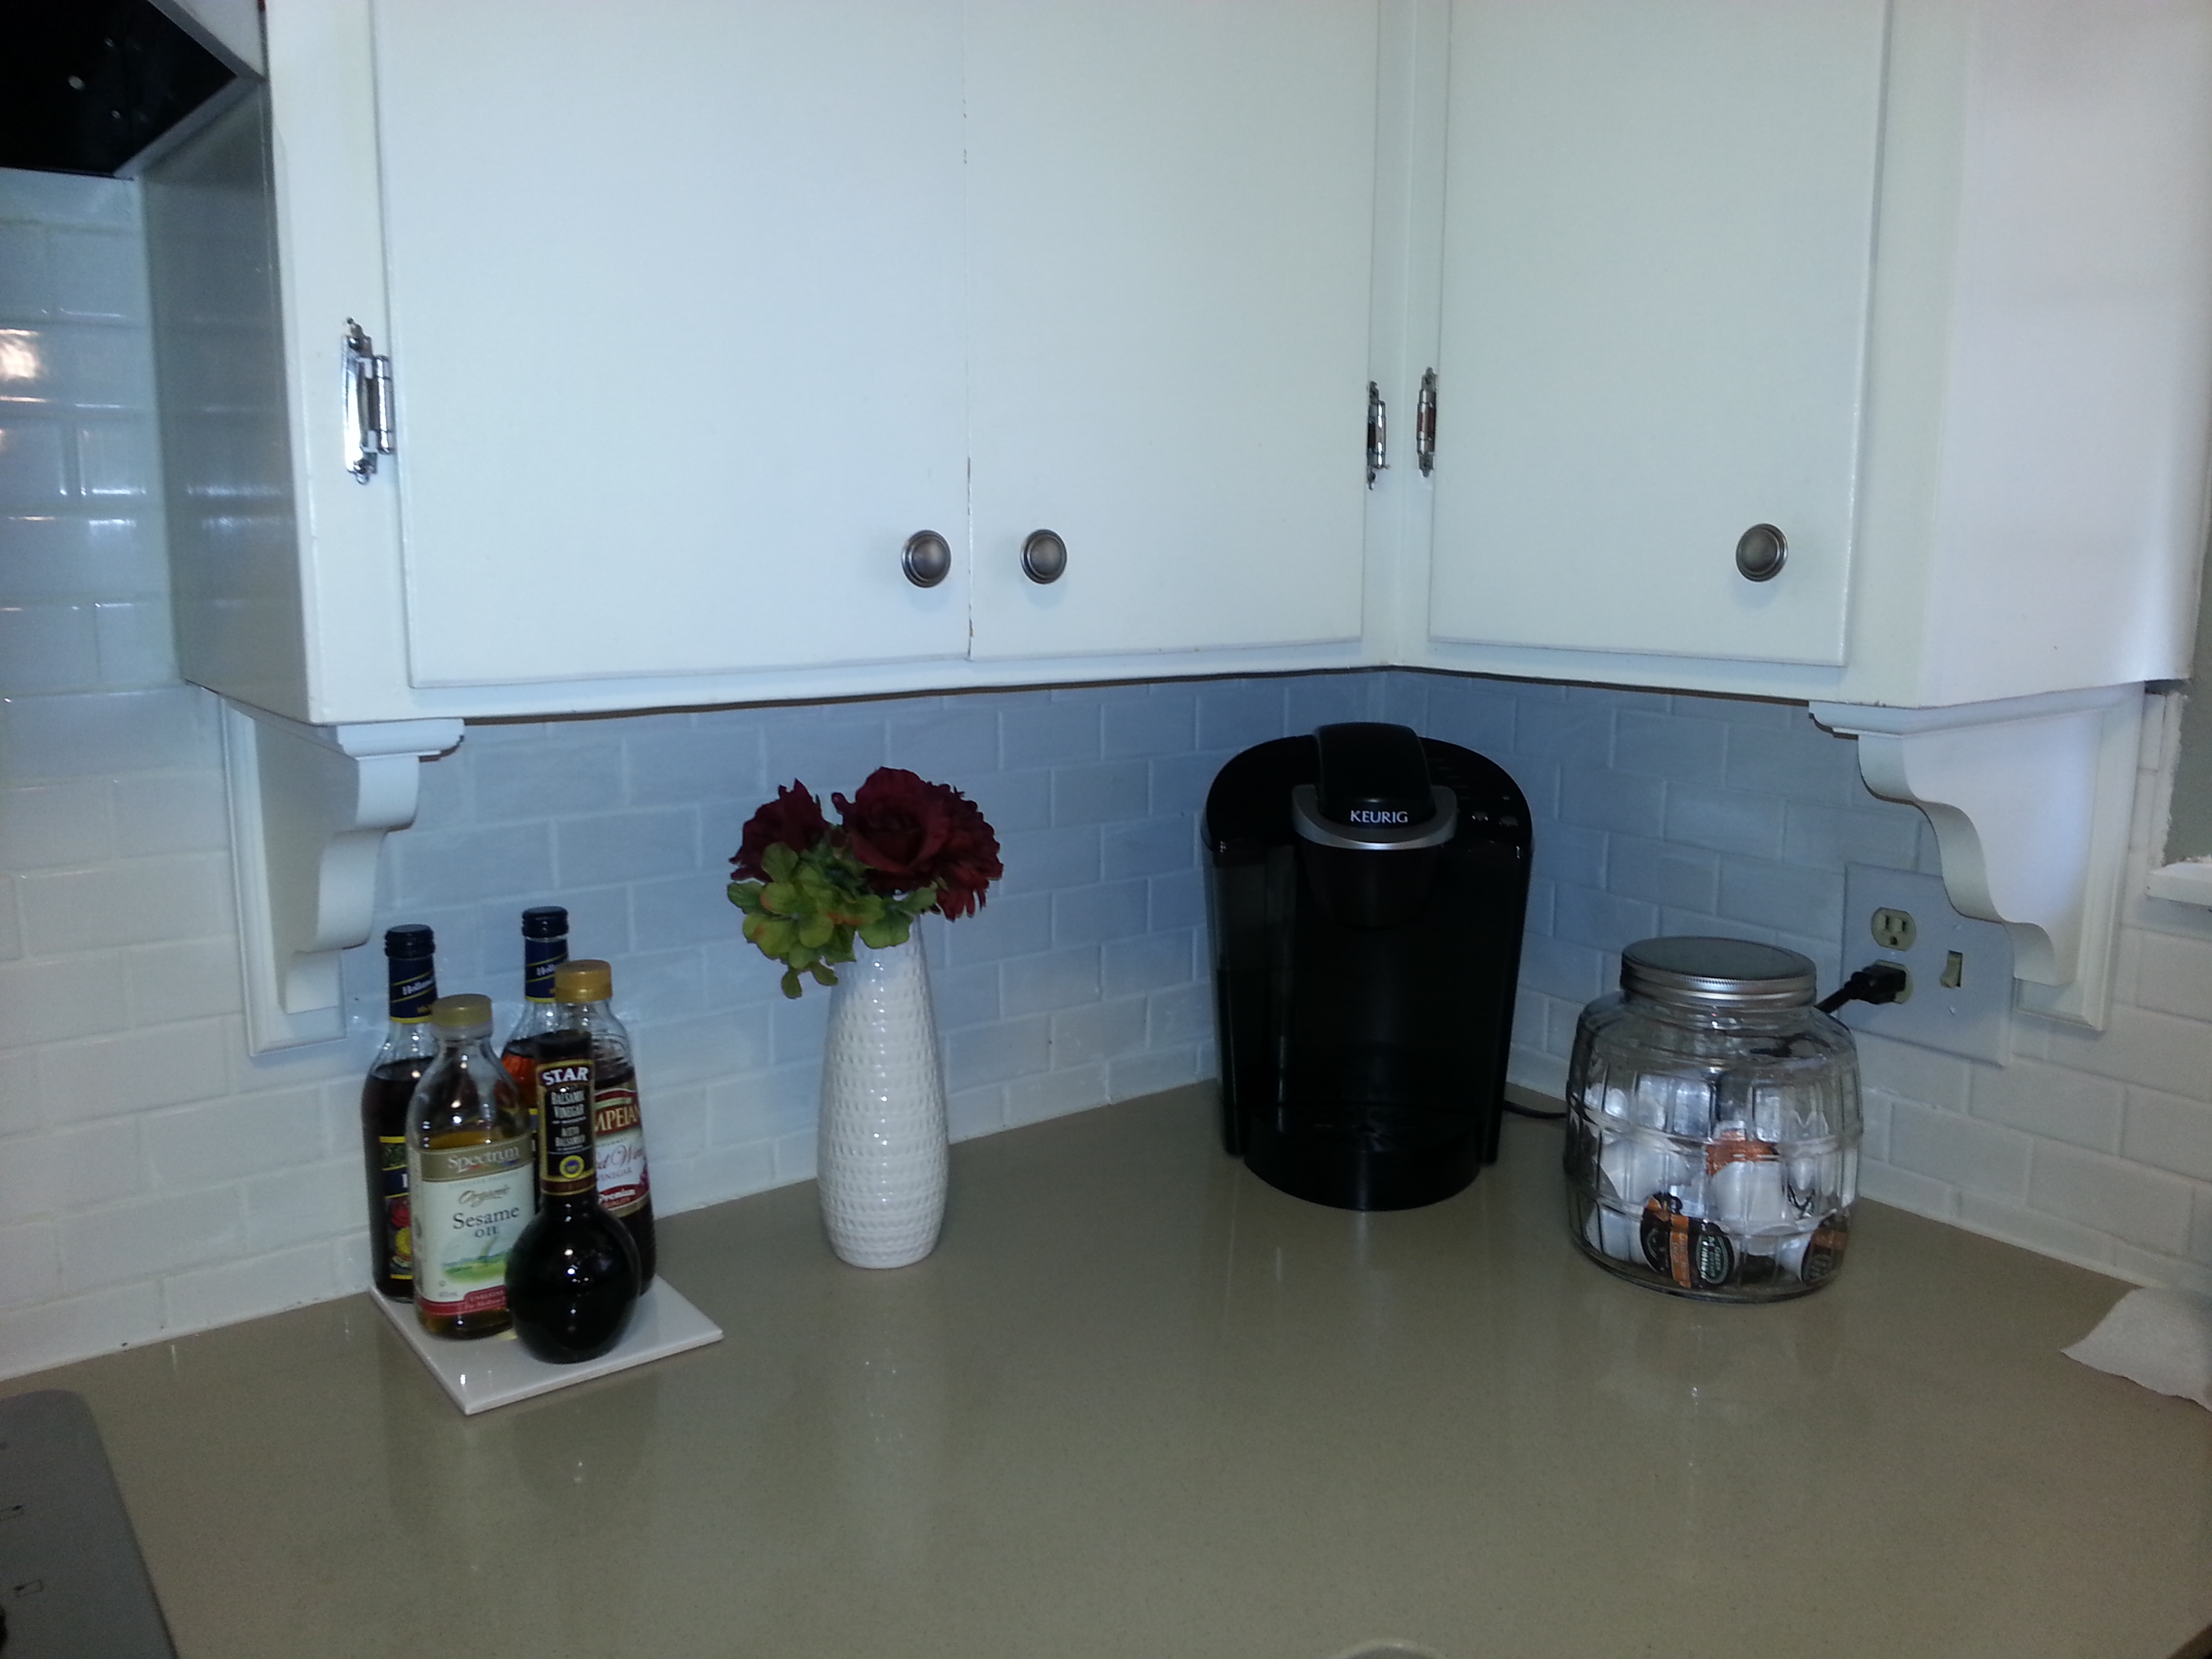
Next it was time for style and details. I was determined to make this original 60s kitchen look beautiful and fresh and up to date. I like a white kitchen, but it was just not working for me here. I convinced my husband some of the white had to go. I had bought this blue paint when we first moved in and used it for an accent wall. I love it! It is such a calm, pretty blue. Since I had 2 extra gallons and it already matched so much of my décor, we went with it. It turned out great and compliments the counters so well!

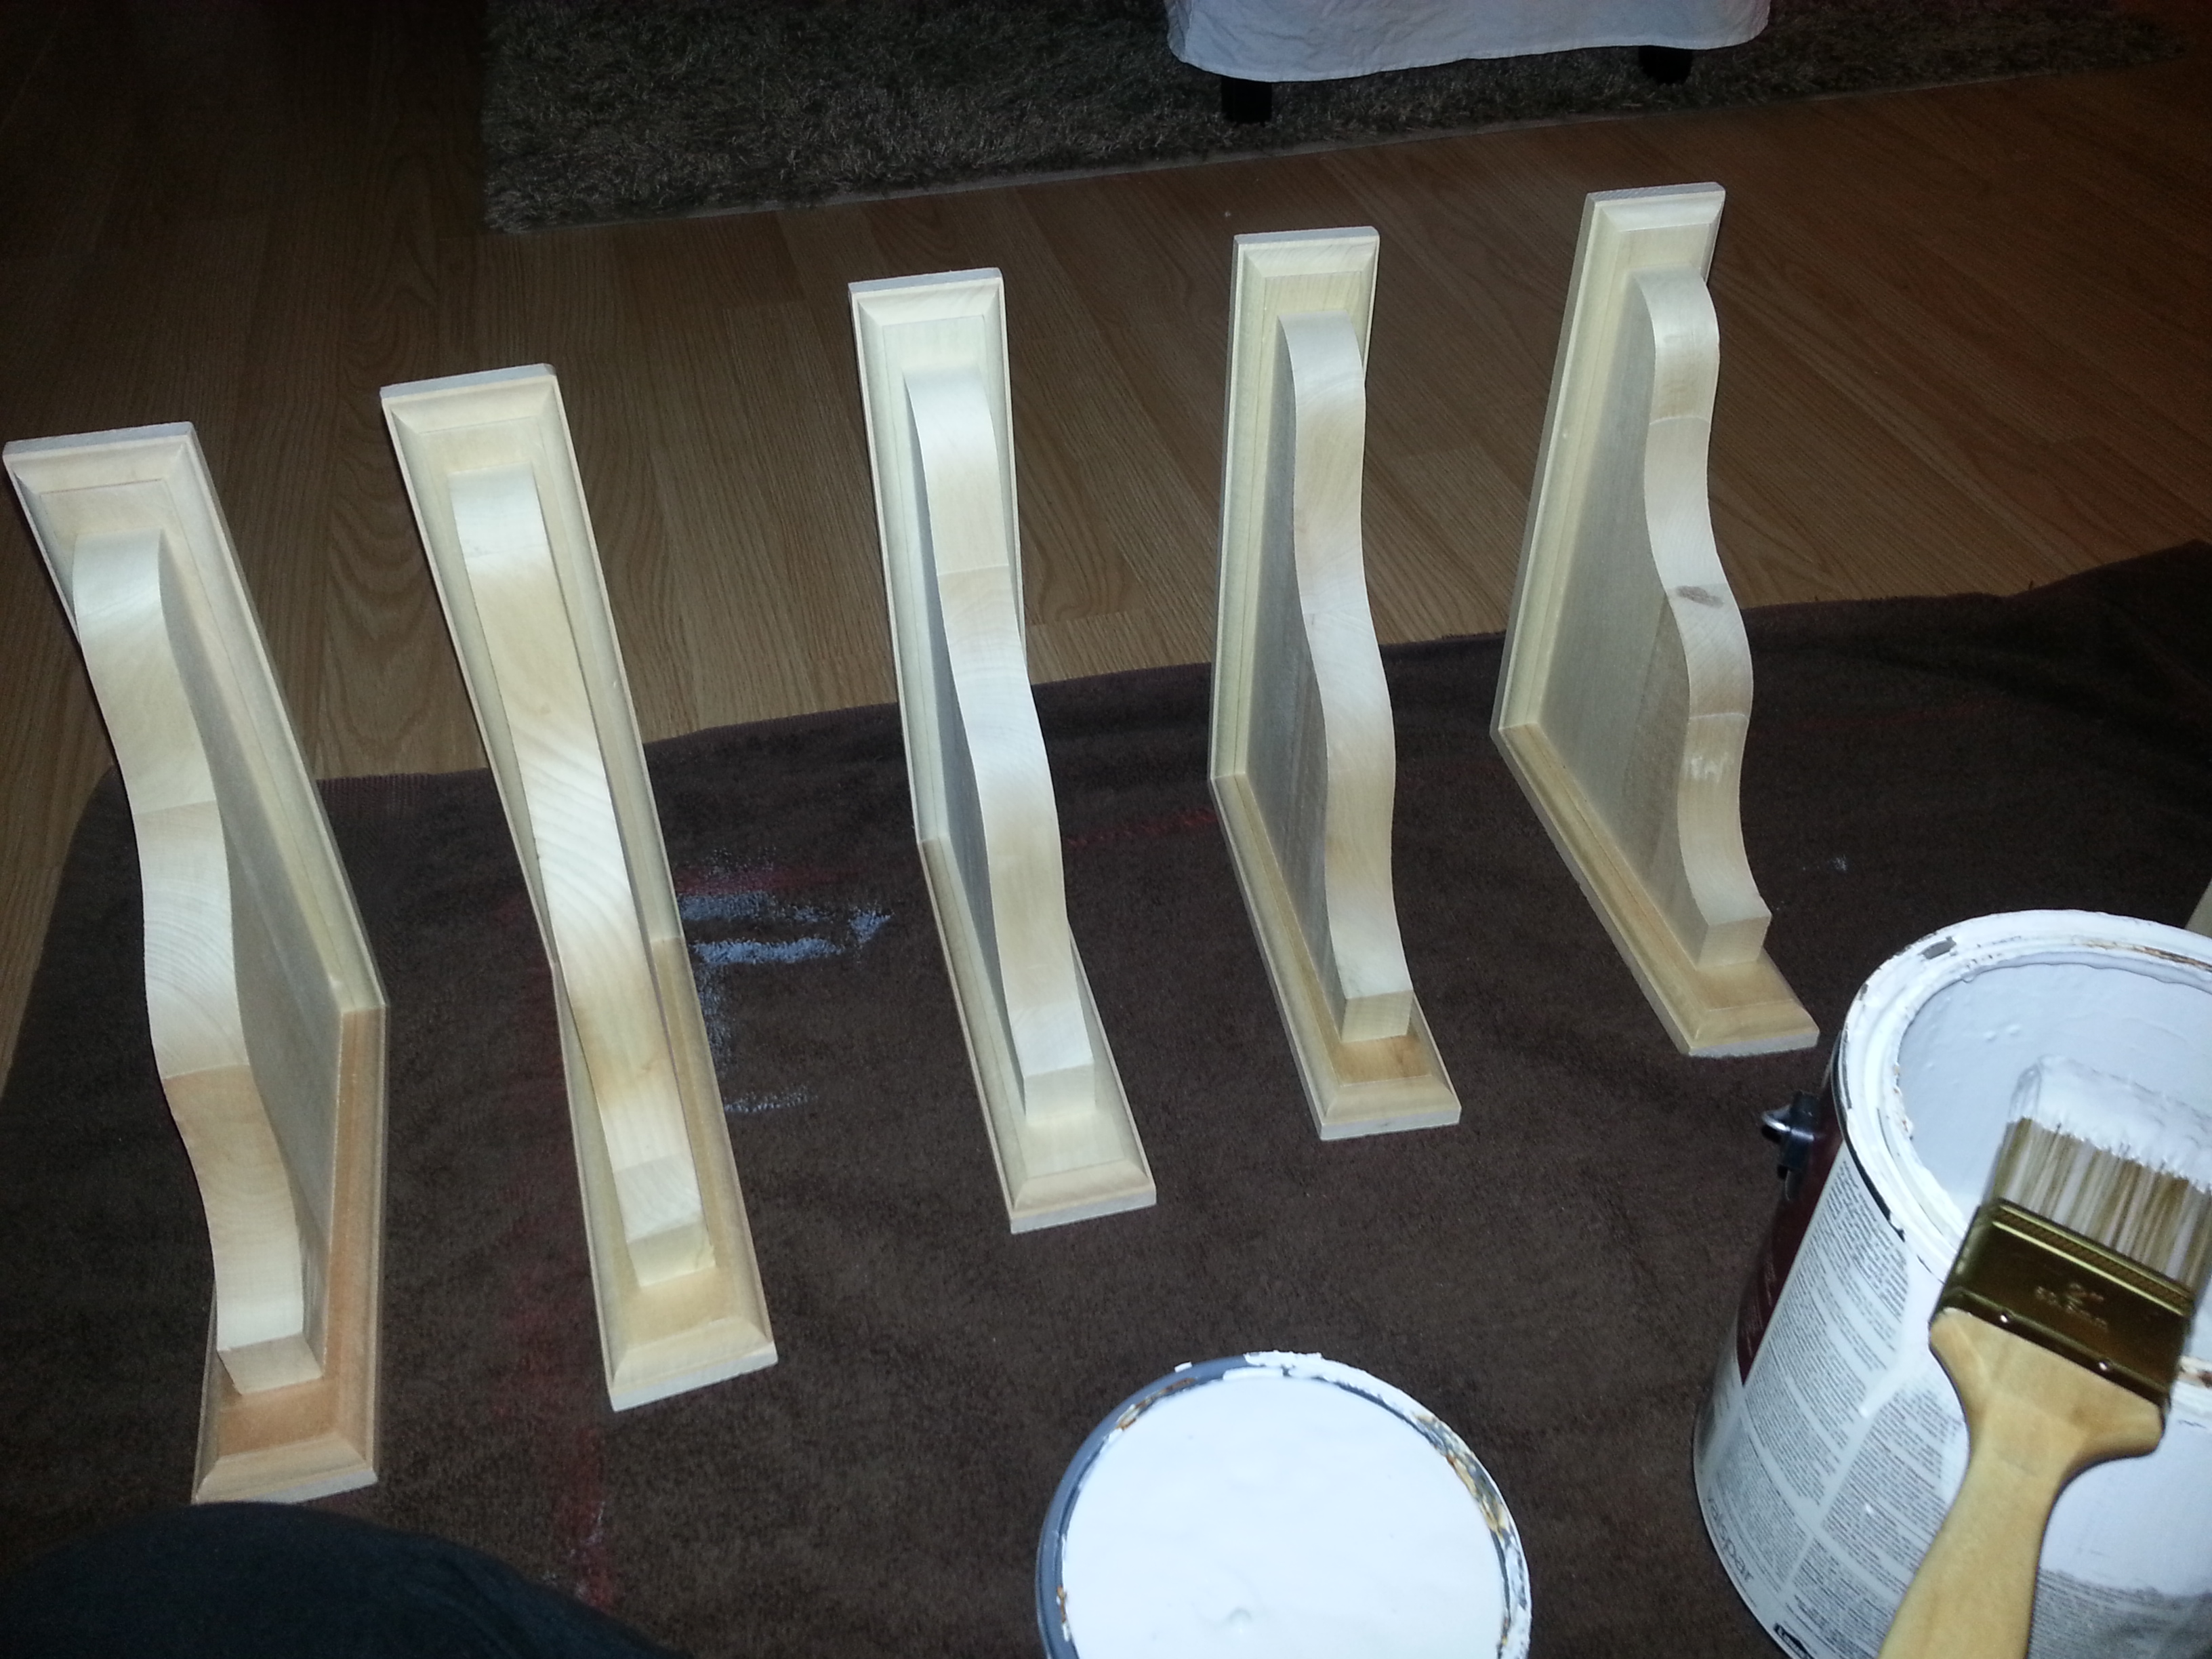
But that wasn’t enough character for me. I wanted to add corbels under the top cabinets so they look more like custom cabinetry. I found some I liked at Home Depot for a great price. They were raw wood so I gave them a coat of Zinsser primer and white paint then put them up. I used finishing nails to attach them to the underside of the cabinets and glued them with construction adhesive to the tile backsplash. They are simple but add so much character.
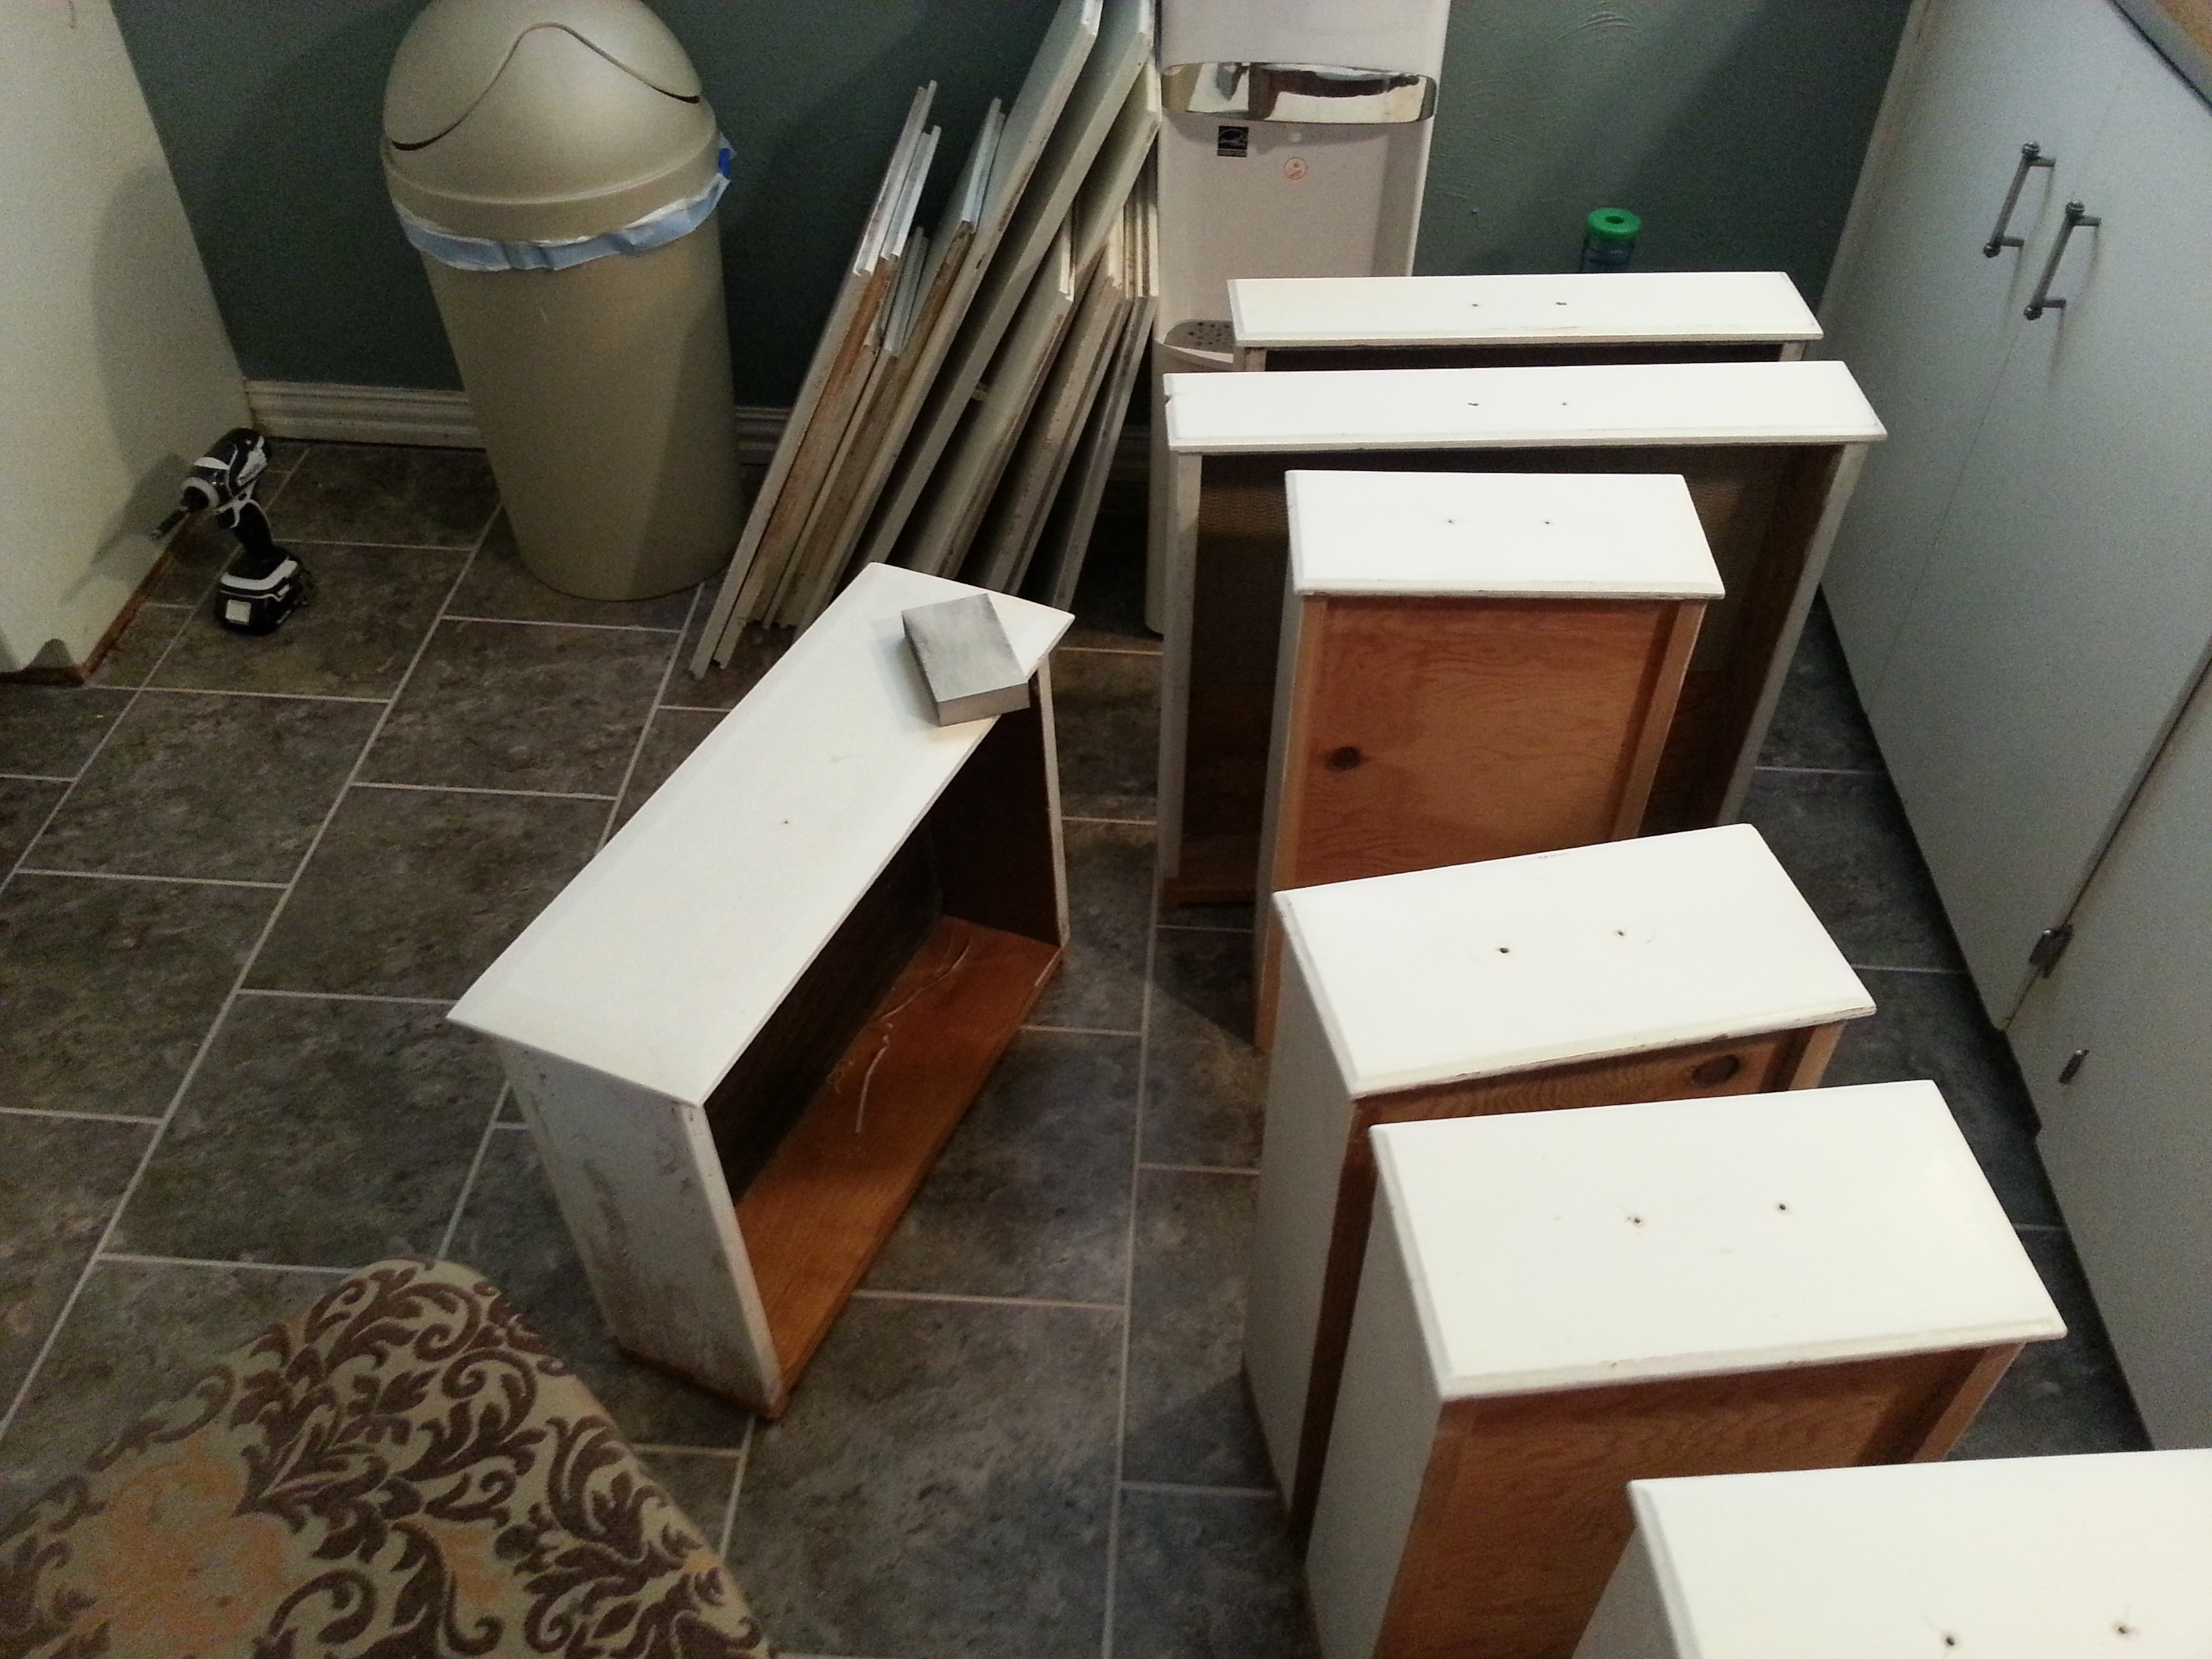
This was good enough for me for a while. But there was this nagging voice telling me the kitchen wasn’t complete. That nagging voice was my husband telling me we needed to replace the flat panel cabinet doors with something more contemporary. I knew we couldn’t afford new doors because they would have to be custom made. So I got on Pinterest and did some research on updating cabinet doors. I found a lot of great tutorials but one really spoke to me because it was cheap cheap cheap! Shauna Mailloux at beautifulmatters.com has the genius idea to use Lowes wooden yard sticks as trim. I went to Lowes to check out prices and sure enough, the yards sticks were the way to go. They were cheaper than the lowest priced project wood. So I loaded up my cart and headed home. I started with the bar to try it out.
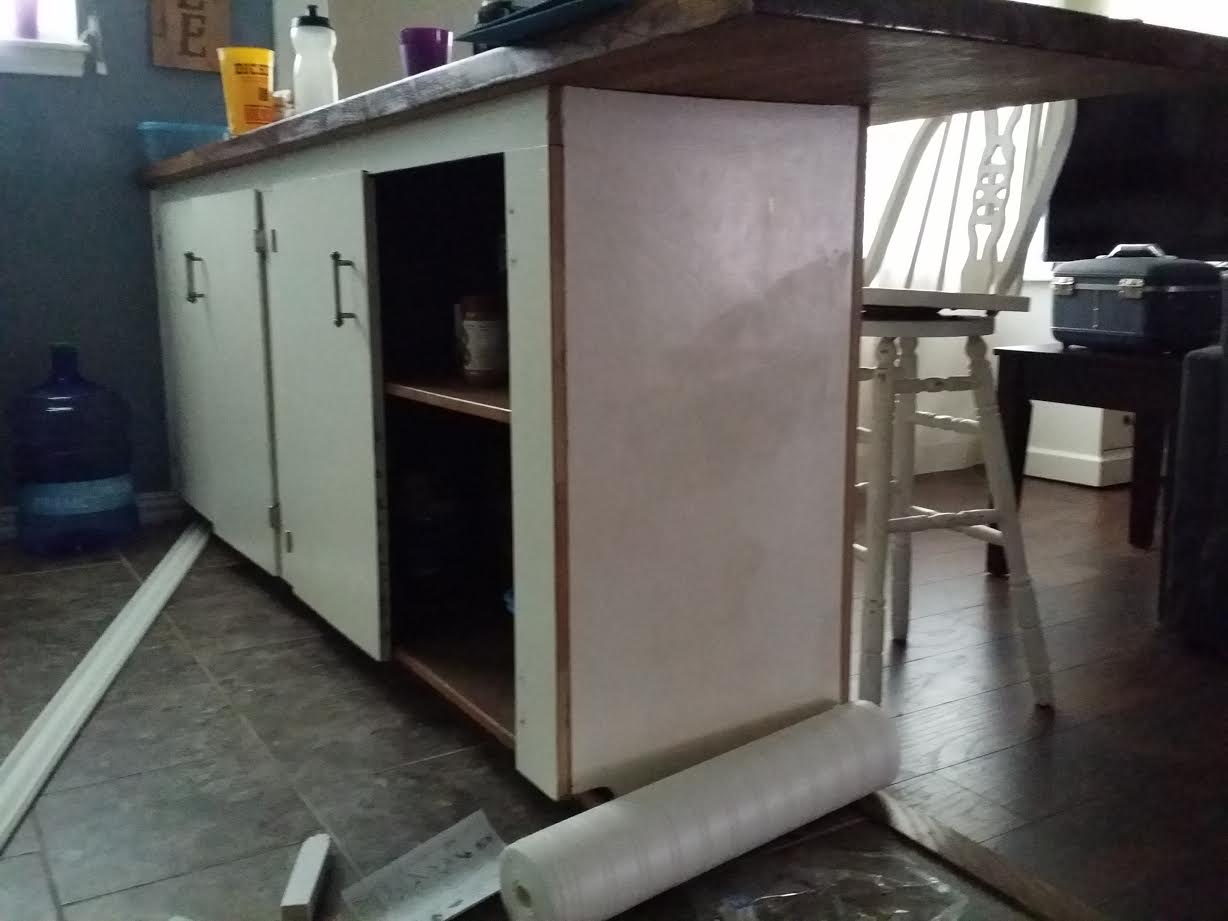
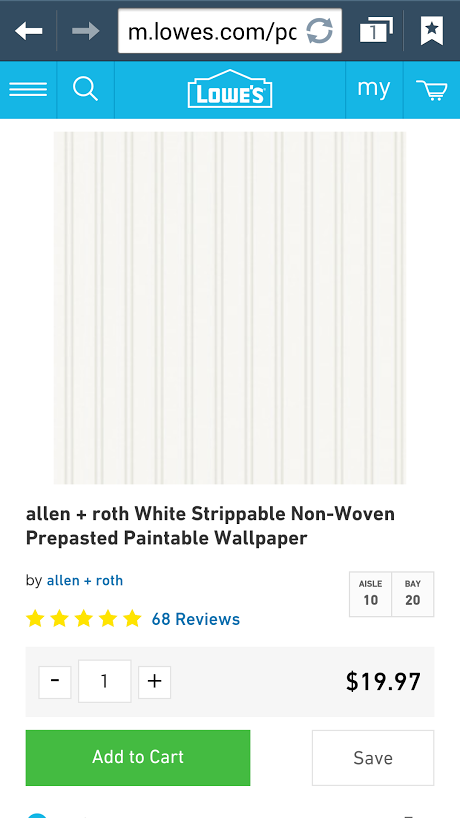
I also added paintable, pre-pasted, bead board wallpaper for more character. It’s pretty easy to use and the instructions are simple, but the paste makes a mess so have plenty of towels on hand. I wrapped the side and back of the bar as well as put it on the doors.
And finally, I attached baseboard and feet to give it a ‘furniture’ look. Most of the baseboard was removed from our bathroom during that renovation so that was a no cost addition. I did buy a wider piece for the back of the bar because it has this weird drop off. At the front of the bar I needed to create something for baseboard to attach to since there is an empty space as most cabinets have. I just cut 2x4s to fit and nailed my baseboard to that as well as the cabinet. It is nice and sturdy.
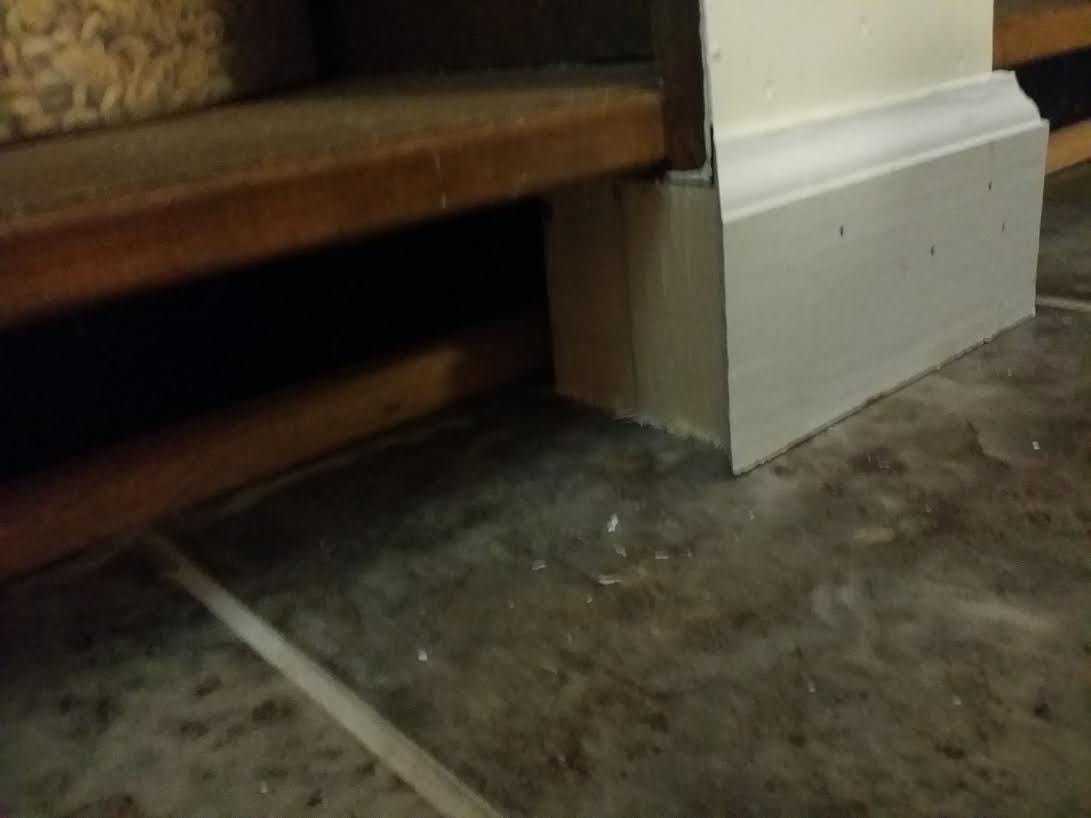
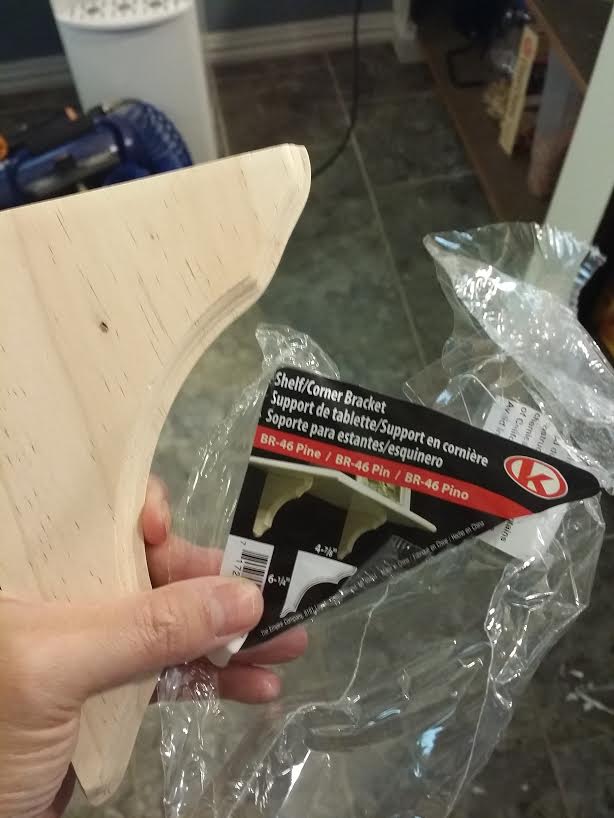
The feet are actually shelf brackets from Lowes that I cut to fit under the cabinet and also have a flat bottom to sit on the tile floor. I also removed the little brackets.
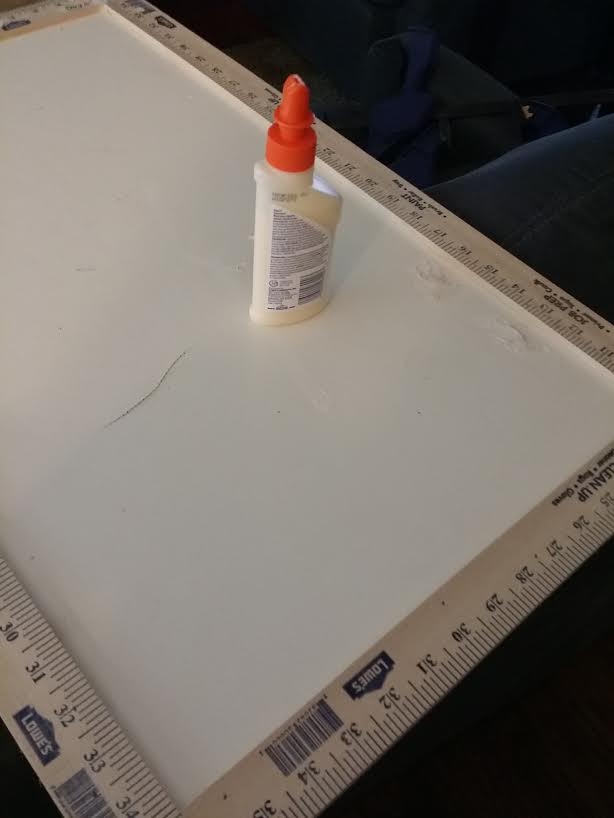
Now I could focus my energy on the door project. I went with a Shaker style. I cut all my yardstick pieces to fit then used wood glue and finishing nails to attach them to the doors. I used wood filler to fill in the gaps between the pieces and fill all my nail holes. Once the filler dried I gave the doors and trim a good sanding. This is probably the most important part. The yardstick measurements are stamped and need to be sanded smooth. You don’t want any trace of writing because it will show through your paint. I used an 80grit sand paper then 220grit to smooth everything and get ready for paint.
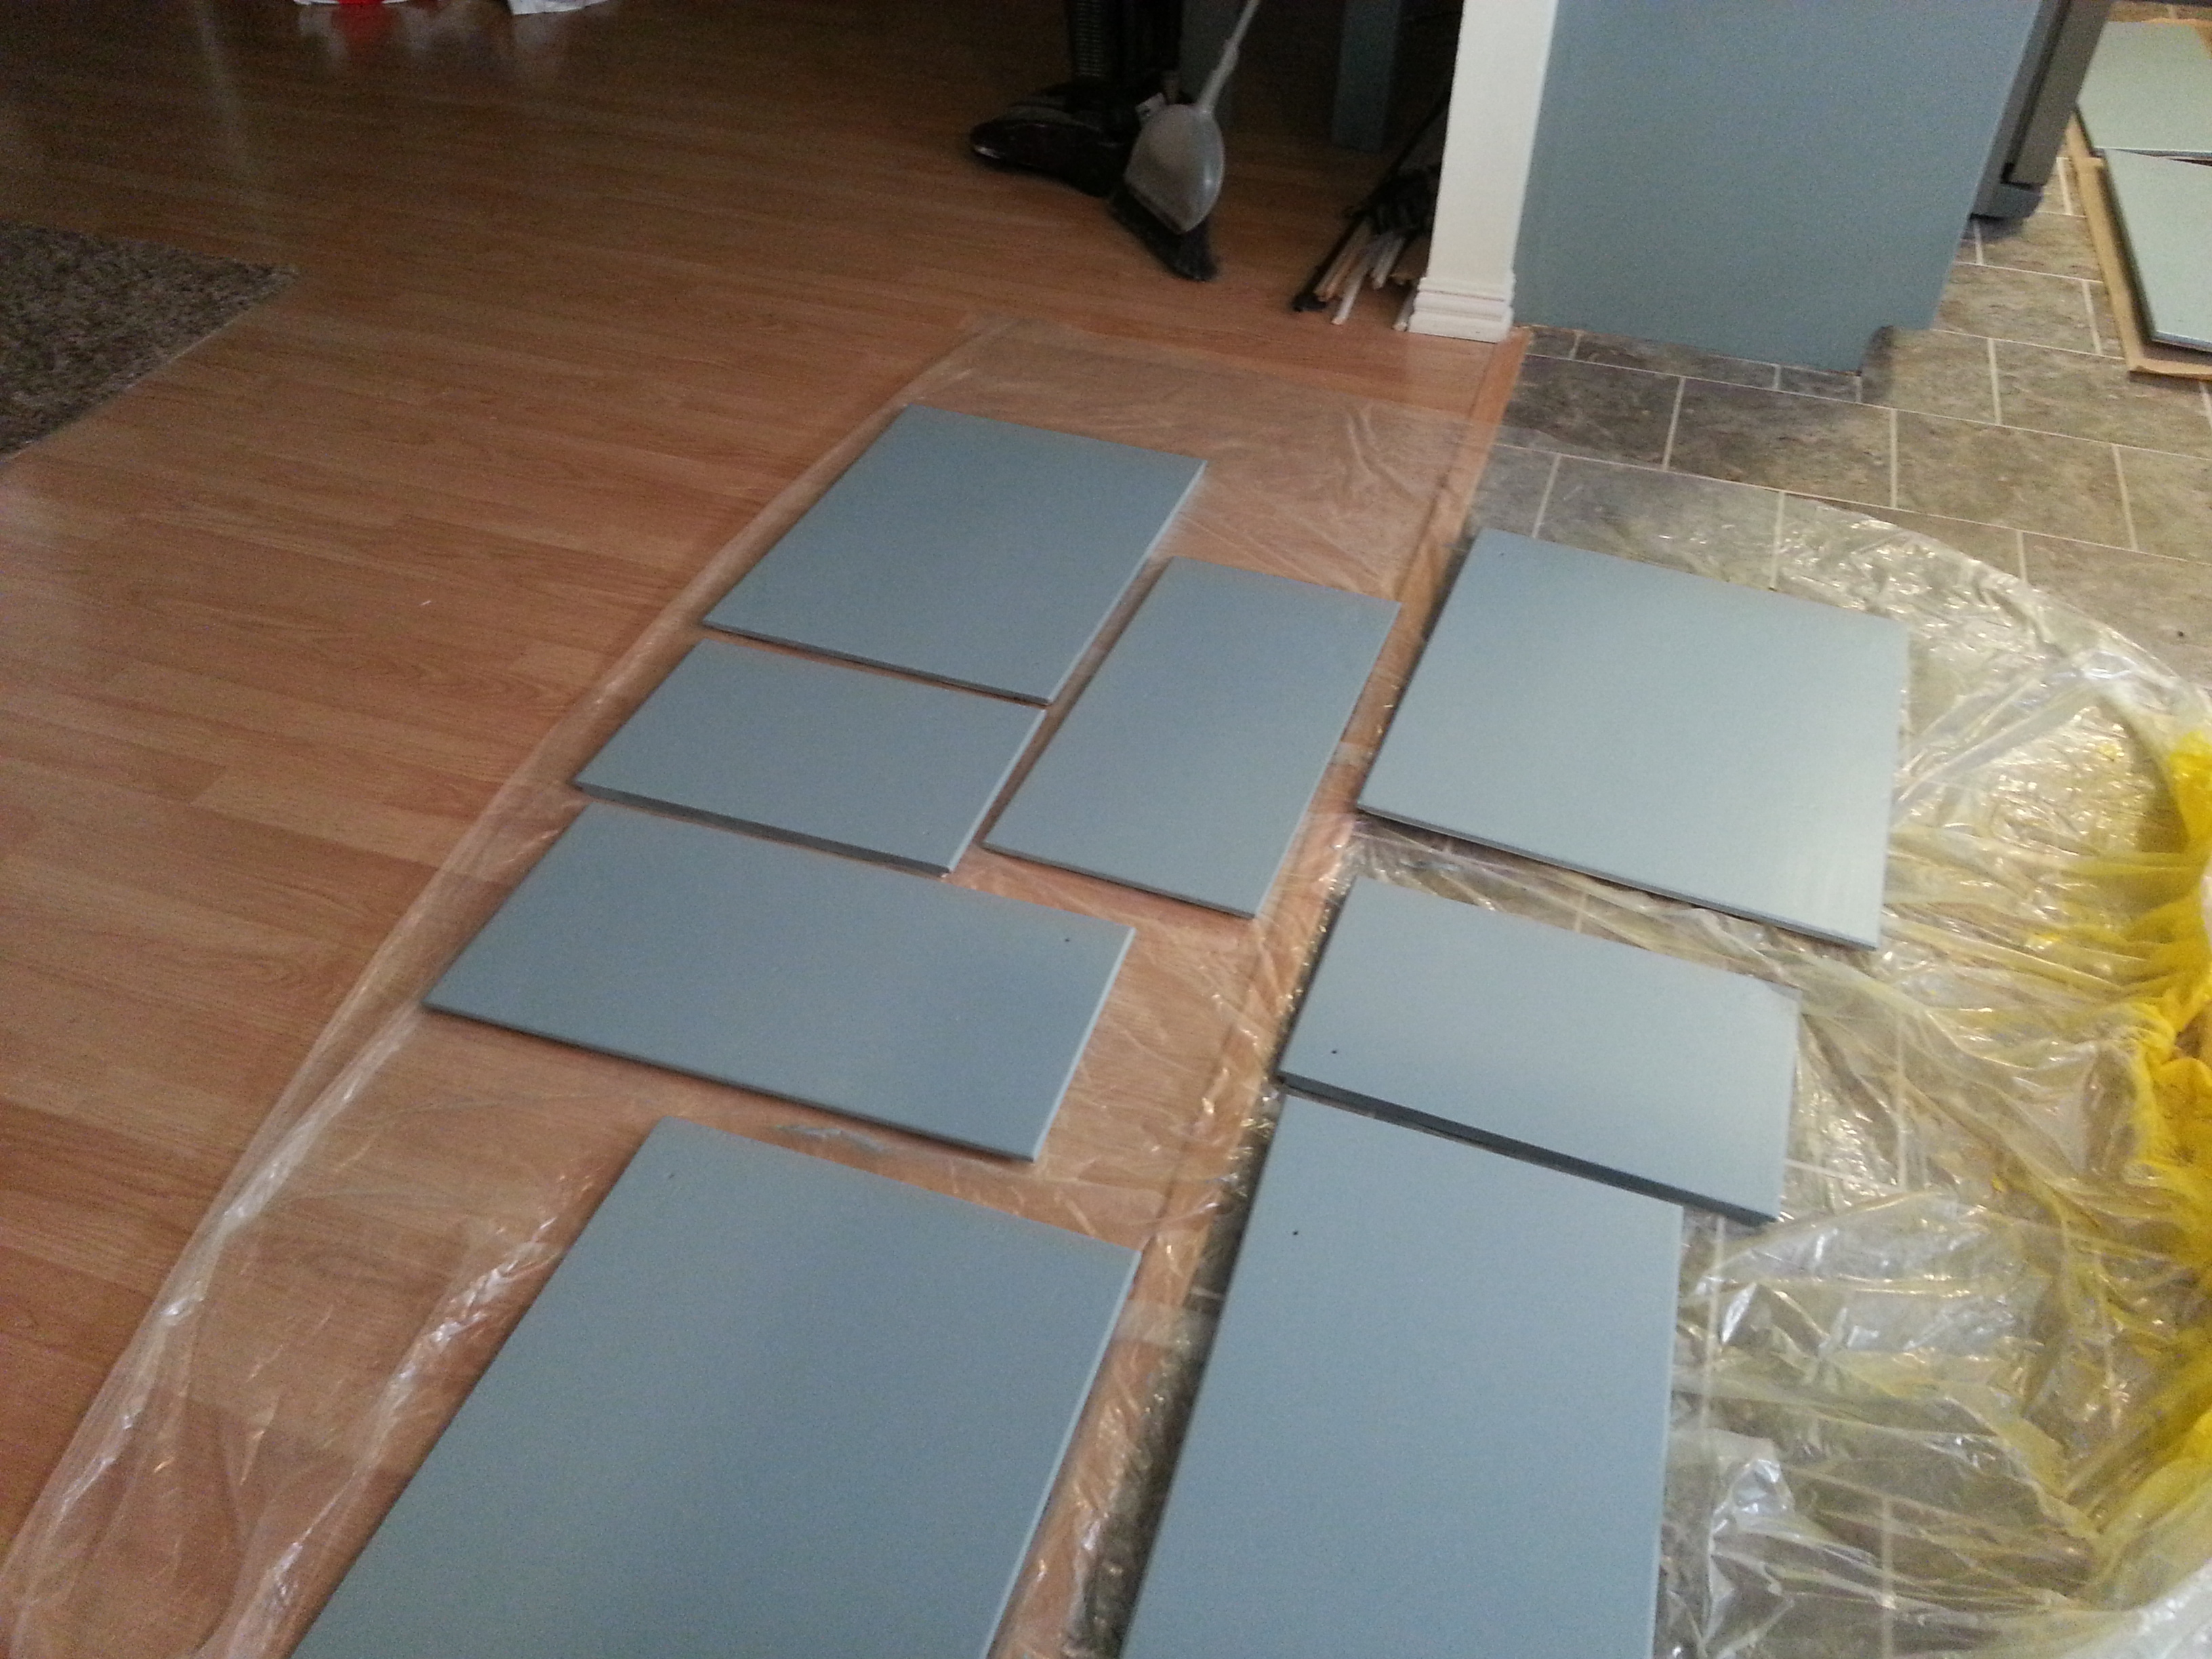
Once I was finished with the trim and wallpaper, everything got a good coat of my favorite blue paint. I spray painted the hardware with a clean metal primer, then Rustoleum Metallic Paint & Primer in One in Oil Rubbed Bronze.
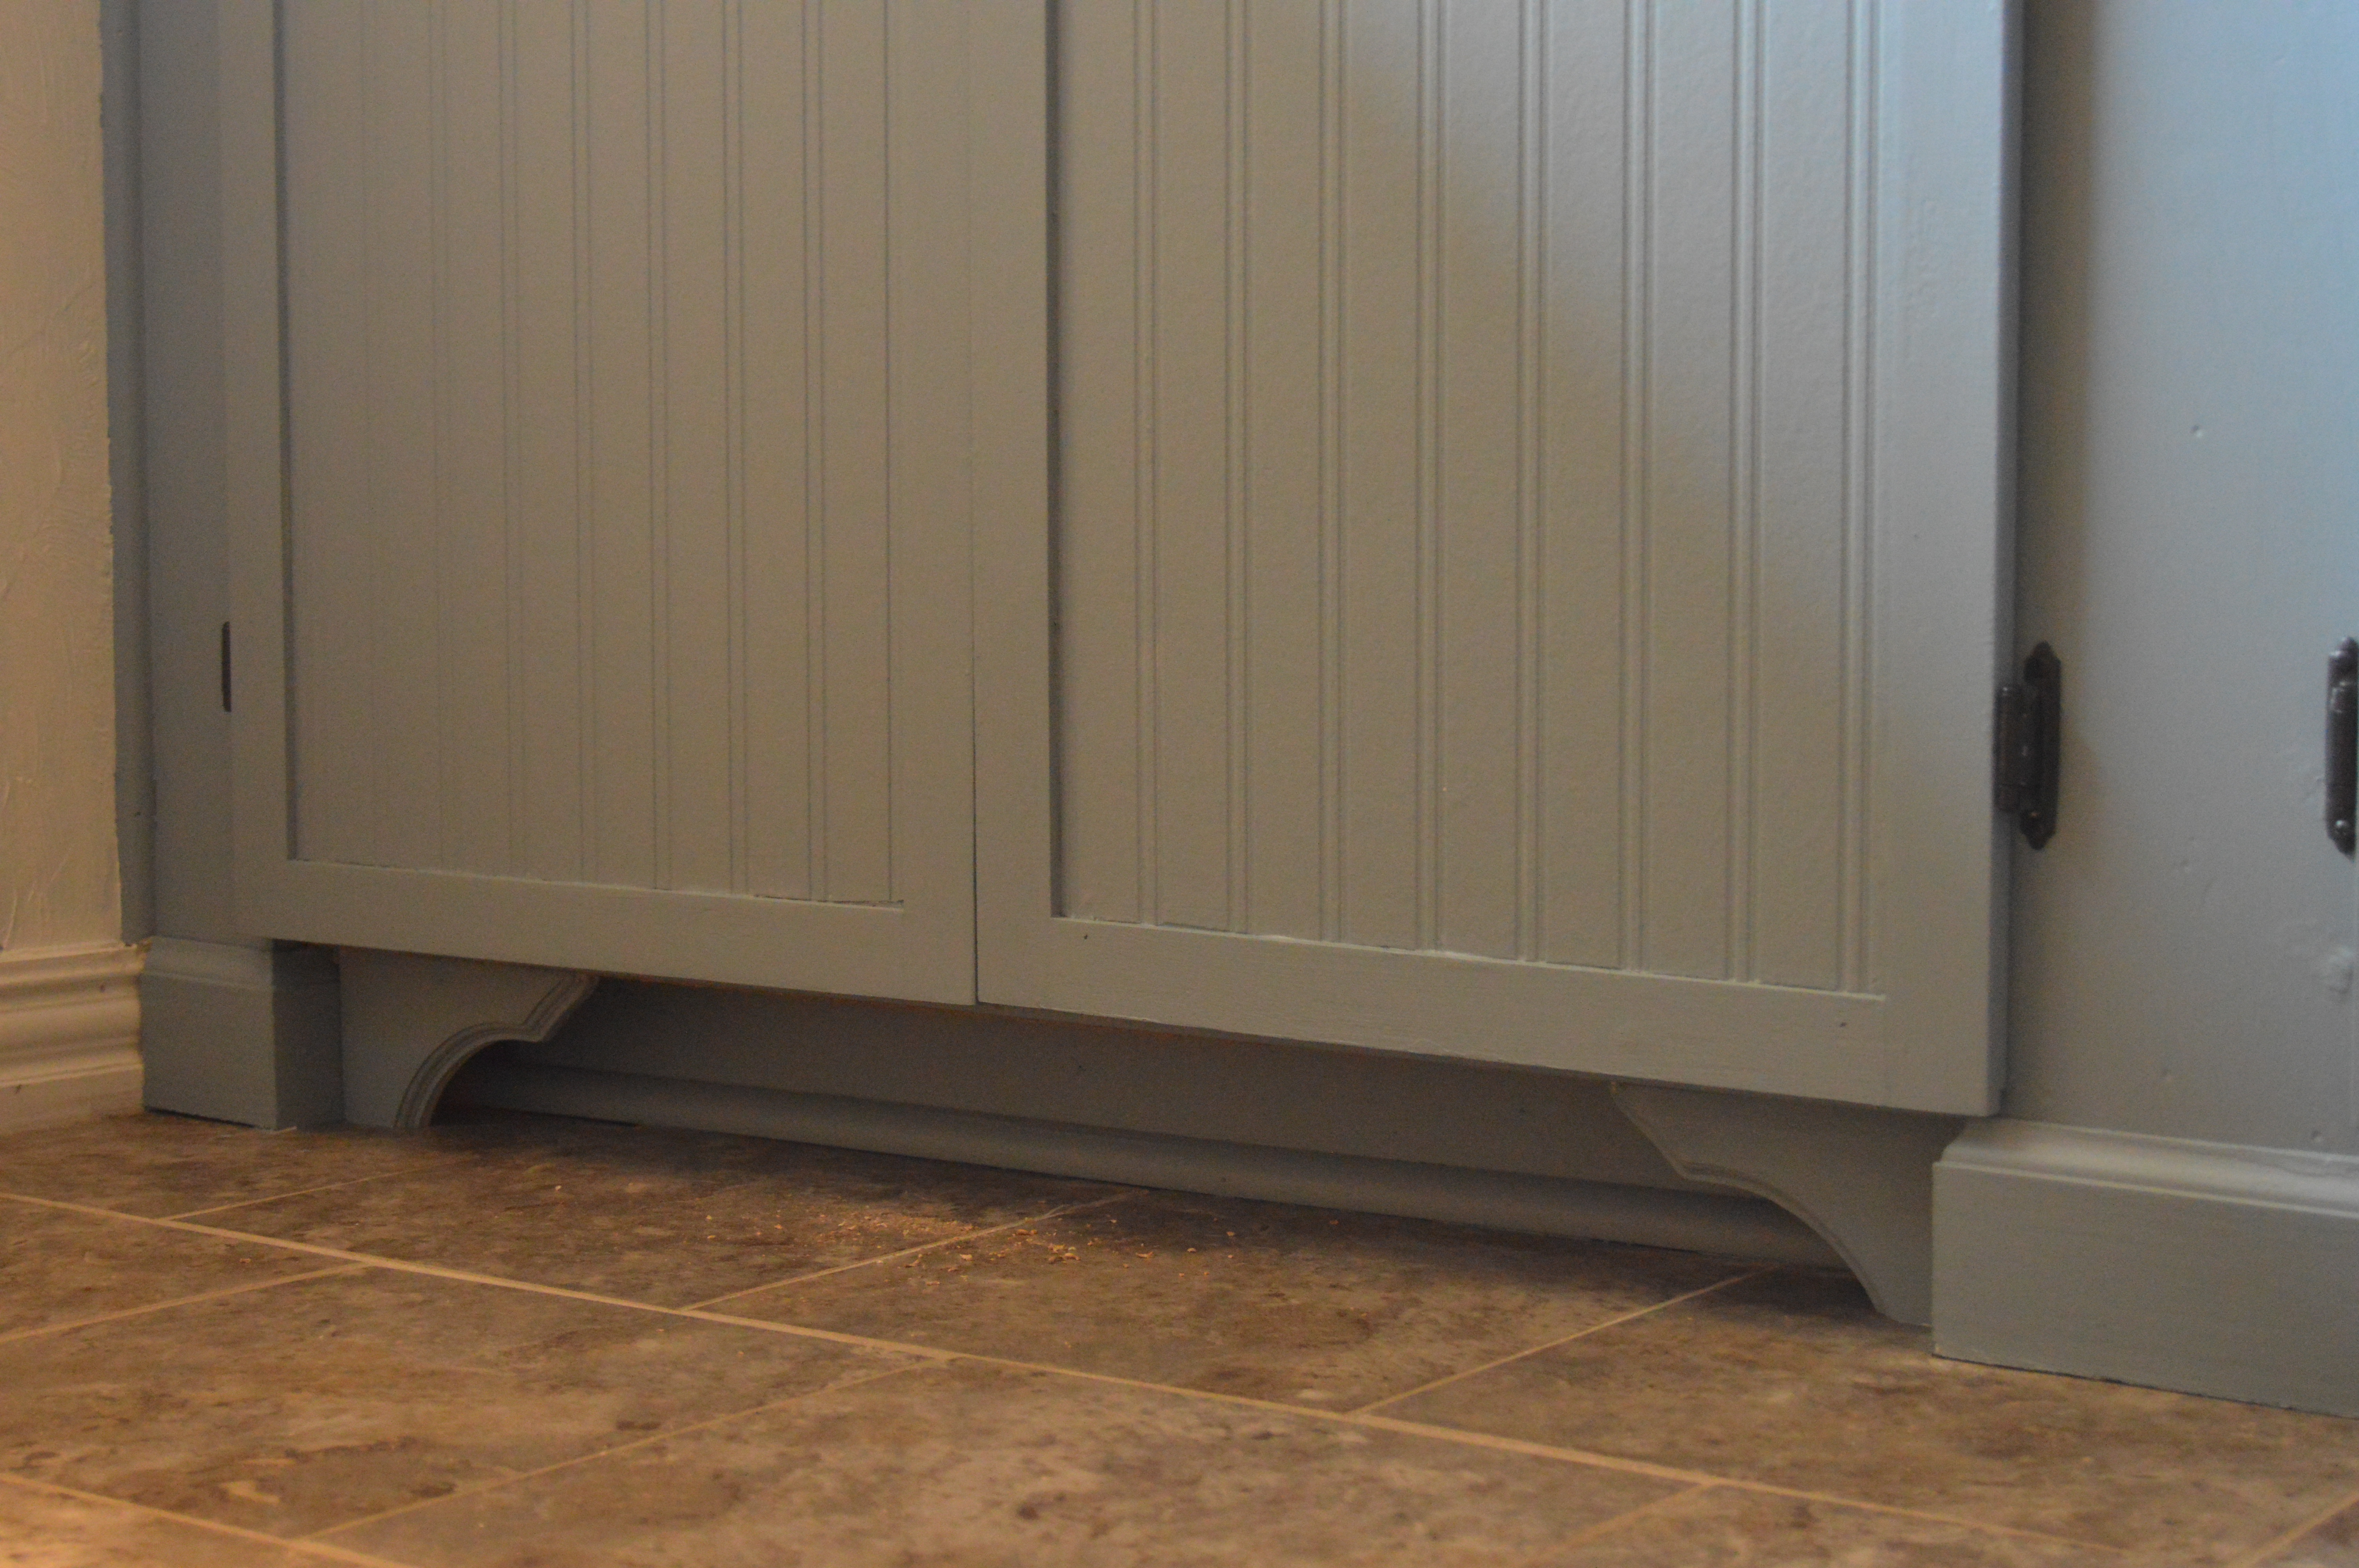
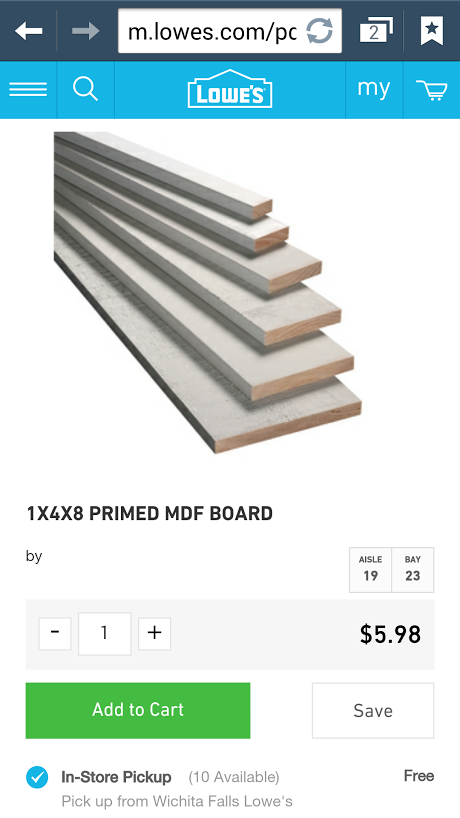
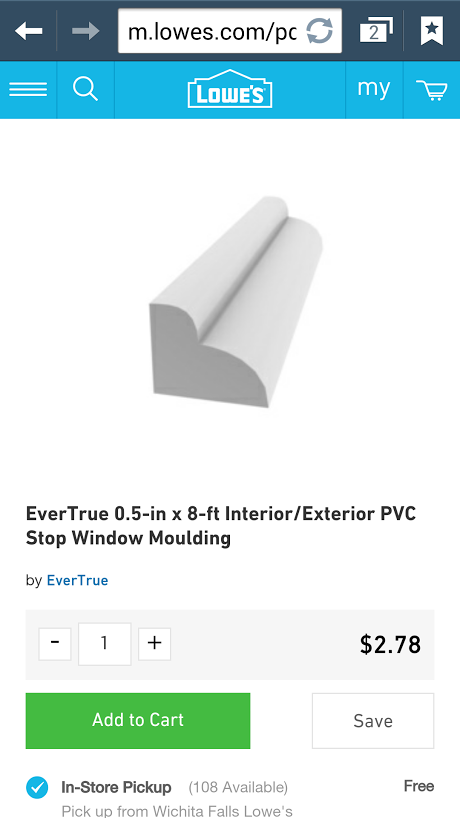
I was pretty happy with how the bar turned out so there was no question I was going to do the rest of the kitchen cabinets. It took me about 3 weeks to complete. The only difference between the bar and main kitchen cabinets is the baseboard. I could not use traditional baseboard because the space where for the toe kick was too big for the 3″ board and too small for the 4″ board. I improvised using MDF board and window trim. I used more 2×4 to attach the MDF and trim under the cabinets.
TA-DA!
 I
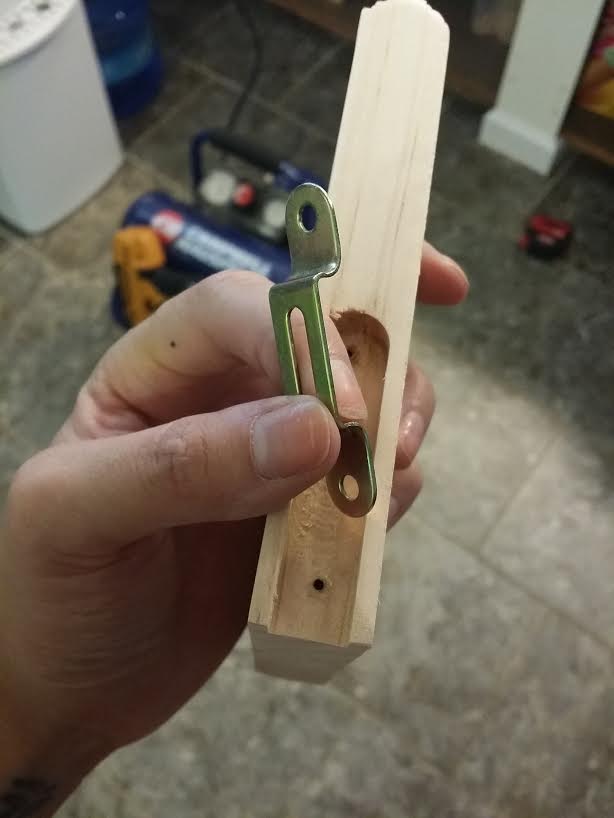
II was worried about putting permanent baseboard under the dishwasher in case we need to do any repairs to it or the next owners want to replace it. So I used a hinge to make a baseboard door. It was not as complicated as it seems. I just measured the width of the dishwasher, then added a half inch on either side for clearance. I built it just like rest of the baseboard and added the hinge. See, not so bad.

I purchased cup bin cabinet pulls for the drawers because I just love the way they look. I got them in a flat black finish and gave them a light coat of the Oil Rubbed Bronze. The rest of the hardware was reused.

And now, drum roll please, the kitchen is complete and I couldn’t be happier with how it came together!! Check it out!
https://steeltoesandhighheels.wordpress.com/1st-house-tour/kitchen/


wow, everything looks great. can’t wait for more projects. you give excellent directions.
LikeLiked by 1 person
I am so glad you started your blog! I realised while reading, that all these explanations were exactly what I was wondering about when I saw your work, but never dared to ask 🙂 thank you!
LikeLiked by 1 person
I’m glad you like it! Thank you for sharing. I’m working on some more tutorials right now 🙂
LikeLike
You made it look possible not to mention, you have great taste!
LikeLiked by 1 person
It IS possible! If anything, that’s the message I want to share. I had no idea what I was doing in the beginning but I did a lot of research and learned as I went 🙂 Anyone can transform their home!
LikeLike