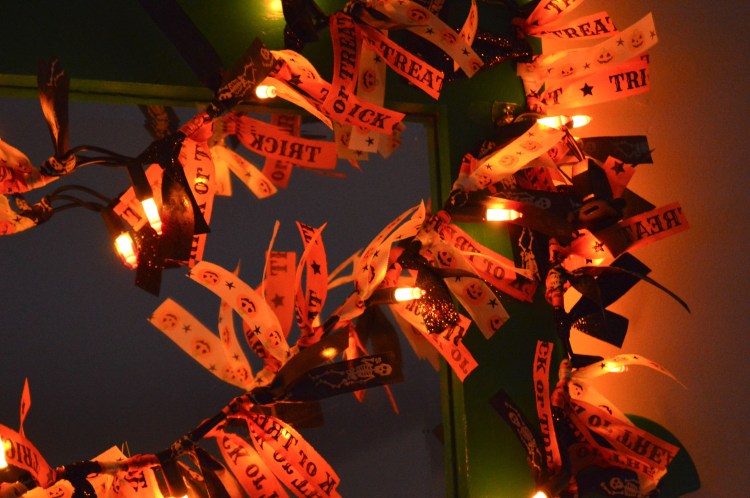
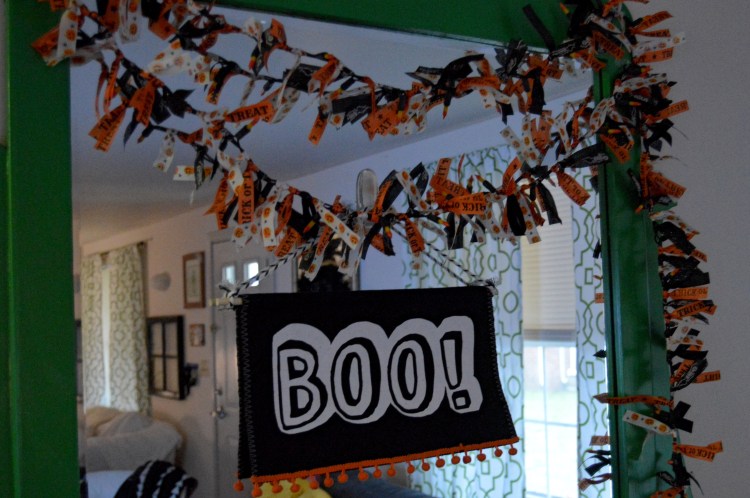
Other than parties, I don’t do much crafting. However, this week I whipped up a super simple craft for Halloween. This lighted ribbon garland took less than an hour to do and cost less than $10! I already had the lights so that saved me in cost, but I got the lights at a dollar store years ago so you could probably purchase lights and ribbon for under $15.
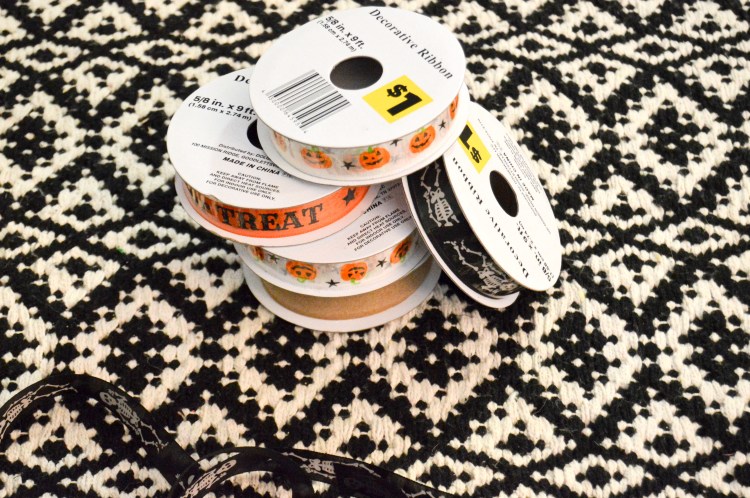
Alright first, supplies. You’ll need ribbon of varying colors (I got all mine from Dollar General and I used 9
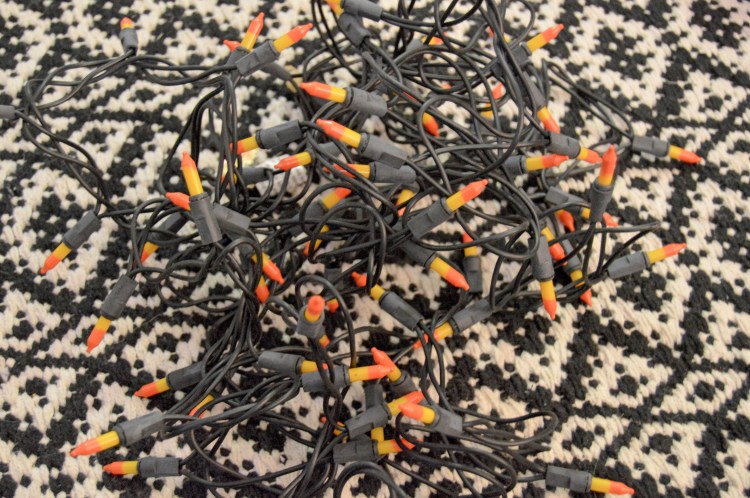
rolls), a string of lights and scissors.
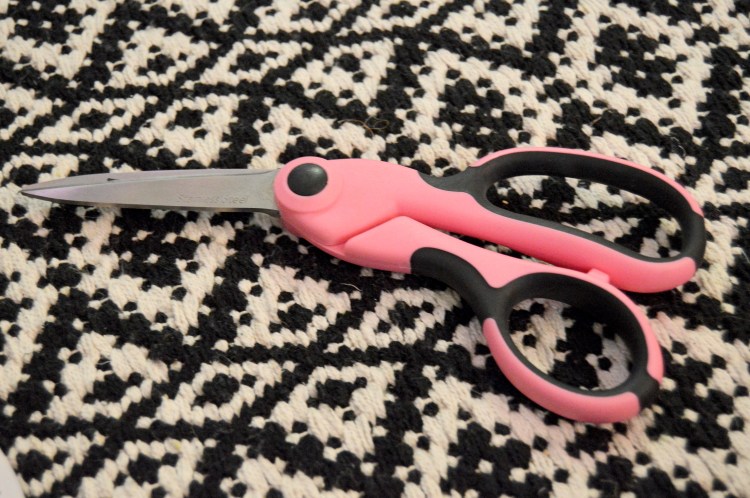
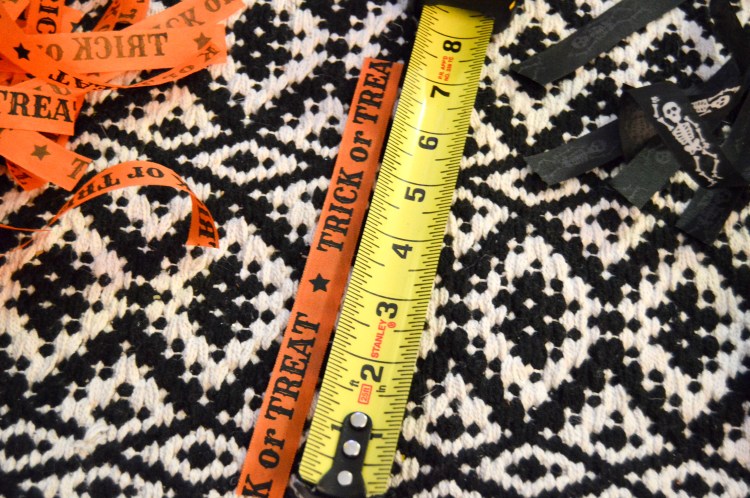
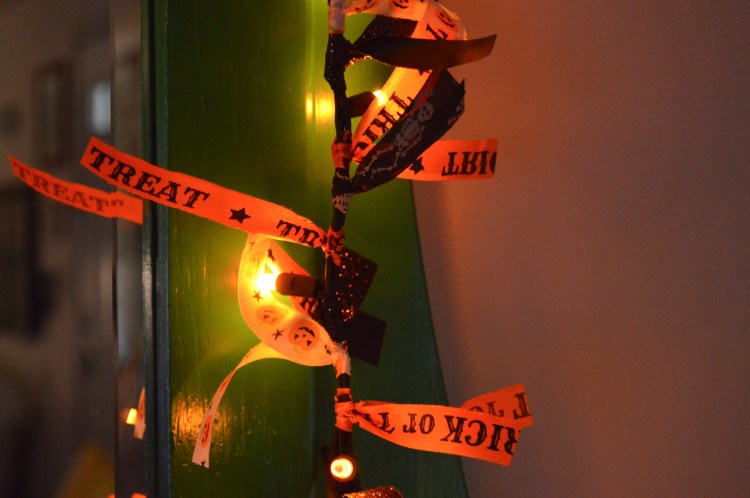
Next cut your ribbon into strips. I cut mine roughly 7″, but you can choose to do them longer. I wouldn’t go shorter though because you wont be able to make your knots.
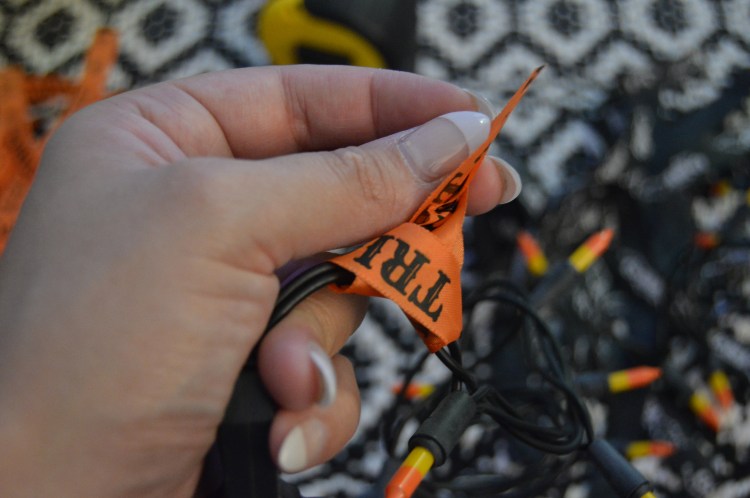
For the knots, just fold in half and around the lights and pull through the loop. Make sure it’s nice and snug.
Alternate the different ribbons to create a pattern.
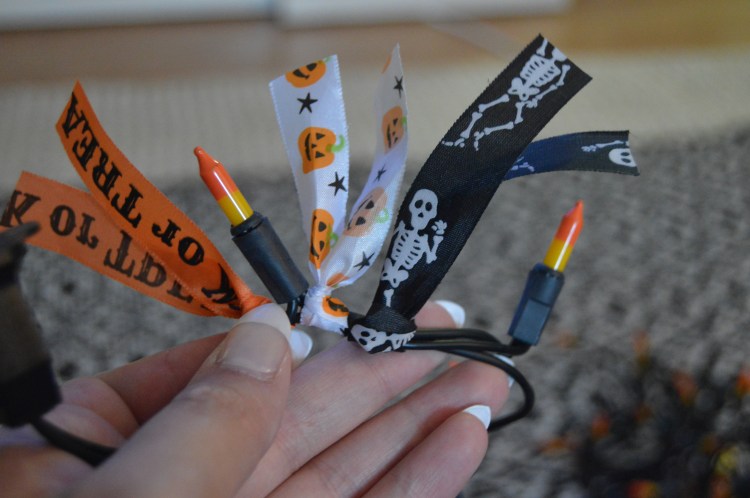
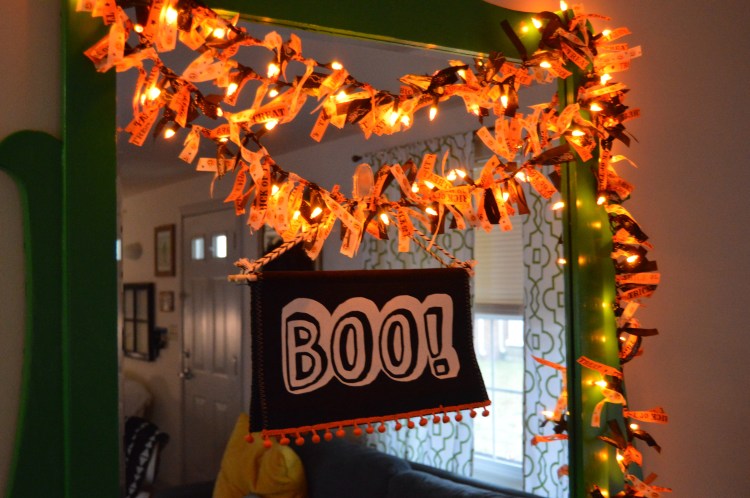
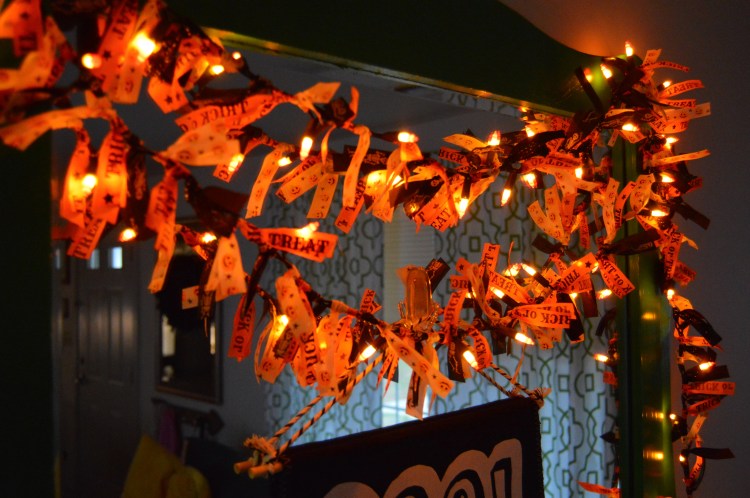
Keep going until you’ve added ribbon to the entire string of lights.
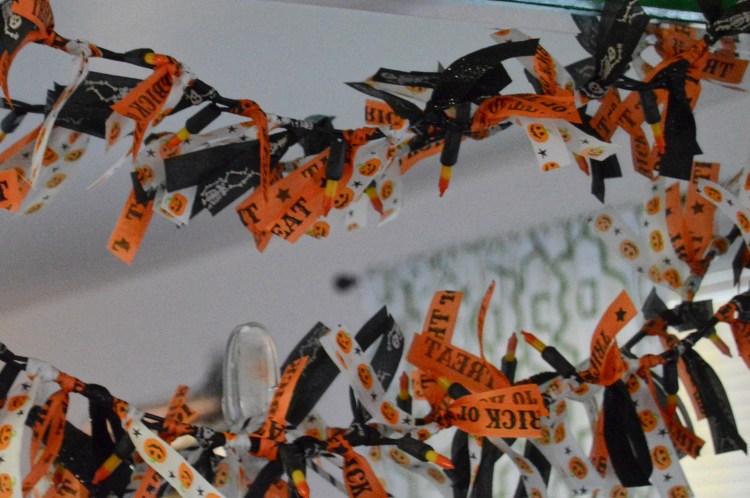
Plug them in and enjoy!
You could do this for Christmas or birthday parties too. 🙂


great idea
LikeLiked by 1 person